Thanksgiving sandwich

The only reason I’m here for those heavy Thanksgiving dinners is because of the next day turkey sandwich.

Some toast, a little mustard, slap on the turkey, good to go. Pretty plain treatment, admittedly. What if I could make a Thanksgiving sandwich that made the most of the leftovers and had a little more oomph factor?

Let’s think about what’s likely to be leftover from Thanksgiving dinner: turkey (natch), stuffing, gravy, mashed potatoes, pureed squash, bean casserole, and cranberry sauce.

While researching Thanksgiving sandwich treatments, I saw many a sandwich that threw the works between the buns. But who really needs mashed potatoes in a sandwich? Especially when mashed potatoes, squash, and bean casserole leftovers more naturally lend themselves to a shepherd’s pie.

As for the cranberry sauce, it’s obligatory at the Thanksgiving table, but I’ve experimented with a cranberry mayo mix for sandwiches and it didn’t really do it for me. So cranberries, potatoes, squash, beans are out.

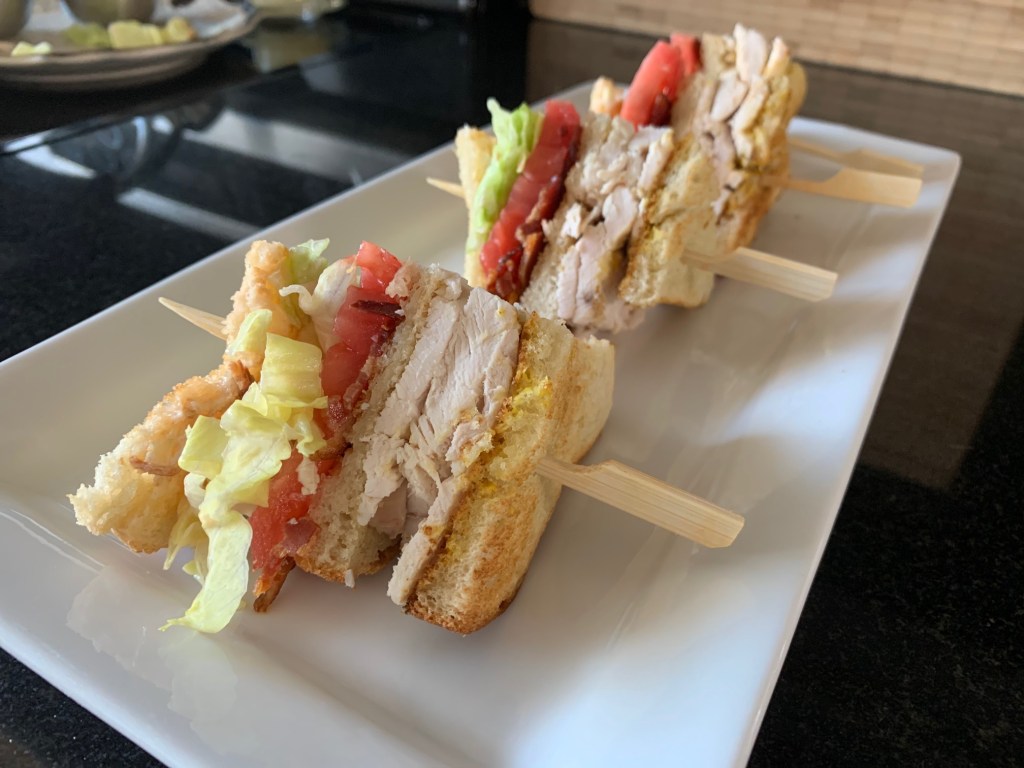
I’m going to make stuffing and turkey leftovers the star of my Thanksgiving sandwich. Here’s how: I’m going to make a ‘stuffing cheeseburger’ out of those leftovers and top it with steamed leftover turkey chunks. For contrast, I’m adding honey mustard and bread’n’butter pickles. Everything gets drizzled with reheated gravy for the Thanksgiving sandwich of my dreams.

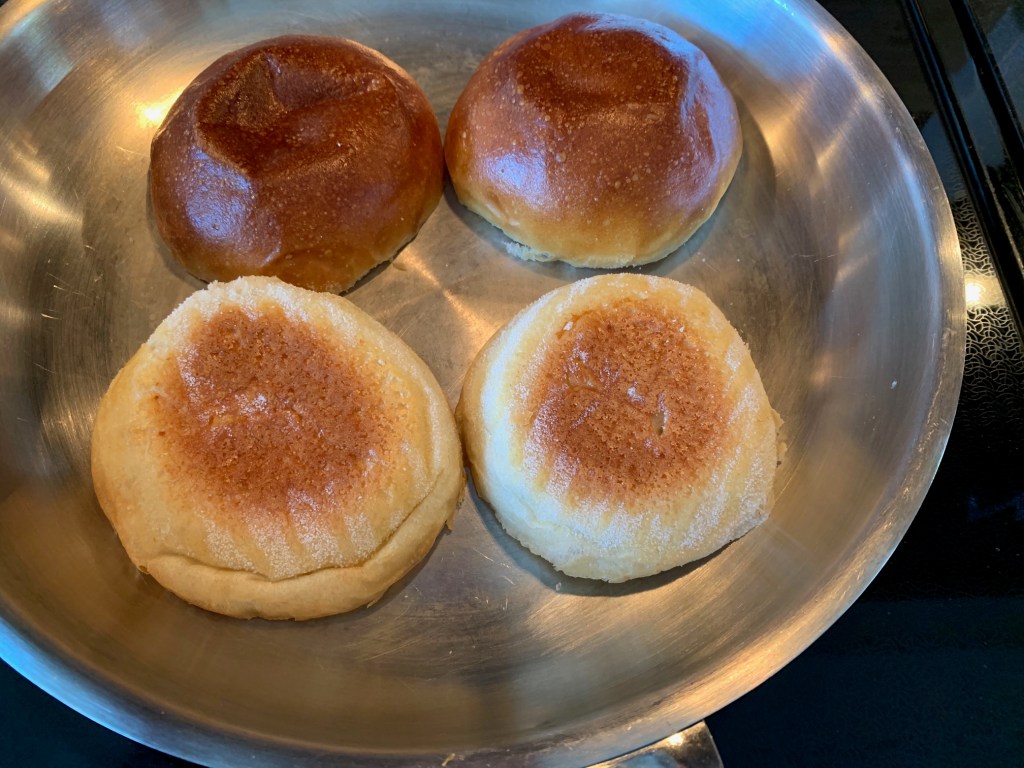
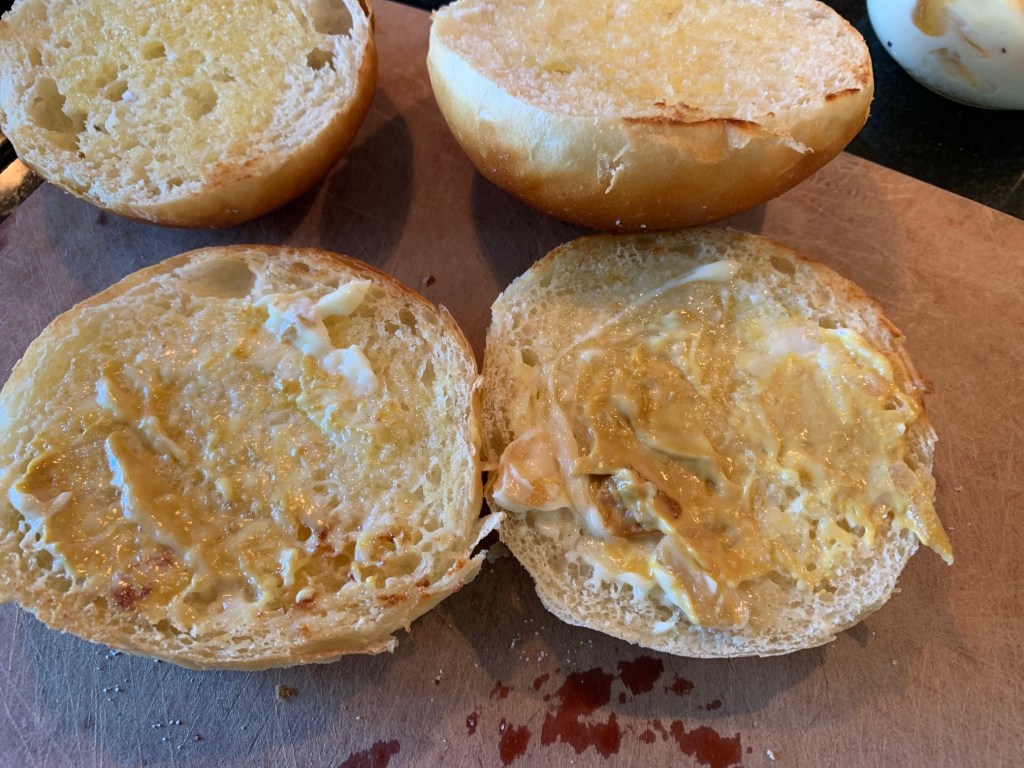
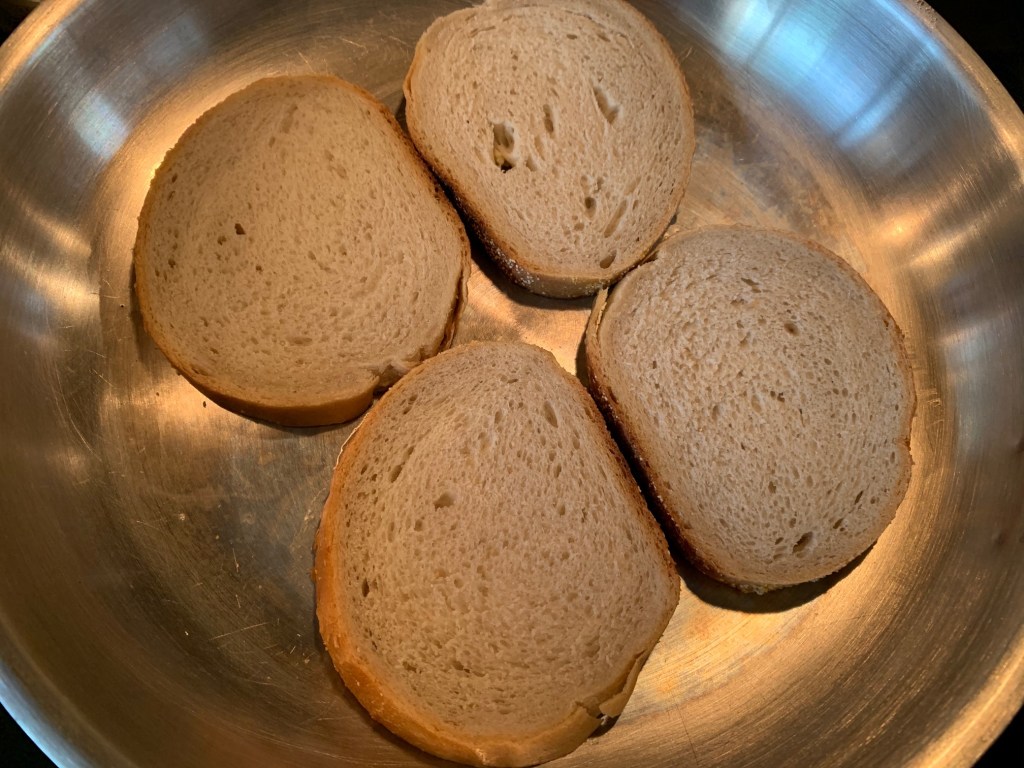
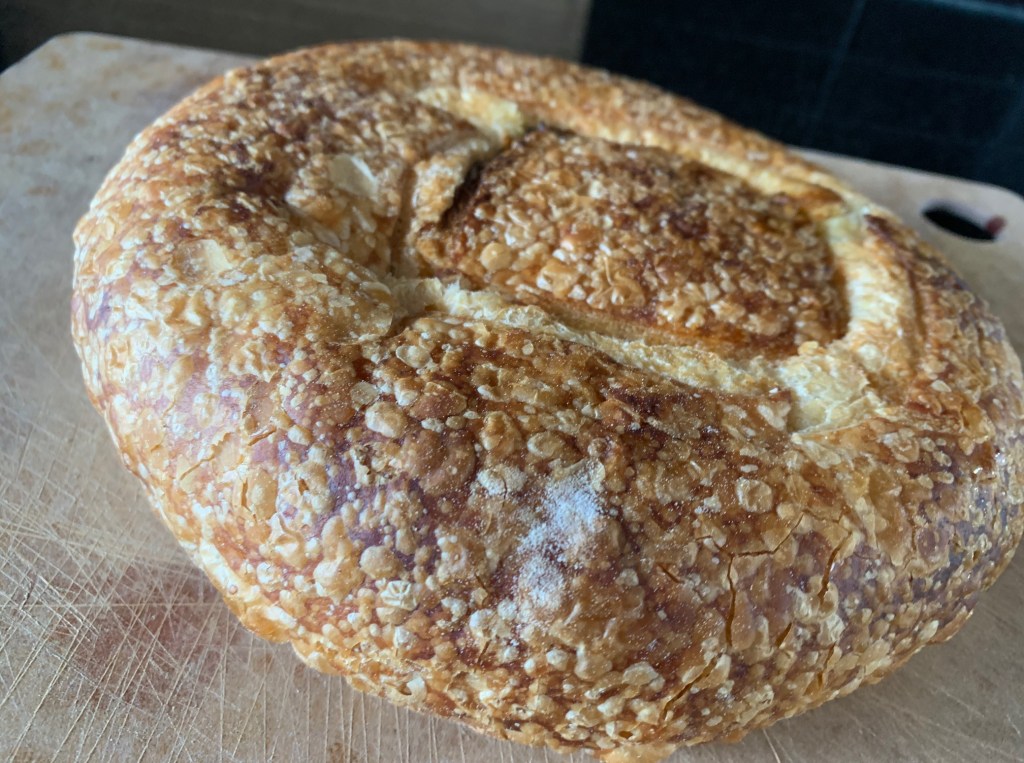
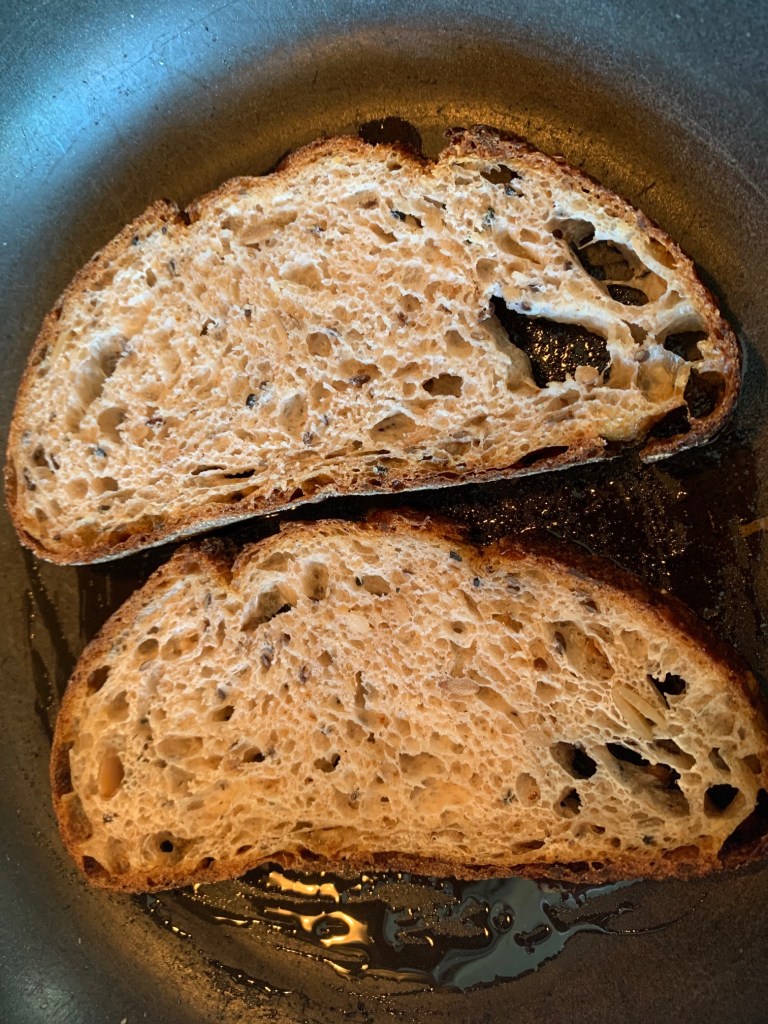
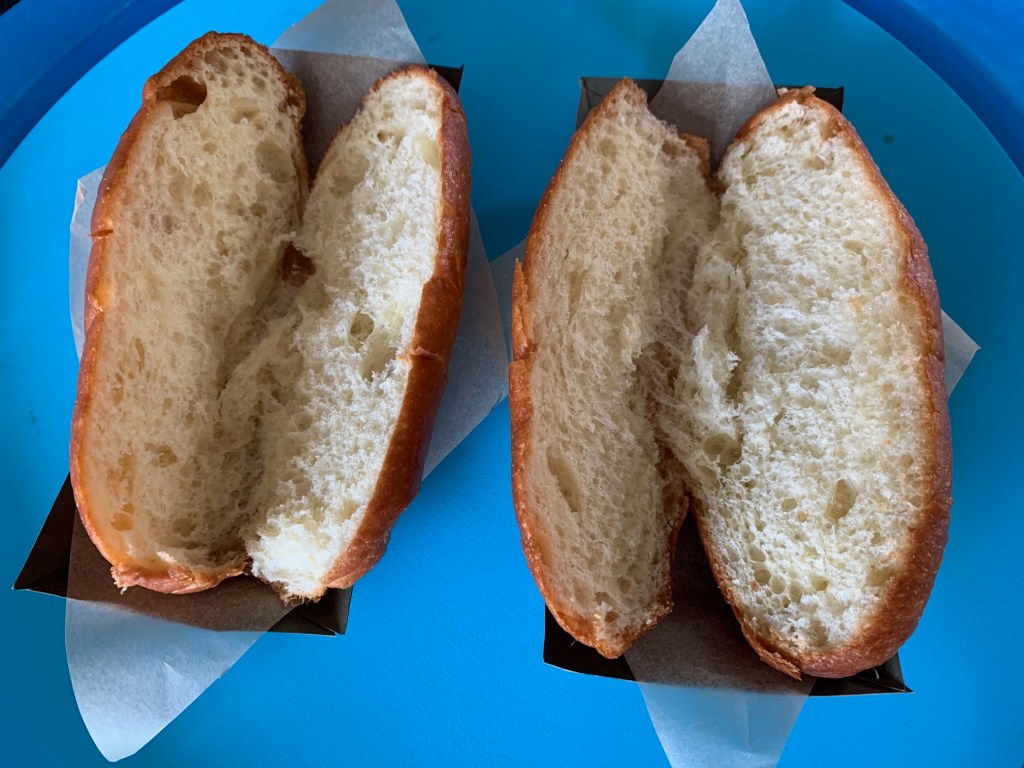
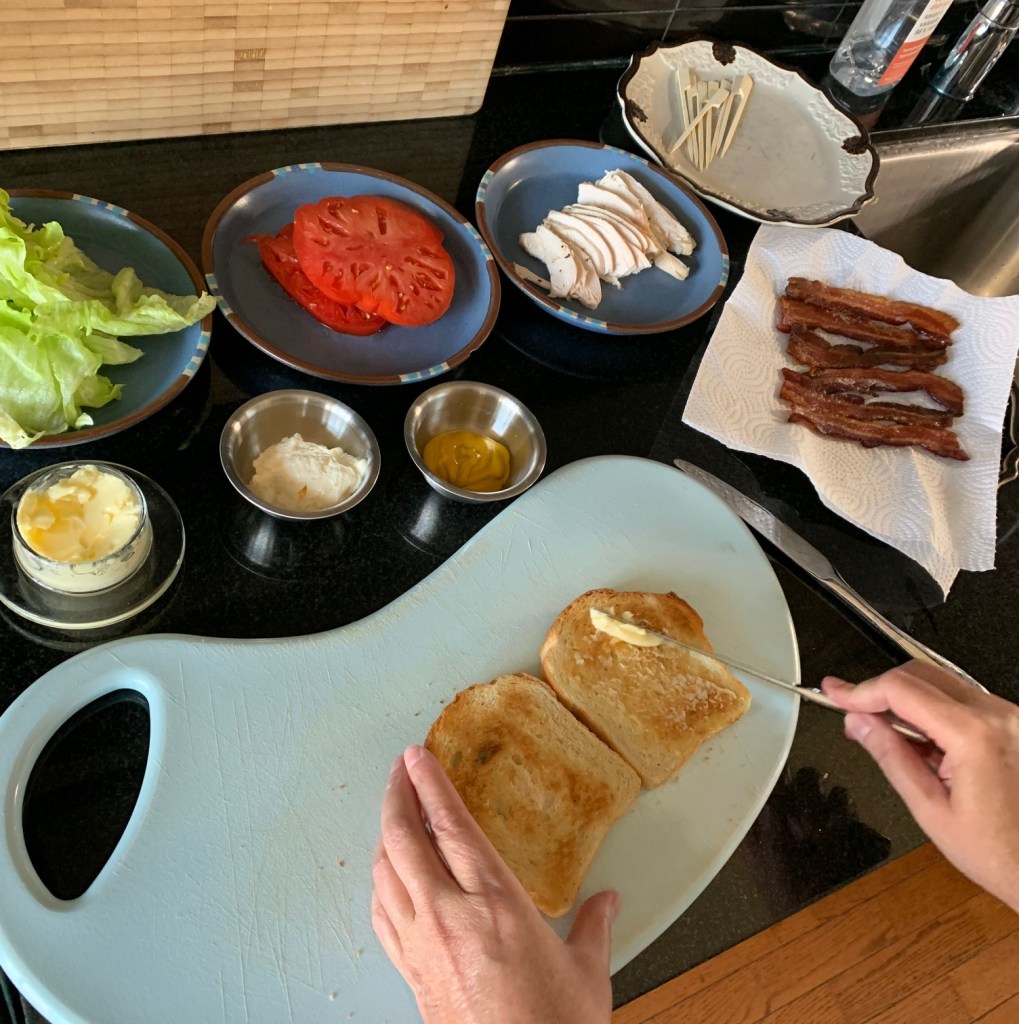
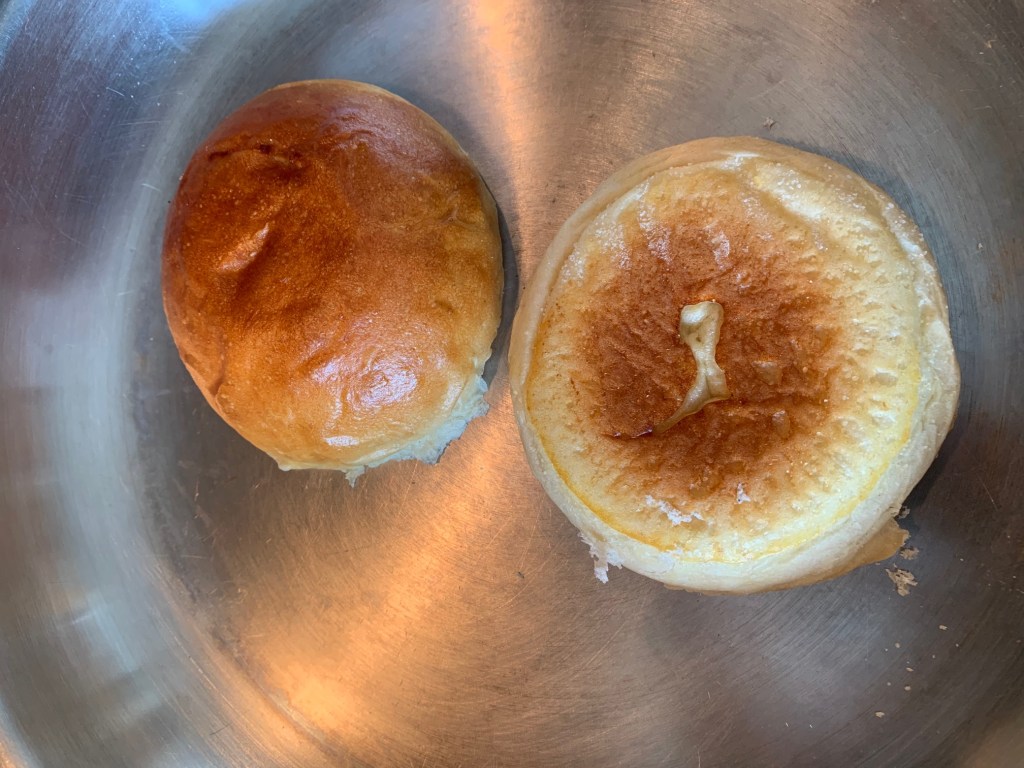
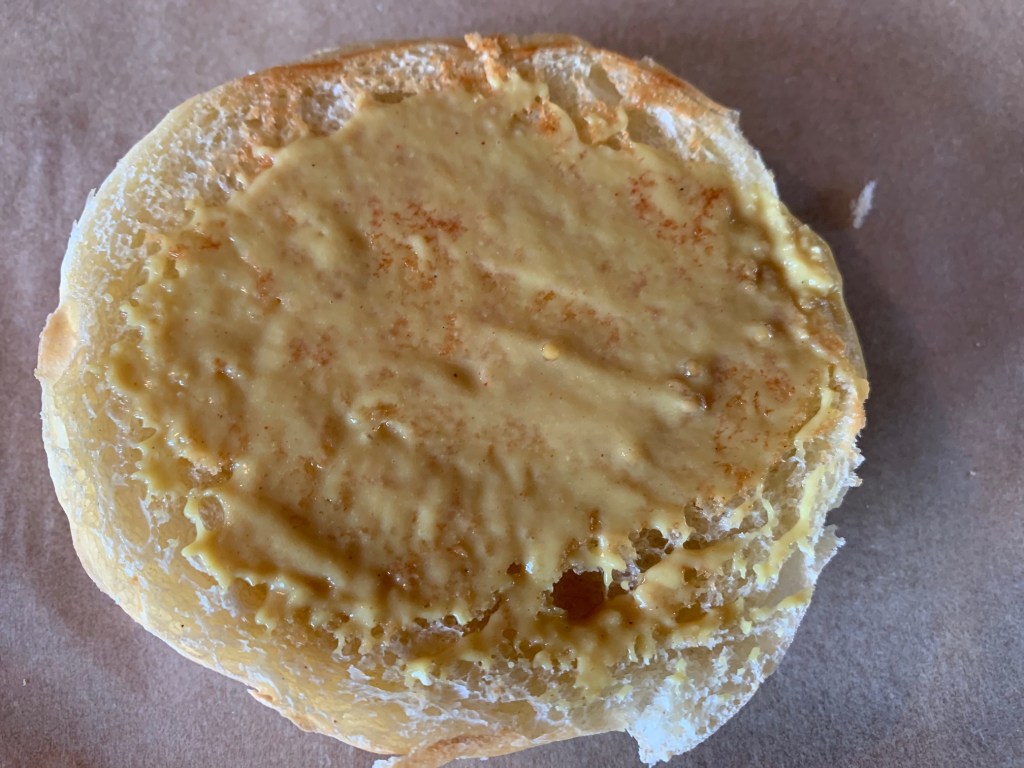
I’m using good Ace buns but you could toast bread instead. They’re going to get buttered ‘wall to wall’ and grilled, butter side down, in a fry pan until they’re golden brown.

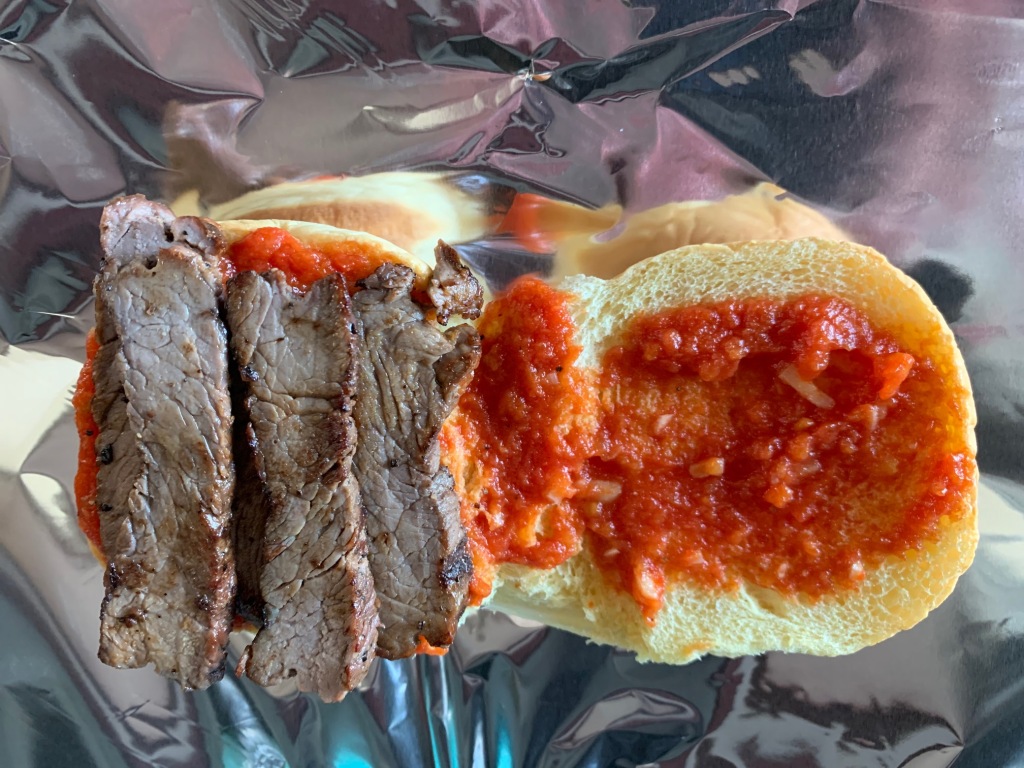
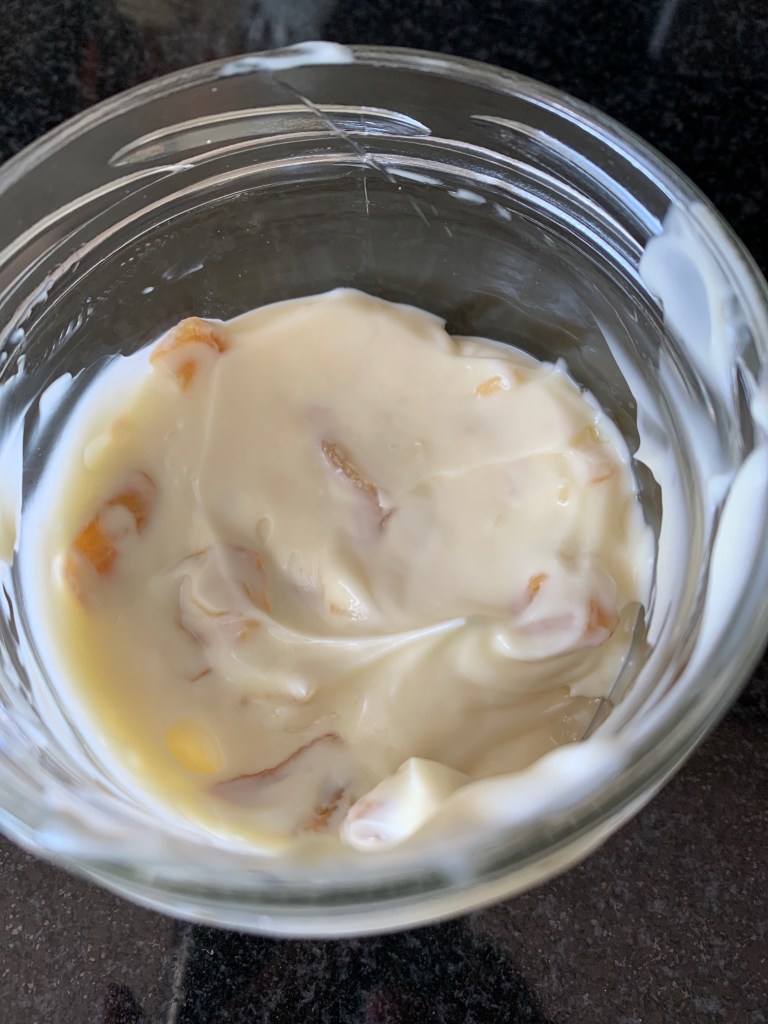
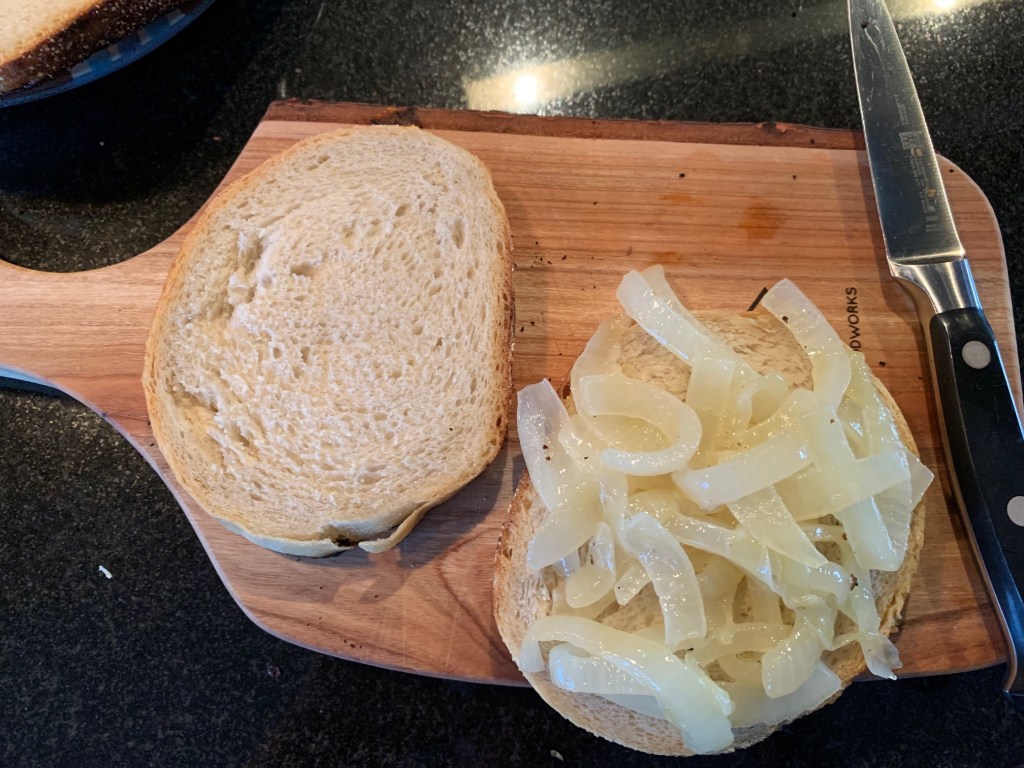
Honey mustard goes down on both toasted buns.

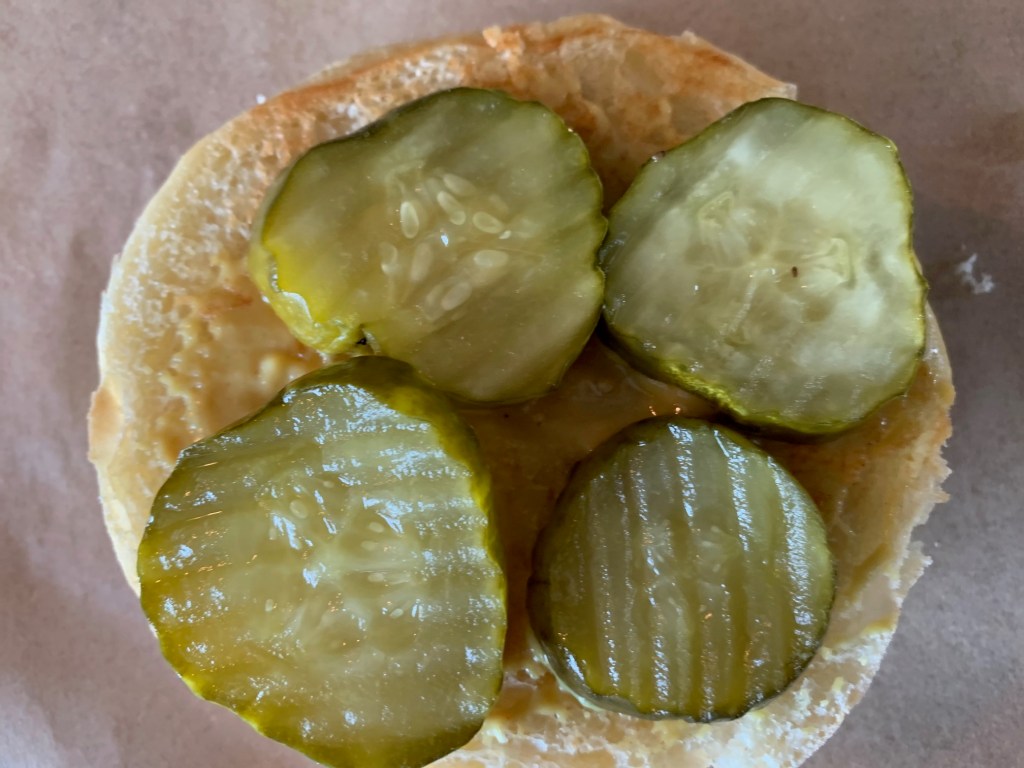
A layer of pickles is next.

I was trying to be virtuous so I added a beautiful leaf of Boston lettuce but it turned out to be my kryptonite. Once I added the stuffing cheeseburger, it slid off of the lettuce and things fell apart. So the lettuce didn’t survive the final version of my Thanksgiving sandwich. Just make a nice side salad (there’s probably plenty leftover from the dinner).

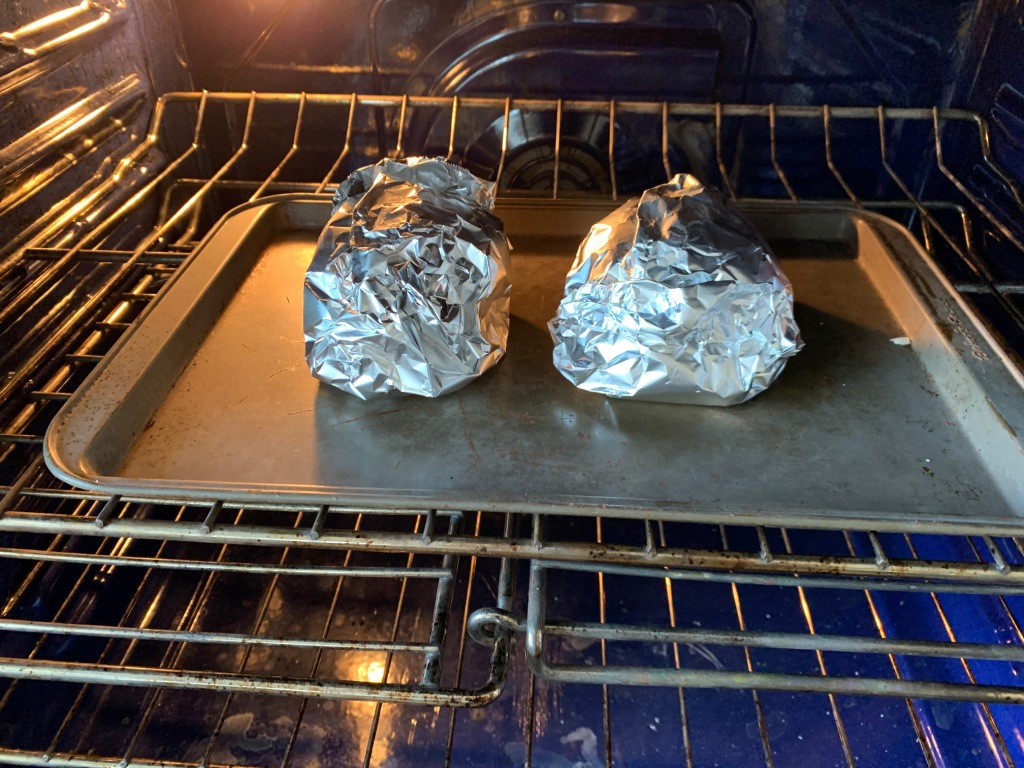
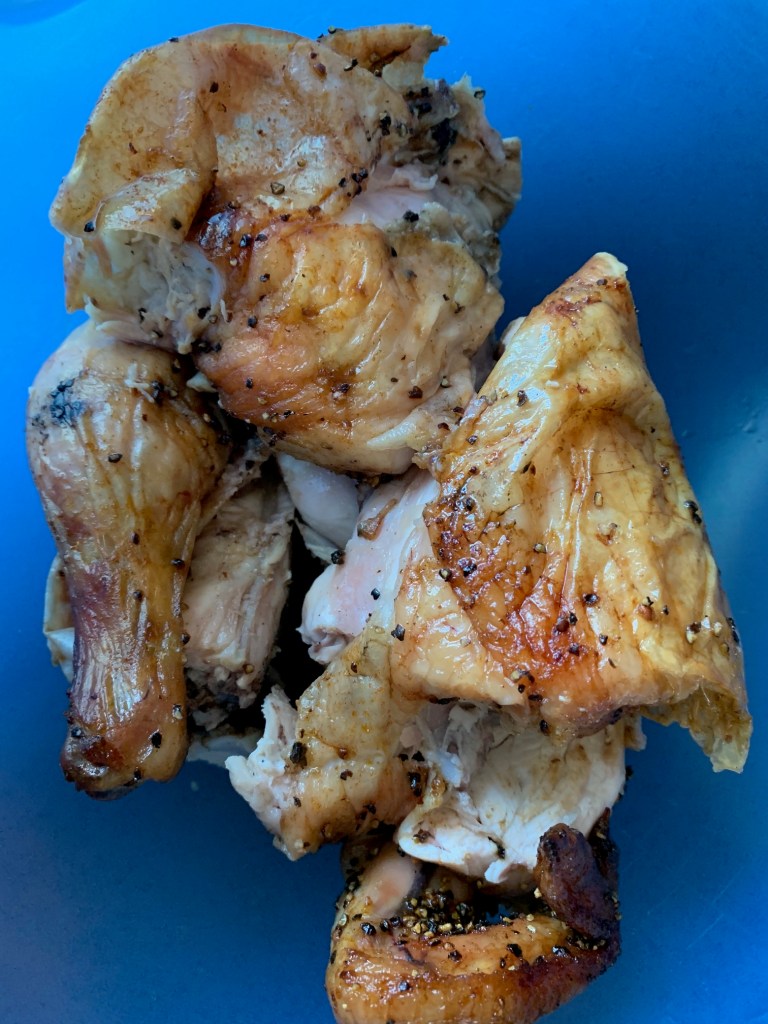
I get my leftover gravy simmering on low heat and put about two cups of turkey chunks into a foil packet.

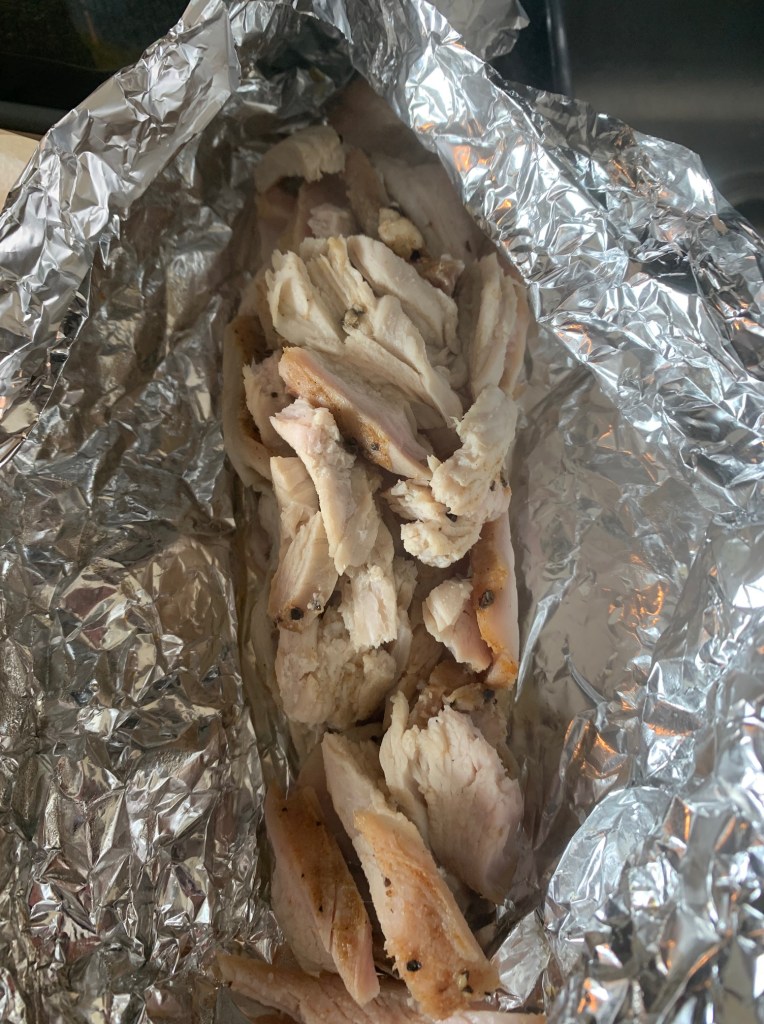
Create a foil packet, place on a baking tray, and warm that up in a 250 F oven for about 15 minutes—the turkey will steam in the packet and that will rehydrate it.

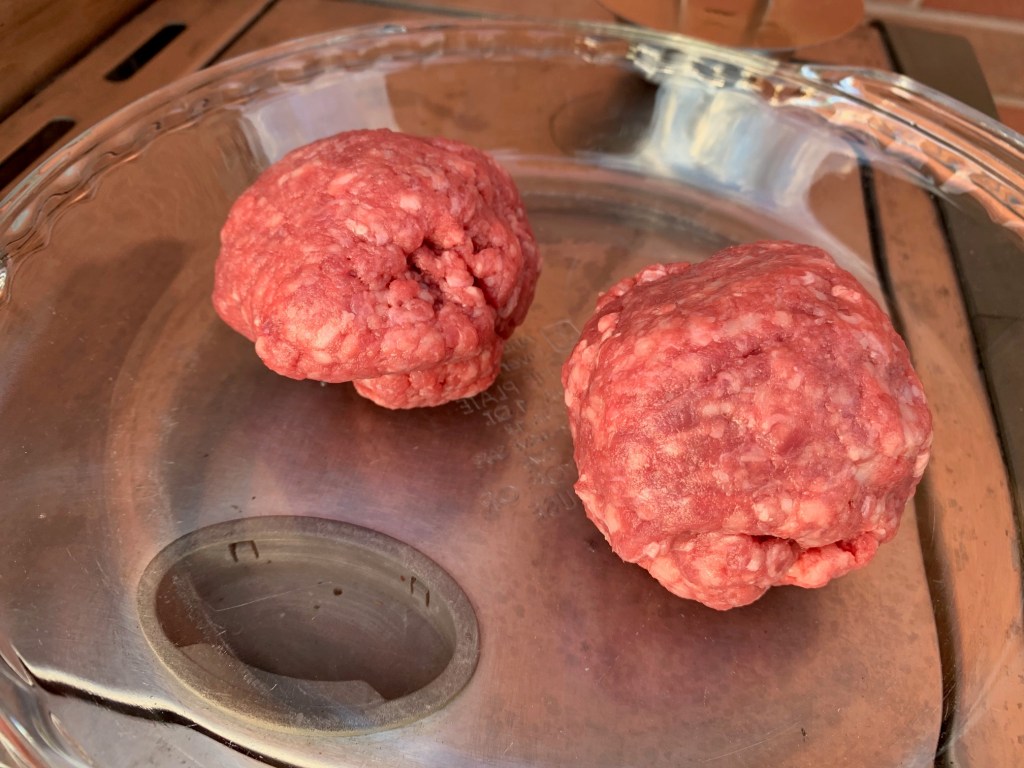
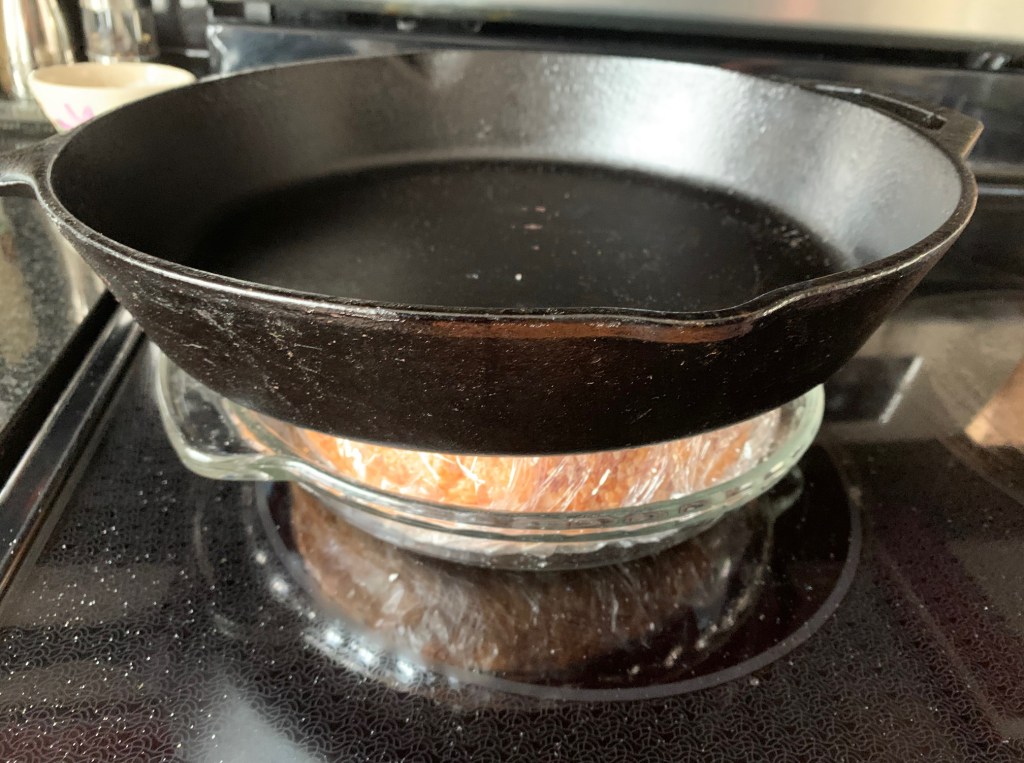
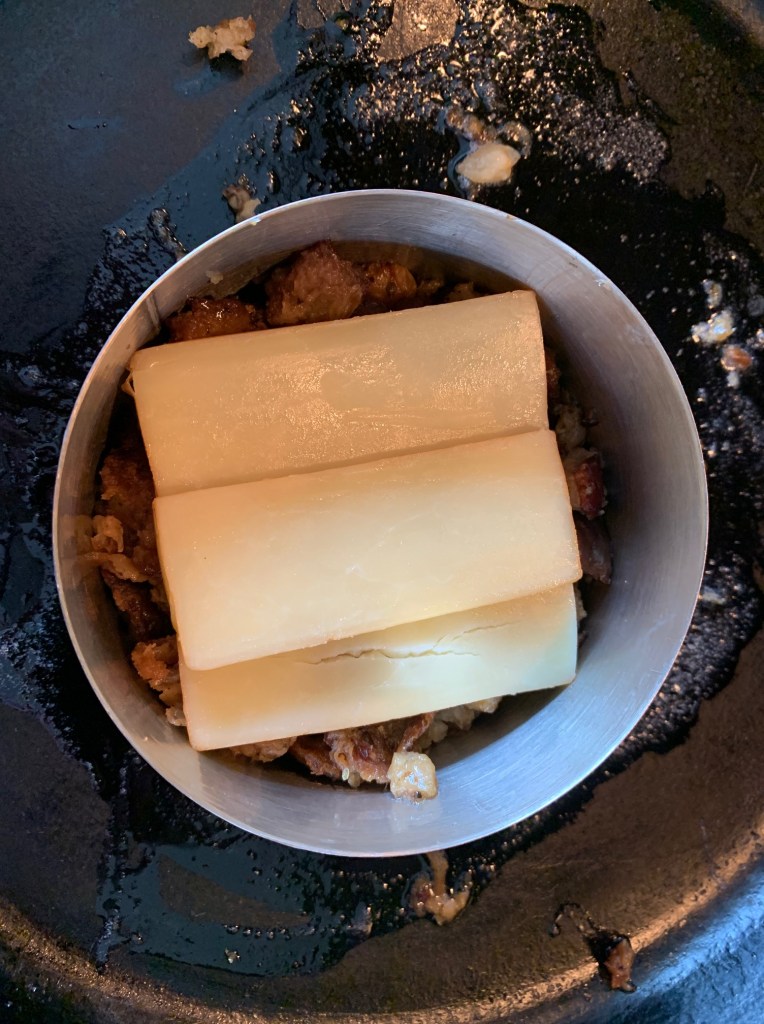
Now for the stuffing cheeseburger. This was Craig’s idea and it’s a keeper. Butter the inside of a metal cooking ring and place about 1/2 cup of stuffing into the ring. Pack it down to create the burger.

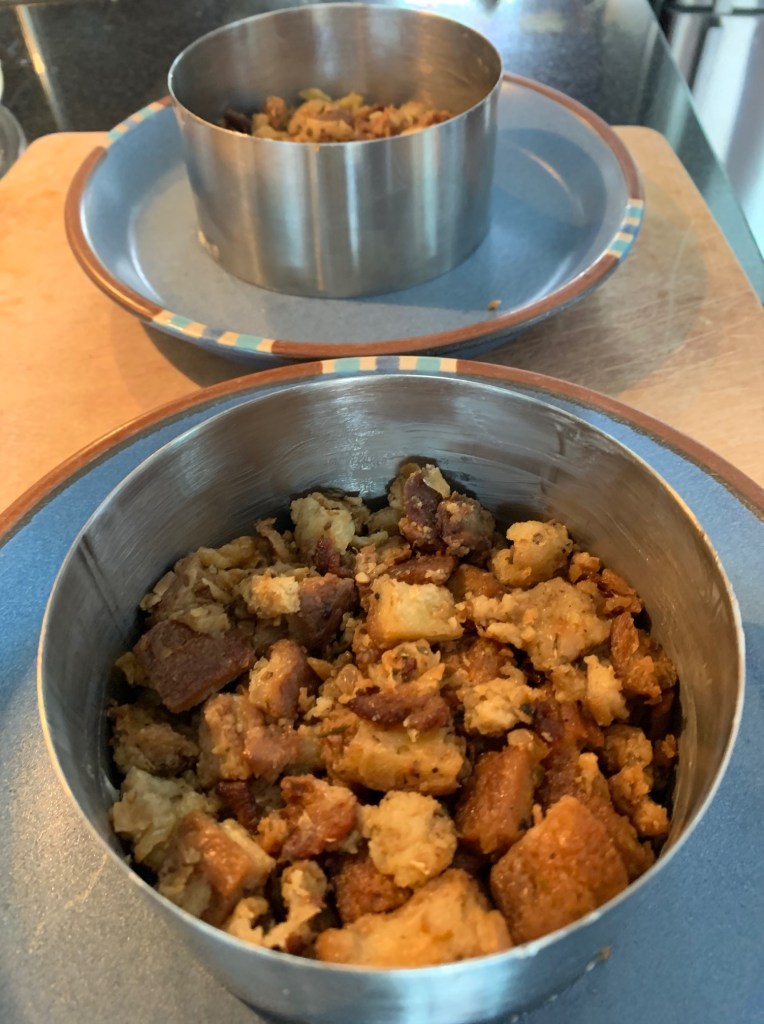
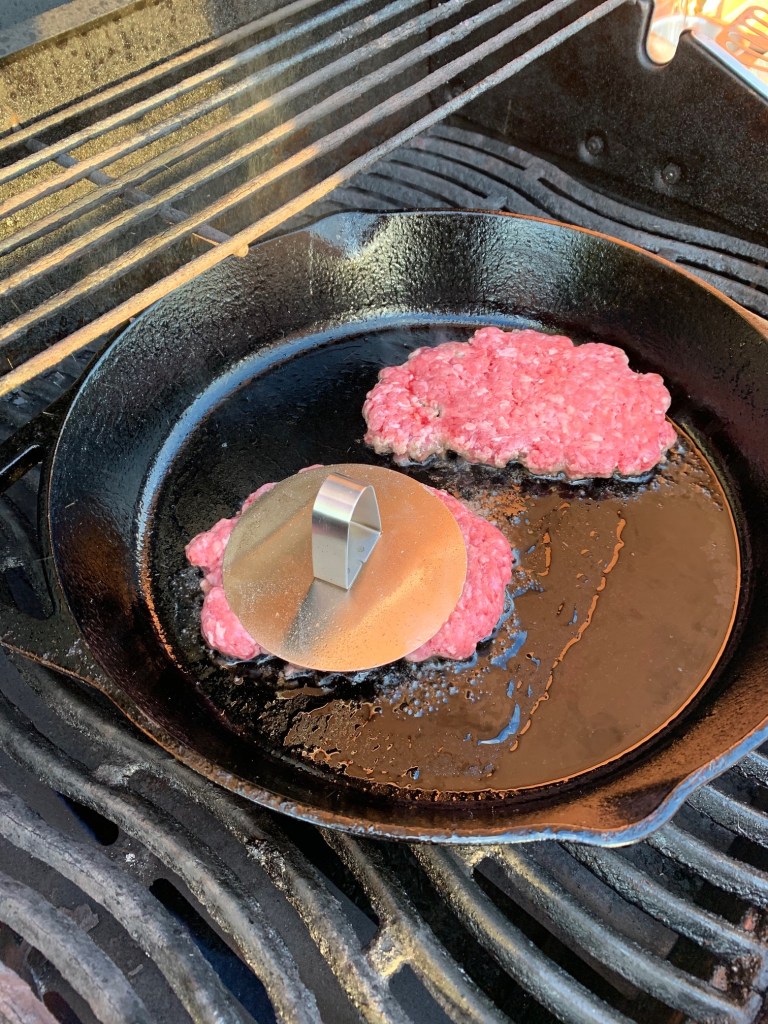
That’s going into a buttered cast iron fry pan at medium to medium-high heat, depending on how hot your burner gets (medium if it gets really hot). Transfer the stuffing mixture and the ring using a big spatula to keep things from falling apart.

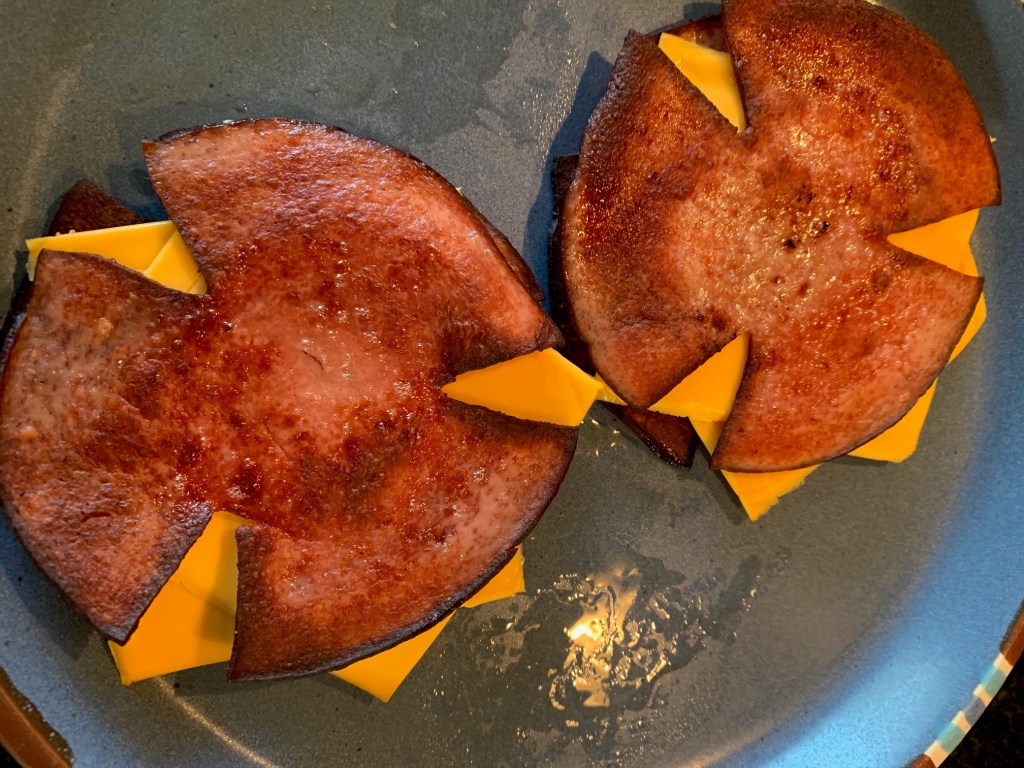
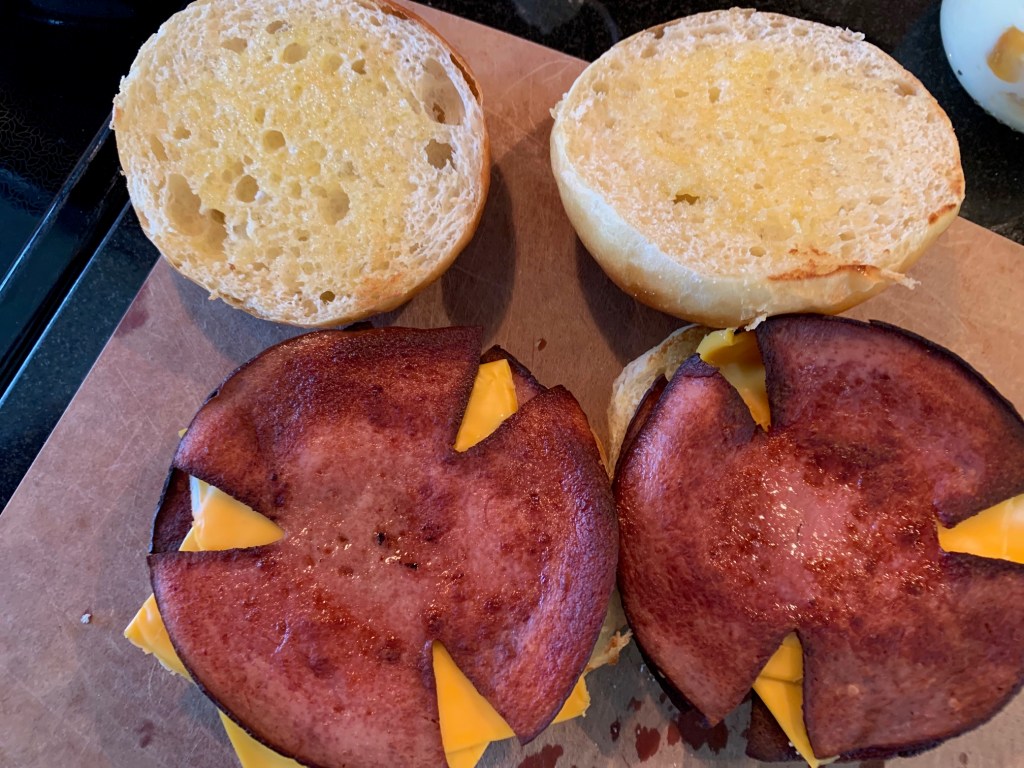
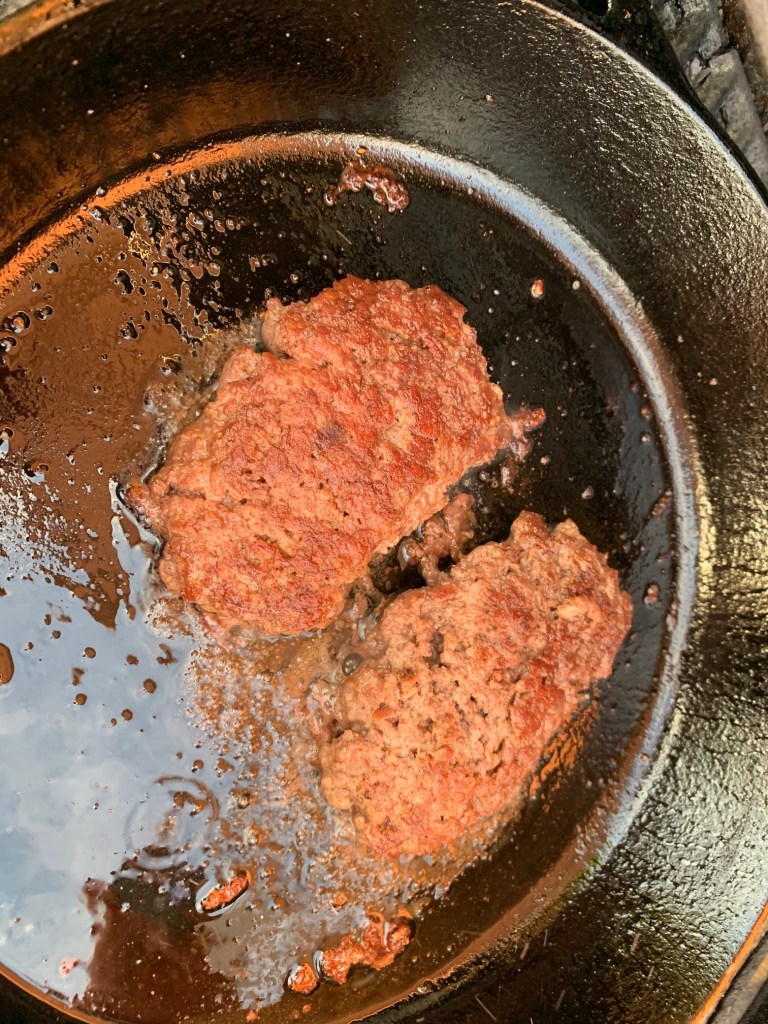
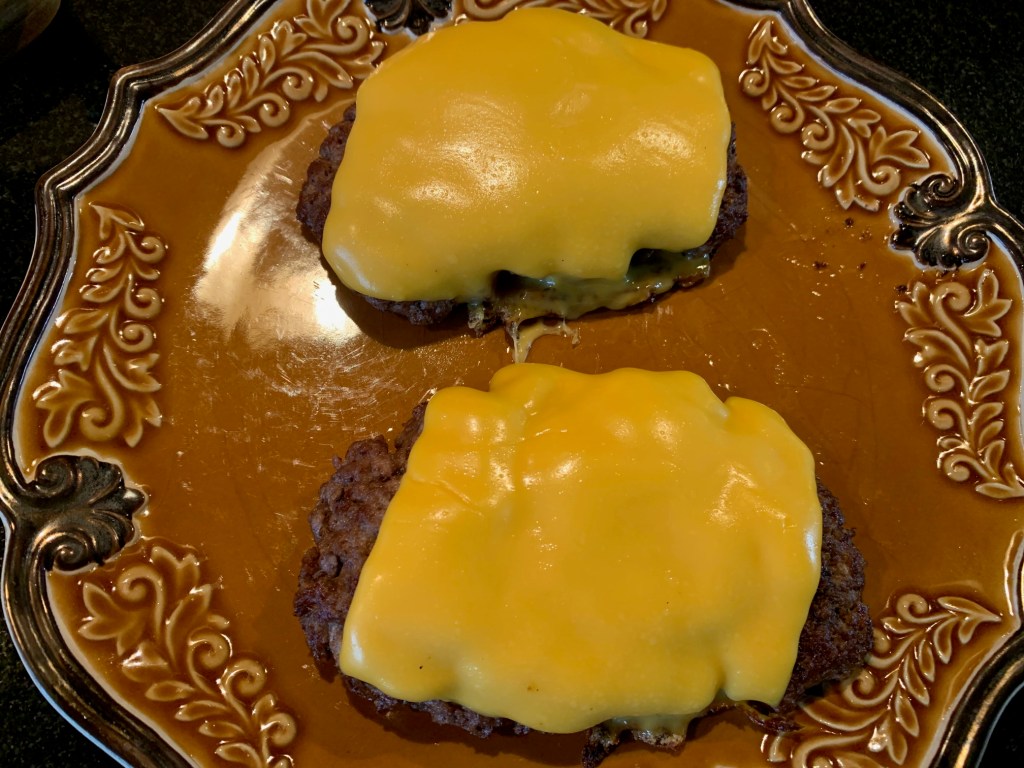
We want the bottom of the stuffing to get nice and crispy (but not burned). Now we’re going to add three slices of smoked cheddar (but any melting cheese would do).

Cover the ring with a pot lid in order to trap the steam. That’ll keep the stuffing burger moist and encourage the cheese slices to melt enough to hold things together.

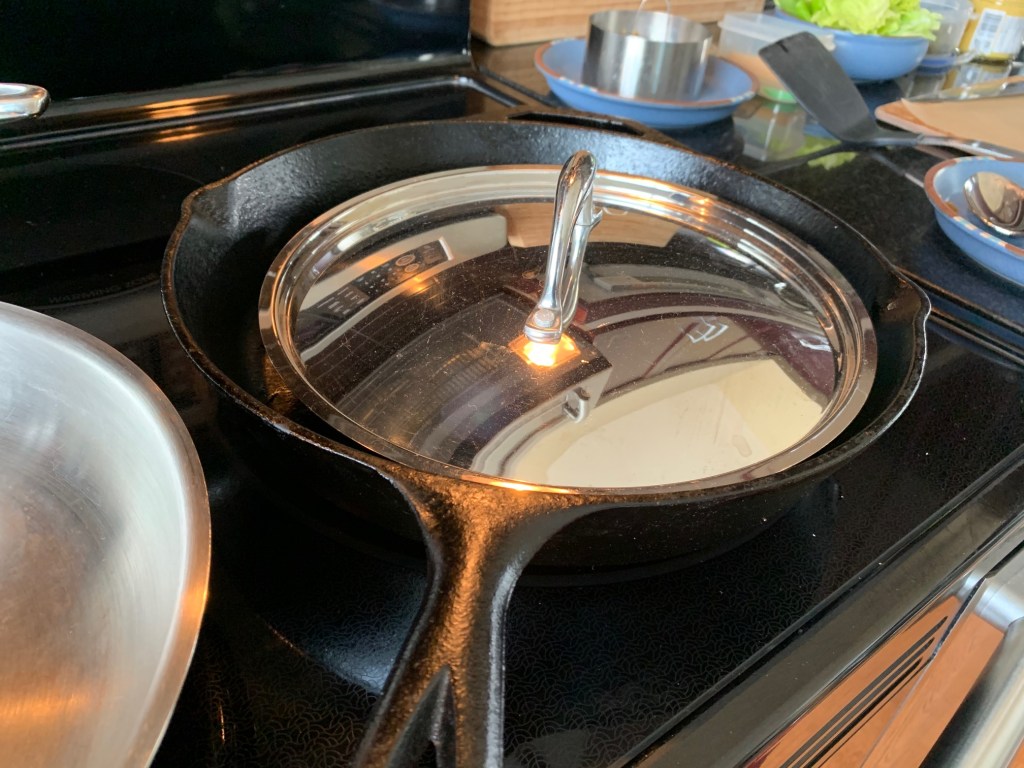
Alternatively, you could put the stuffing rings with cheese under a broiler on a buttered baking tray.

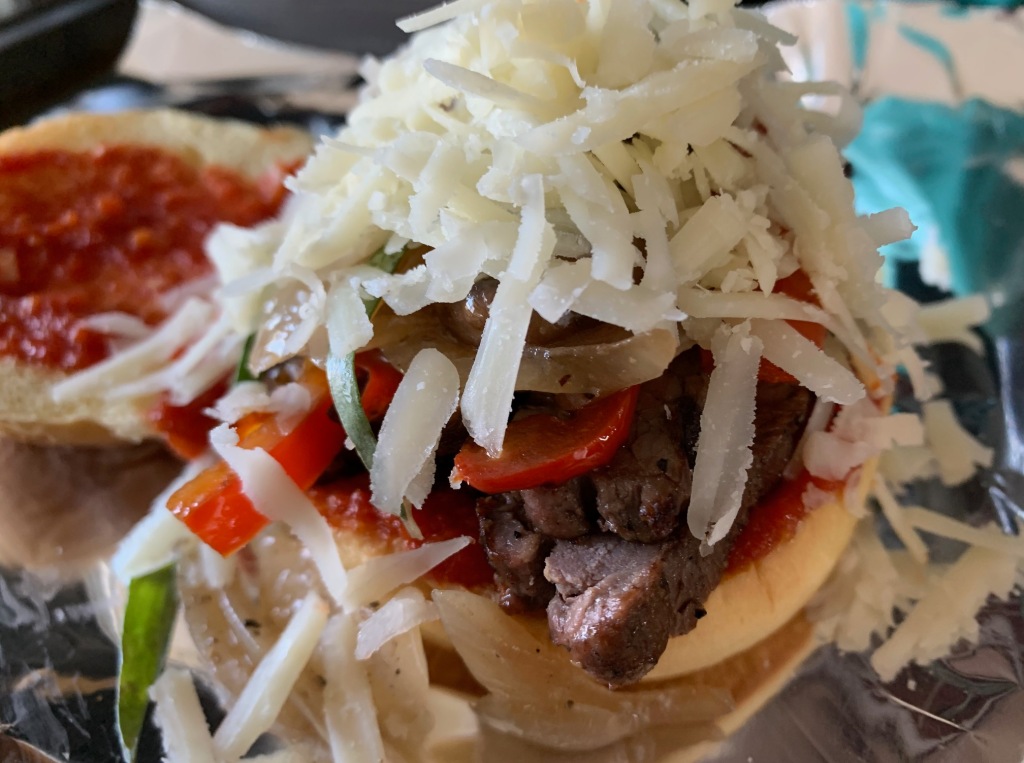
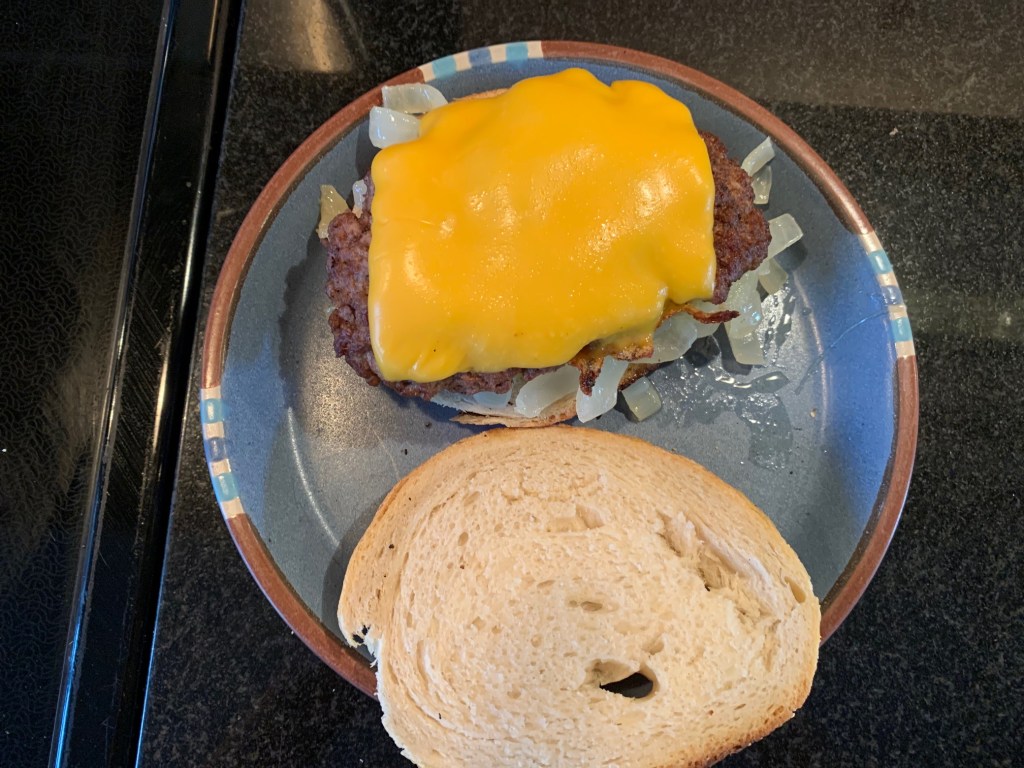
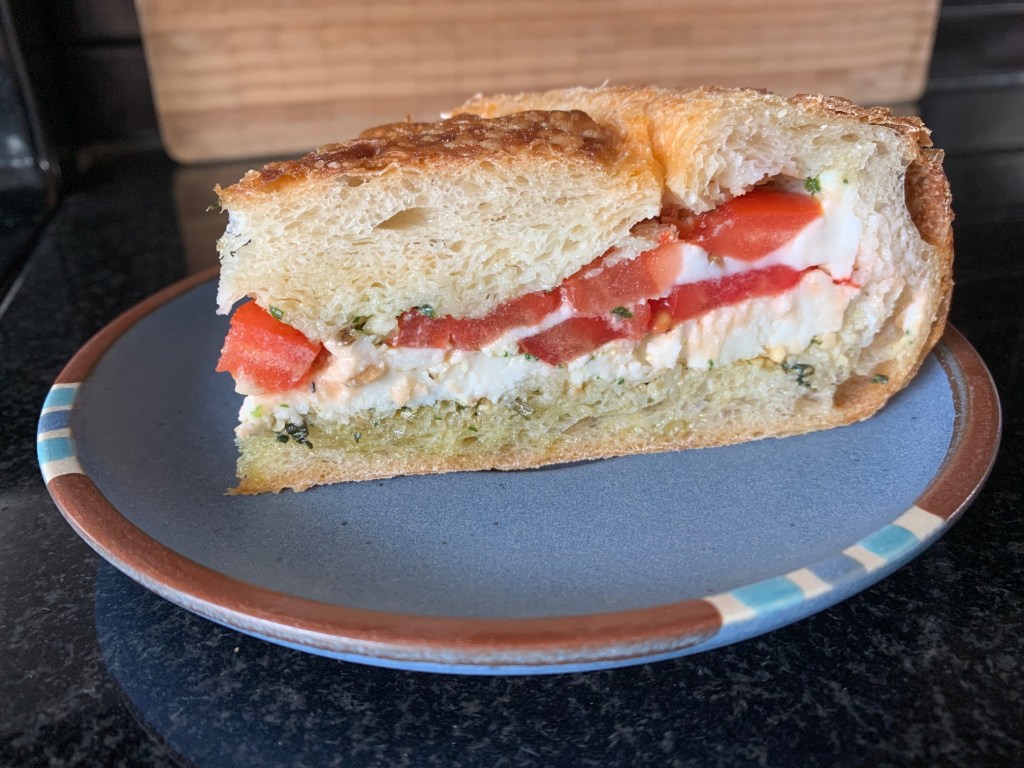
When the stuffing cheeseburger is hot and melted, carefully transfer it onto the pickles. Here’s how perfect it looked like when the lettuce was initially in the picture.

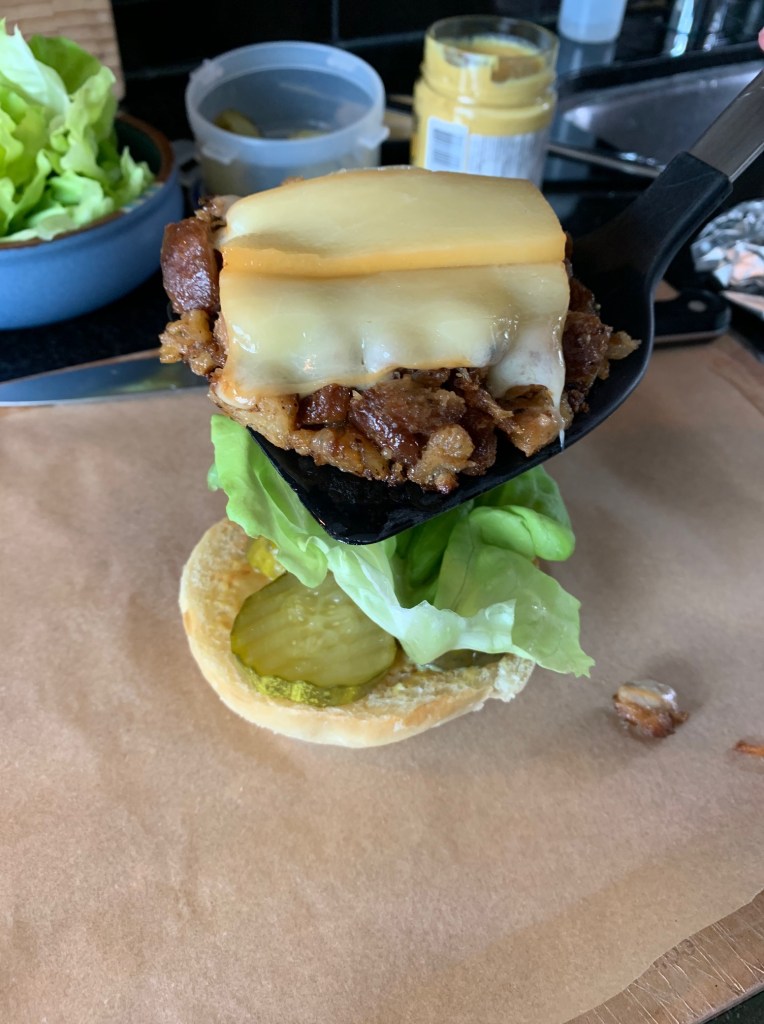
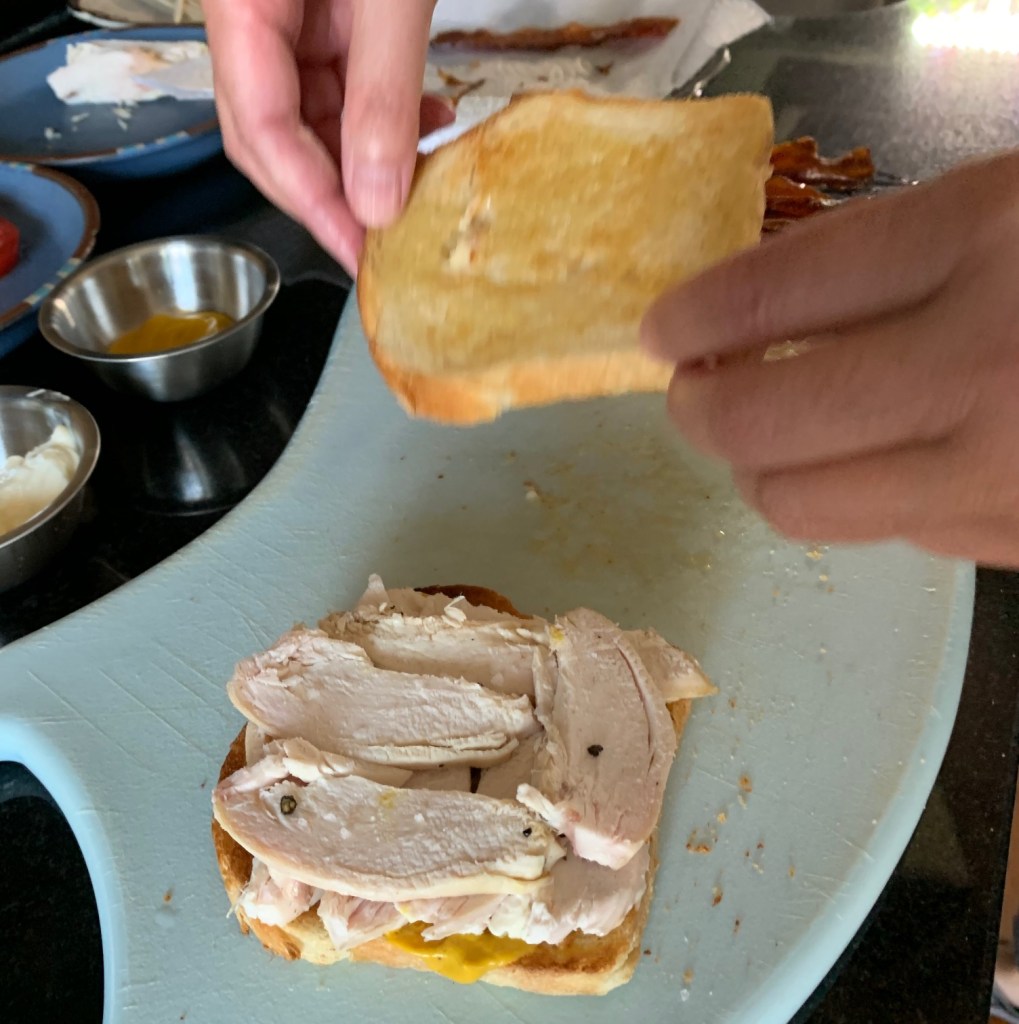
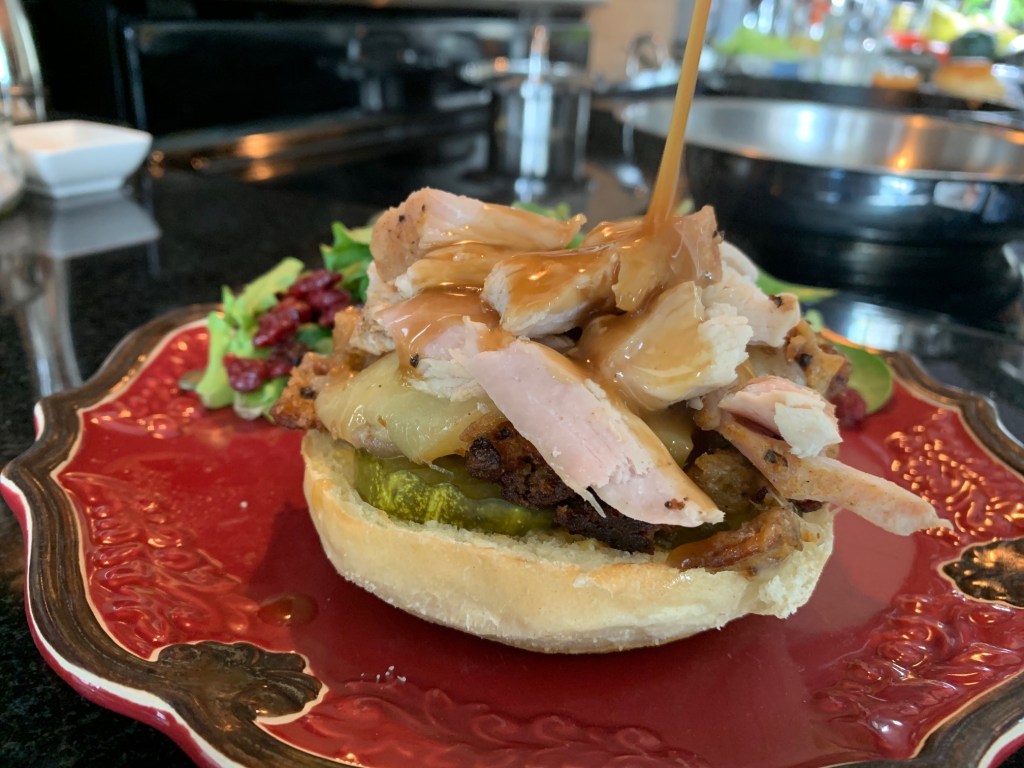
Then it slid off, so no lettuce is the way to go. Take the turkey out of it’s steaming packet and pile it on high.

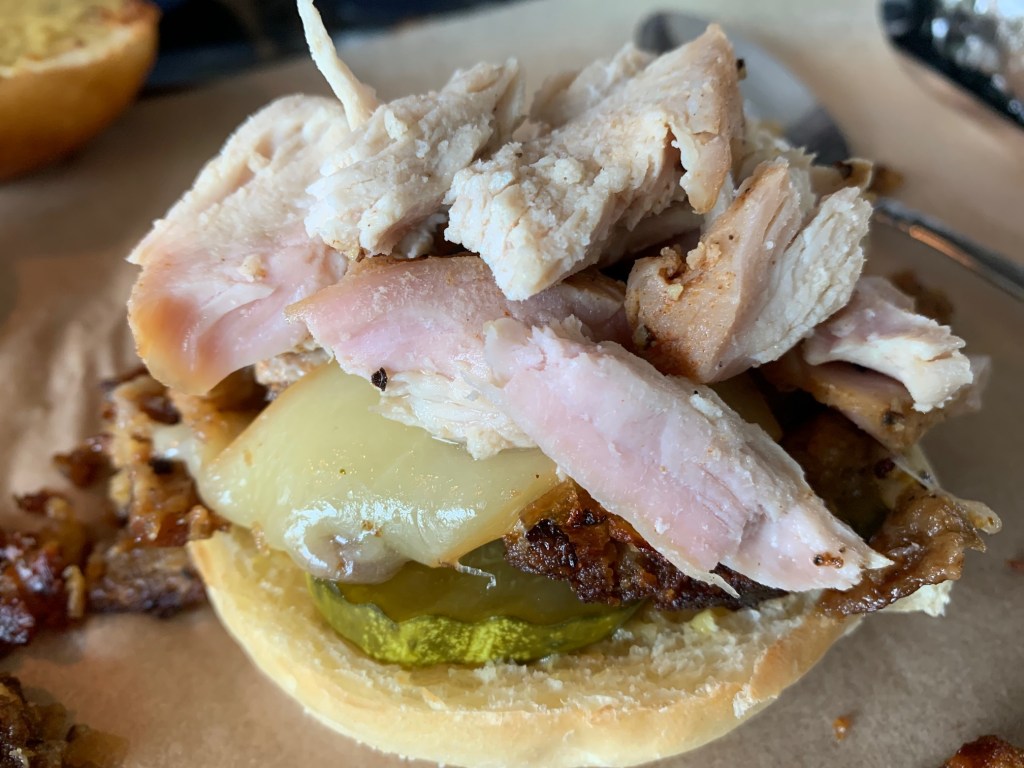
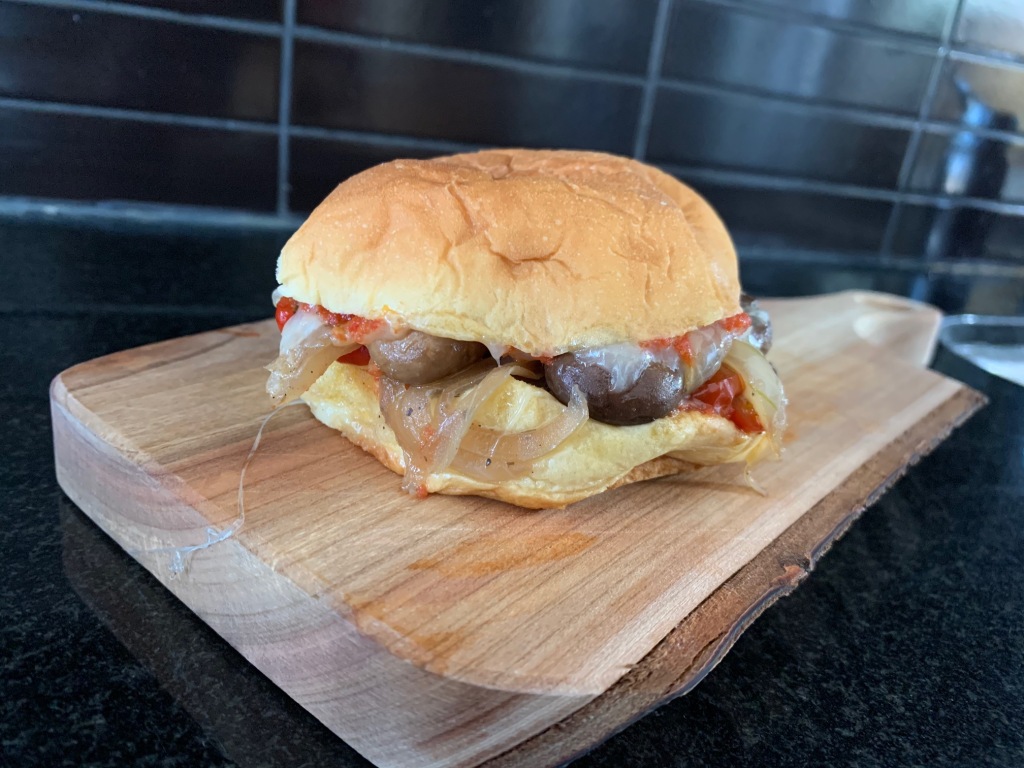
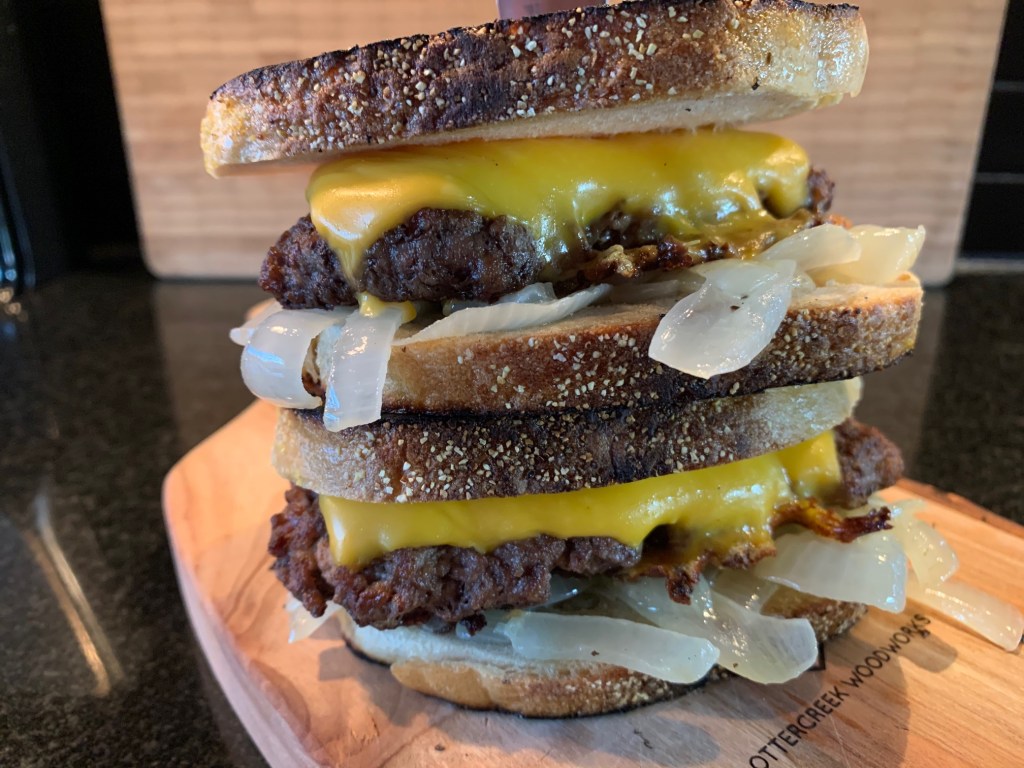
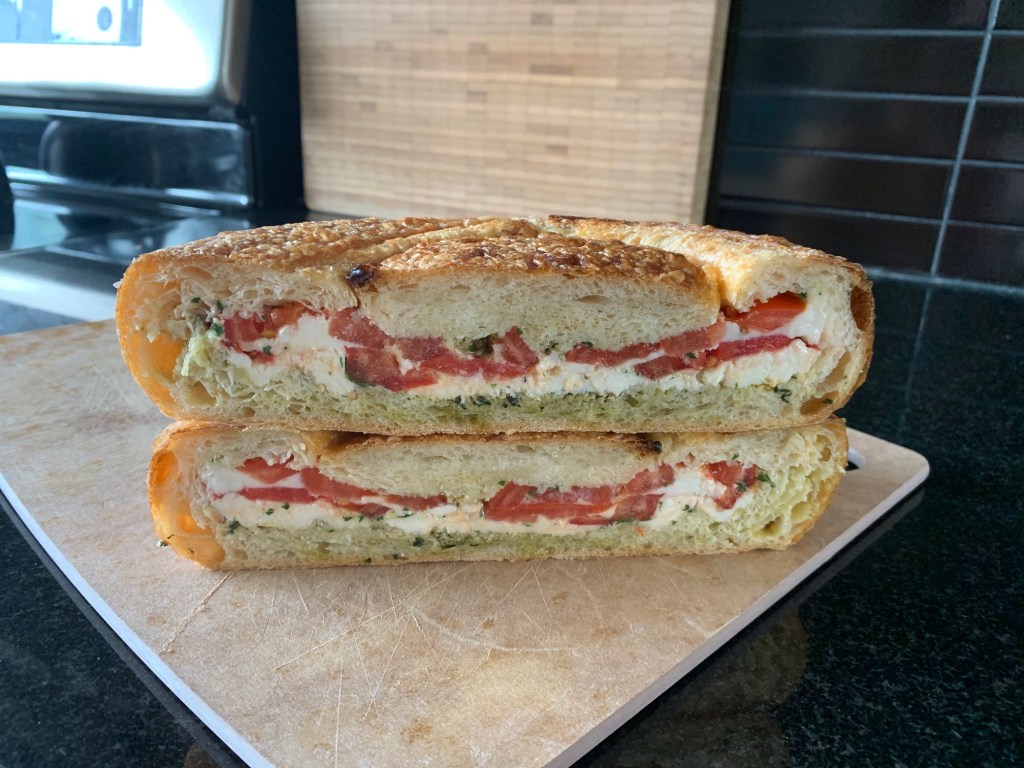
Drizzle some warm gravy onto that thing.

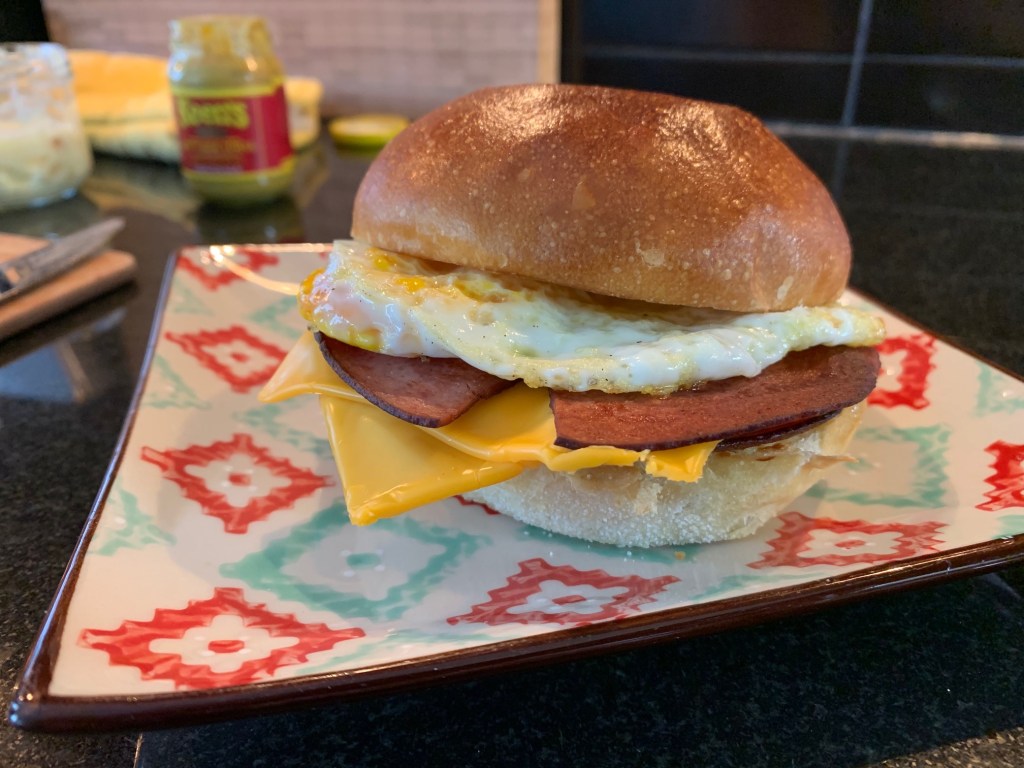
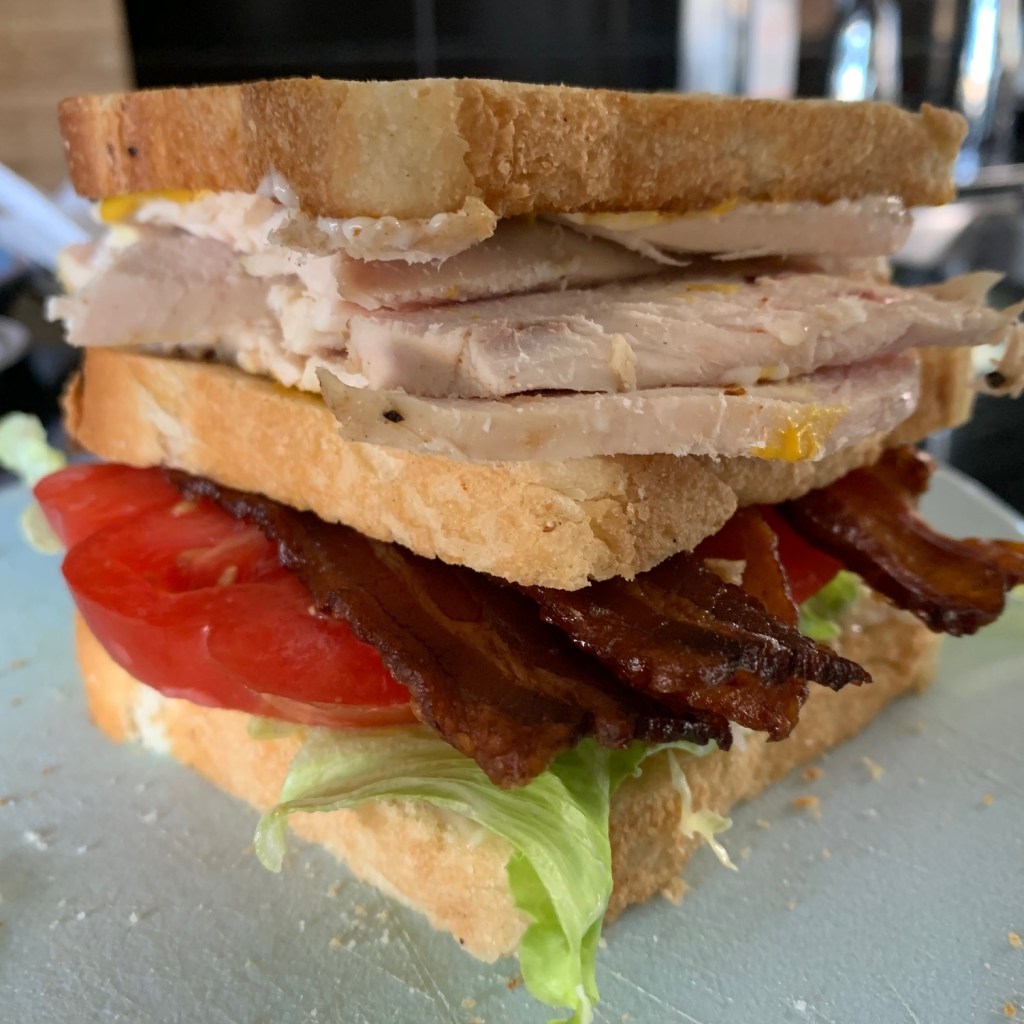
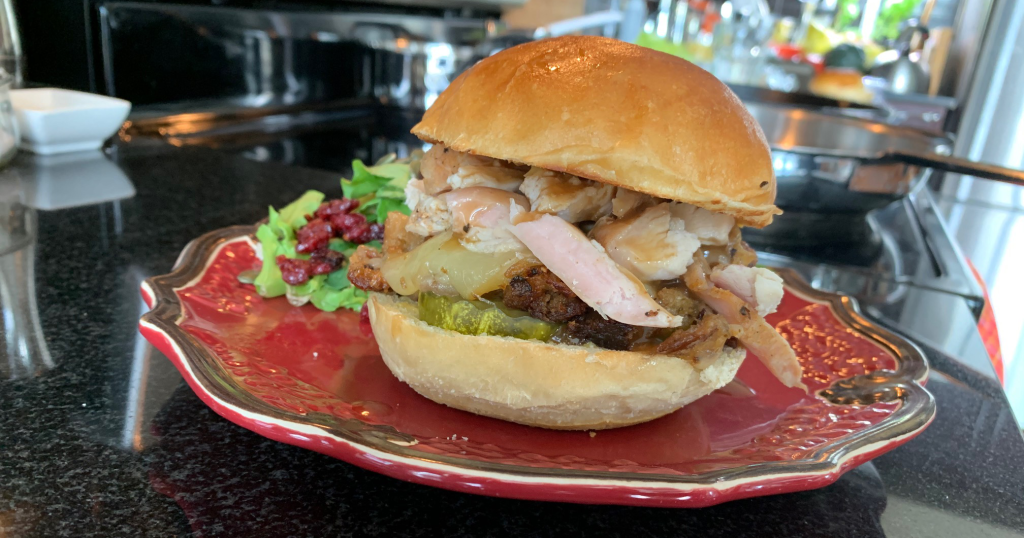
Cover with the top bun and you’ve got a Thanksgiving sandwich that, in my opinion, is 100% more delicious than Thanksgiving dinner itself. It’s still a decadent sandwich that you wouldn’t want to have every week, but Thanksgiving comes around once a year. And this is how to make the driest of the leftovers shine.

2020 is a tough year for everyone, but there are still things to be grateful for. Thanksgiving sandwich is one of them.

–Trish Hennessy

Steak and mushroom hot bun

There was leftover striploin from last night’s steak dinner—a natural for a steak, mushroom, onion, and red pepper hot bun sandwich.

I’m thinly slicing the leftover steak, some red bell pepper, a whole yellow onion, and I’m adding some cute button mushrooms and a generous hit of tarragon (though you could use any bold herb, such as fresh basil, oregano, rosemary).

I’ve got leftover marinara sauce from Craig’s tomato garden, so that will be the sauce for my hot bun. It goes into a pot to gently re-heat.

I shred a cup of aged cheddar (you could use any melting cheese, such as mozzarella or gruyere). And I pull two Martin’s potato buns out of the freezer (a ciabatta or Italian bun would be fine too). This is a sandwich that makes the most of what’s in your fridge.

Time to saute the sandwich filling. Olive oil goes into a hot pan.

In go the mushrooms and onions. Add a pat of butter and saute until the vegetables start turning golden.

Add a splash of white wine and let that reduce until the liquid is gone. Season the mixture with salt and pepper.

Pour the vegetables into a bowl, add more olive oil and the red peppers and sautee until they’ve got a nice sear.

Once cooked, pour the peppers into a bowl and quickly warm up the steak slices in the same pan.

Time to build this sandwich. Set the oven to 250 F. On a baking sheet, place a square of tin foil—it’s going to become a foil packet to heat that sandwich in the oven. Place the buns, cut face up, onto the foil. Spread the marinara sauce on both buns.

On the bottom bun, add a layer of steak slices.

Add a layer of bell pepper.

Pile on the mushrooms, onions, and tarragon.

Add a generous handful of shredded cheese.

Cap that with the top bun and create a foil packet for the sandwich. Into the oven that goes for 10-20 minutes.

Remove the foil packets from the oven and carefully open them up—steam will escape, only to reveal a cheesy steamy steak and mushroom bun.

It’s like an old school Italian deli hot sandwich and it’s good with or without steak. The vegetables, marinara sauce, tarragon, and melty cheese play well together and this is an excellent ‘clear the fridge’ hot sandwich.

— Trish Hennessy

Bologna breakfast sandwich

Early into my A Year in Sandwiches blogging, a high school friend reminded me of that classic school lunch box sandwich: bologna and cheese on white bread.

I never really ate bologna growing up, although my mom would sometimes fry up a batch with eggs and everyone wolfed that down.

So I got to thinking: could I make a grown up version of a bologna sandwich, starting with fried bologna? I guess these are the weird ideas you get when you’re spending a year researching, making, photographing, and writing about sandwiches. Eventually, bologna had to come up.

So here’s my attempt at a grown up bologna breakfast sandwich, totally portable. It starts with the classic ingredients: bologna, processed cheese, white bread (in this case, beautiful Ace buns, butter and mustard.

I haven’t eaten bologna in so long, even as I’m making this sandwich I’m not sure I’ll actually eat it. I mean, bologna? Let’s give it a whirl.

Slice open the buns and butter the cut sides.

Prep the bologna. If you throw it into a hot pan without scoring three cuts about an inch deep along the edges, the bologna will bubble up and you won’t get it crispy.

Bologna goes into a hot, oiled cast iron fry pan.

When the bottoms are crispy brown, flip your bologna slices, ensuring not to overlap them (they’ll stick to each other if you do).

It only takes a few minutes per side to get them crispy. Ready:

Take them out of the pan and create a bologna and cheese stack by sandwiching two slices of processed cheese in between two slices of fried bologna.

In a small, oiled fry pan, crack an egg and quickly fry it, easy over, seasoning it with salt and pepper.

I’m a terrible short-order cook and usually botch fried eggs, so I only cook one at a time and, even then, you can see I didn’t manage to keep the yolk centred. Ah well. That egg is going on fried bologna—how fancy does it need to be?

While that egg is frying I put the buns, buttered side down, into a clean fry pan to heat them up.

When we were kids, the typical bologna sandwich condiment was mayonnaise and yellow mustard. For my adult bologna sandwich, I’m using Keen’s hot mustard (just a little) and a schmear of delicious roasted garlic mayo, which I had sitting in the fridge, waiting for just this moment.

Garlic mayo: thinly slice six garlic cloves, put them in one of those brie bakers that everyone gifted everyone about a decade ago, cover them in olive oil, put the lid on that thing and roast at 350 F for about 15 minutes, until the garlic is golden and soft (but not burnt!). Whisk the garlic and oil into 1/2 cup of Hellmann’s mayonnaise and you’ve got a really great condiment.

Bologna cheese stacks go on the bottom bun.

I top that with a fried egg, pop the lid on, and ask myself: Am I really going to eat this sandwich? I take a bite and you know what? It’s a really good sandwich. The fried egg pairs well with the bologna cheese stacks, the meat is crispy like bacon, and that garlic mayo really pulls it all together.

— Trish Hennessy

Patty melt

Oh how I adore a good patty melt. A cousin to the hamburger but, in my opinion, far superior, as any diner frequenter knows.

The most obvious difference between the hamburger and the patty melt is this: no bun. Instead, the patty is delivered in two slices of rye bread, buttered and griddled until golden brown. There’s cheese and caramelized onion. And that is all. Simplicity.

If I’m at a diner and there’s a patty melt on the menu, my decision is made. Patty melt all the way. Here’s my version.

The topping is very basic: caramelized onions. Chop 3 medium sized white onions horizontally and place them, seasoned with salt and pepper, into a medium-high pot with about 2 tbsp olive oil and 1 tbsp butter.

Keep stirring until the onions are soft—about 20 minutes on medium heat.

Time for the patty: it isn’t supposed to be a puffy golf ball. It’s just good quality ground beef (in this case, lean chuck from Rowe Farms) seasoned with salt and pepper. Working with 1 pound of ground beef, separate it into four round balls.

Place those burger balls into a hot cast iron pan seasoned with neutral oil (I used sunflower oil) and smash them down with a press. You want a very thin patty and you want to form it into the shape of your rye bread. Season with salt and pepper.

Once you’ve got a browned crust, flip the patty.

Cook through (about 10 minutes in total, both sides) and add cheese. Patties are ready for plating.

Place buttered rye bread slices, butter side down, into a medium-high pan and griddle that until it’s gold brown.

Once ready, pile cooked onions onto the bottom slice of bread (grilled side on the outside—that’s your crunch factor).

Place the patty on top of the onions.

Cap that with the other rye toast, buttered/grilled side up and that is all she wrote. Deliciously seared thin patty, covered with cheese, on a crown of caramelized onion, nestled within a crunchy, simple rye bread sandwich. 100% better than a burger. A classic for a reason.

Trish Hennessy

Cucumber and smoked fish bagel

We were craving authentic Montreal style bagels and thought they were coming in the grocery delivery. We got these bagels instead.

Visually interesting. Like a cross between the Montreal style bagel and the New York style bagel, only longer and leaner. Time for a bagel brunch!

I’m making a bagel platter, which gives people the option to build their own according to their own tastes. It starts with a prized ingredient: a homegrown cucumber that came out of Craig’s terrace cucumber patch.

Who says you can’t grow vegetables on the sixth floor of a condo? Of course, those leaves are pretty beaten up by the winds that rip along our terrace. Fortunately, those cucumbers are hardy. I’ve picked one for our bagel platter. It’ll get peeled and thinly sliced.

The other star of this bagel show is a fillet of smoked trout. I’ll break a quarter of that filet into bite sized chunks for the bagel platter.

I’m serving the bagels with cream cheese and with homemade whipped feta, which is super easy to make. Put a tub of cream cheese and 1/4 cup feta into a food processor.

Whip that together until the feta is fully incorporated into the cream cheese and is light and airy (about a minute).

For the platter, I’m chopping a handful of fresh dill, quartering lemons, creating a pile of flaky salt and pepper, and rinsing a small bowl of salt-packed capers.

Time to toast the bagels. They’re a little too long for my toaster, but eventually I get the job done.

Ready to assemble the platter and take it on the terrace for a help yourself brunch. How tempting is that?

First, I build the cucumber bagel: I smear a healthy dose of cream cheese on a toasted bagel, layer on the thin cucumber slices and top that with dill and salt.

For the smoked trout bagel, I smear on the whipped feta, which is bold enough to stand up to that smoked fish. Then layer on the chunks of trout and decorate it with dill and capers. Add a squeeze of lemon and it’s good to go.

Craig and I cut each bagel in half and sample. The cucumber bagel is light and refreshing, a perfect contrast with the rich, smokey trout bagel. Perfect partners.

— Trish Hennessy

Pesto caprese loaf

My excellent boss Erika was talking about how she’s making use of all the basil in season right now by making pesto for everything.

That got me thinking: how could I make pesto the star of a sandwich? Basil isn’t the only thing in season; tomatoes are, too. And I’ve got plenty of both. What if I turned caprese salad—tomato, fresh mozzarella, and pesto—into a sandwich?

You could try to make that into a variation of the grilled cheese sandwich but I kept thinking about two epic picnic sandwiches: pan bagnat and muffluetta. Both require taking a whole loaf of bread, pulling out the inside of the loaf so that bread can act as a shell for a pile of ingredients.

Pan bagnat focuses on tuna, eggs, capers, anchovies. It’s a great sandwich but it’s not a vehicle to make pesto the star. Muffluetta focuses on deli meats and cheeses, an olive salad—which I sort of did when I made my Italian hoagie. Again, not really a pesto star type of sandwich.

For my pesto caprese loaf, I’m starting with a beautiful fresh sourdough boule from Fred’s bread.

I cut the cap off of the bread and pull out the bread stuffing.

Don’t worry, the inside of that delicious loaf isn’t going to waste: you can make homemade breadcrumbs or croutons. Better than store bought.

Now that I’ve got my bread bowl prepared, it’s time to make pesto. I put a handful of pine nuts in the food processor and give that a whirl until they’re crumbled. If you don’t have pine nuts, walnuts are a great replacement.

I’ve picked some fresh homegrown basil. It looks and smells like summer.

That goes into the food processor along with 2 minced garlic cloves and a healthy grating of parmesan (about 2 tbsp).

Blitz those ingredients until the basil has broken down, then drizzle about 1/4 cup of olive oil into the mix. Easy peasy.

Time to build the sandwich: brush the inside of the loaf with a generous amount of pesto.

Add a layer of sliced fresh bufala mozzarella.

Brush a layer of pesto on top of the mozzarella.

Now for some tomatoes.

Slice two tomatoes and layer tomato slices on top of the pesto/mozza. Season with salt and pepper.

A second layer of mozza does down.

More pesto goes on top of the cheese.

Top that with a final layer of tomatoes. Season with salt and pepper.

Brush the inside of the bread lid with pesto.

Pop the lid on tight.

Tightly wrap the boule with plastic wrap, place it in a container (I used a pie plate) and top the wrapped sandwich with a heavy cast iron pan, pushing down to make the sandwich more compact.

The pan and sandwich go into the fridge to chill for 2 hours to let those flavours meld. When you’re ready to serve, remove the wrapping from the boule.

Slice the boule in half and then slice each half into 3 wedges.

The pesto has infused both the cheese and the bread, the tomatoes play well with basil and garlic, and the sum turns out to be better than each of the parts. This is a great way to feed a crowd peak summer. A perfectly chilled, layered sandwich within a crusty bread shell. It looks pretty and the pesto is the star.

NB: This sandwich can also be served hot. Cover with foil and pop into a 350 F oven for 20-30 minutes. It’s equally delicious as the chilled version, only the cheese melts and it tastes like a stuffed pizza.

— Trish Hennessy

Pan con tomate

It’s tomato season and at this time of year, tomato sandwiches are on regular rotation in this household.

Today I’m making two sandwiches: the classic North American tomato mayo sandwich and the classic Spanish pan con tomate. Both sandwiches make this the star of their dish:

For the North American version, I’m starting with a homemade loaf of Julia Child’s basic bread recipe, which Craig whipped up.

Slice the bread and tomato, slather on good quality mayonnaise (I prefer Hellman’s Olive Oil Mayonnaise) and get the tomatoes on there. Add basil, salt & pepper.

Perfection.

Now for the Spanish pan con tomate. It’s an equally simple sandwich to prepare. You need good rustic bread. I’m using Blackbird sourdough but a ciabatta would be great too. You need ripe tomatoes, garlic cloves, flaky salt, and olive oil.

Cut your garlic cloves in half—you need one half clove for every piece of toast that you’re serving.

Cut your tomatoes in half, horizontally. Set the garlic, salt, cut tomatoes out on a platter. People are going to help themselves and make their own pan con tomate.

Toast the bread. I prefer toasting my bread in a fry pan with a little bit of olive oil to give it crunch and keep it feeling moist, rather than a dried out toast from the toaster. You could also grill the bread on the BBQ.

Once the toasts are ready, they go on the platter and people build their own sandwich in these simple steps:

  1. Rub half a clove of garlic on a piece of toast.
  2. Rub the open side of the tomato on the toast, squeezing to get out the juices and tomato flesh.

Add salt and drizzle on good quality olive oil. And voila!

A simple, rustic but elegant version of a summertime tomato sandwich which is good for lunch or cocktail hour.

Trish Hennessy

Coney Island hot dog

In the old days, before COVID-19 disrupted everything, this would be the time of year when we’d all be going to fairs, festivals, and exhibitions, chowing down on carney food.

All the carnivals are cancelled this year, but that doesn’t mean we can’t make carney food at home. I’ve joined CNE lover Michael Laxer, who routinely blogs about his delicious food creations on The Left Chapter, to a carney sandwich cook off.

He’s made a fried chicken waffle sandwich with buffalo wing sauce—and it looks amazing. Total carney sandwich right there.

Read about it on his blog here.

For my carney sandwich, I’m going more old school with a Coney Island hot dog.

Now I’ve never eaten a Coney Island hot dog before and, like all of the sandwiches I’ve built this year, I did a lot of research before deciding how to make it. And I’ve got to tell ya, Coney Island hot dog recipes suck. Like, some of them are just gross. One recipe has you grinding up raw hot dogs to add to the meat sauce. Most recipes simply have you pouring in a pouch of chili powder, hot sauce, chili pepper flakes—all heat, no balance. All of them feature ground beef drowning in a watery sauce consisting of things like ketchup, mustard, water.

When I watched the video of a woman cooking hamburger in a vat of water as the first step in her recipe, I seriously questioned whether I wanted to make, and eat, a Coney Island hot dog at all. So I took matters into my own hands. I left all of those lacklustre recipes behind and created my own.

The inspiration for my Coney Island sauce is the history of the Coney Island hot dog. It was developed by immigrants from Greece and Macedonia who settled in the U.S. in the early 1900s. I’m making a greek meat sauce that is so good, you’ll want to feature it in a moussaka, which is what I did with the leftovers.

Everything in my sauce is going to be super fresh, starting with tomatoes. Craig’s been growing San Marzano tomatoes and they’re ready to be put into action. I’m also adding two Ontario beefsteak tomatoes—they’re juicier than San Marzanos and will contribute to the liquidy sauce. Look at these beauts.

The tomatoes are going into a pot of boiling water for several minutes until they split.

Then they immediately go into an ice bath.

When they’re cool enough to handle, remove the skins. Juicy, fresh poached tomatoes, ready to puree.

Here’s my sauce mise en place: Those tomatoes will get pureed, producing 2 cups of tomato sauce. Use half for this recipe and put the other half in a jar for other use. Dice one white onion. Mince 3 cloves of garlic. We’ll add 1 tbsp of tomato paste and half a cup of red wine. Now for the spices: combine 1 tbsp of dried oregano, 1 tsp ground cinnamon, 1 tsp freshly ground nutmeg, and 3 ground cloves.

Drizzle a few tablespoons of olive oil into a large pot on medium-high heat and get those onions sizzling. After a few minutes, add ground beef, garlic, and the spices.

Once the beef is browned, add the tomato paste and cook, stirring constantly, for about a minute. Time to add the wine. Let that reduce for about a minute, then add the pureed tomatoes and one cup of water. Season with salt and pepper. Let that concoction bubble away on medium-low heat for a couple of hours, adding a half cup of water every once in a while to ensure it’s saucy.

The sauce is ready and those spices have perfumed the place. Time to get ready for the hot dogs. Most Coney Island hot dog recipes call for a steamed wiener and a steamed bun. I much prefer BBQ hot dogs and so they’re going on the grill. I’ve never steamed hot dog buns but we’ll give that a whirl.

First, I fire up the grill and give those hot dogs a bit of a char.

Once they’re ready, it’s back inside to steam those buns for just about a minute.

While I’ve been prepping the food, Craig has been getting crafty: he’s constructing carnival-style hot dog trays out of hanging file folders. He’s clever and handy.

Buns go down on parchment-lined trays—we’re gonna need those trays to contain this messy sandwich. Aren’t they cute?

Dogs go down. I drizzle yellow mustard on the dogs and then we’re ready for the sauce.

Typically, the Coney Island dog gets topped with diced white onion and a drizzle of mustard. You could add shredded cheese but, like, how much is enough? Oh, Craig says he wants cheese on his, so there you have it. Coney Island hot dogs, two ways.

For someone who was apprehensive about making this carney sandwich, I’ve gotta say: I adore this sandwich; my version anyway.

Here’s to all the festivals and fun that we’re missing this year. At least we can bring some of that fun into our kitchen.

— Trish Hennessy

A moveable feast

Summertime is made for picnics, even if it’s in your backyard, on your terrace, or inside on a rainy day.

Today I’m thinking the ultimate moveable feast: a ham and brie baguette, chilled gazpacho soup, wine, lemonade, a picnic blanket, pillows, and flowers.

You can take this picnic anywhere.

Let’s start with the gazpacho. There are so many versions of this excellent Spanish chilled soup. I’m going rustic except no bread (because I’m making a ham and brie baguette, so there’s enough bread in this picnic).

The world of gazpacho is rich and fascinating and worth discovering. This recipe is kind of a 101 version that I’ve been making since I read it in Bon Appetit magazine in the 1990s.

Don’t even start this recipe unless you have juicy local tomatoes, which I have, thankfully! Look at these beauties

Into a food processor I’m putting: 3 roughly chopped beefsteak tomatoes, 1/4 of a red pepper, chopped, 2 peeled mini cucumbers, 1 diced shallot, 2 cloves diced garlic, a handful of basil leaves, juice of 1 lime, 1 tbsp red wine vinegar, 1 tbsp olive oil, salt and pepper to taste. (Add up to 1/4 cup water to smooth things out).

Blend in the food processor (blender is better if you have one; it’ll be smoother).

I like my gazpacho a little chunky but am also happy to have a perfectly smooth gazpacho. Either way, it’s summer in a bowl/cup. That gets jarred and stored in the fridge for up to two days.

We need a sandwich for our picnic and I’m remembering walking the streets of Paris and getting a streetside ham and brie baguette. So simple, so good. Here’s my basic mise en place: good butter, a good wheel of brie, nice country ham.

I’m only using half a baguette here, so I slice the baguette in two and then slice one half lengthwise, then slather that half with a generous amount of good quality salted butter. Don’t skimp: the butter should be memorable.

It’s not traditional to lay down a spread of dijon but I do so on the bottom baguette because if I can put mustard on a sandwich, I will. And then down goes the ham.

Time for brie!

A portable feast, in all its simplicity.

For my picnic, I’ve got my jar of chilled gazpacho, a few small ceramic cups for sipping, the jambon et fromage baguette, chilled white wine and it’s what summer is supposed to be all about. Good ingredients, simple food done right. Totally picnic worthy.

— Trish Hennessy

Classic club sandwich

I’m a sucker for a double decker sandwich and the club sandwich rarely disappoints.

But I’ve actually never made one at home. So it’s time to right that wrong.

I’m going the classic route: three slices of toasted sandwich bread, lettuce, tomato, crispy bacon (it has to be crispy!), chicken and mayo. How easy can this be? Well, we’ll see…

You can use thinly sliced chicken or turkey for a club sandwich. Some people use deli meat but I’m a fan of the real thing. In this case, I’ve ordered an amazing smoked chicken from our neighbourhood barbecue joint, the fabulous Beach Hill Smokehouse. The owners are from Texas and everything they make is authentic and perfectly smoked without hammering you with spicy heat.

This chicken, thinly sliced, is going to consist of one half of my club sandwich; the other half will be lettuce, bacon, tomato, and mayo. Here’s my mise en place.

First things first: Roast the bacon slices in a sheet pan at 400 F for 15 minutes or until crispy. I used four slices of crispy bacon per sandwich.

Set aside three slices of bread per sandwich (I’m using Ace white sliced bread today). They’re going in the toaster at the very last minute.

You want a good tomato to join this all-star lineup. That’s hard to find in Toronto these days, but I managed to score this beauty of an heirloom tomato.

Thinly slice it. Perfectly juicy.

Chop some iceberg lettuce, pull the bacon out of the oven (onto a paper towel to catch that grease) and get your sandwich building station ready. Toast gets buttered, wall to wall.

A thin veneer of mustard goes down on one toast (sometimes I think I eat sandwiches for the mustard) and the chicken gets piled on top. That middle toast is buttered on both sides, and it goes on the chicken.

On the remaining toast, spread a thin layer of mayo, top with lettuce and tomato.

Season the tomato with salt (I used Maldive because that’s my favourite), top with four slices of crispy bacon, and build the sandwich. Would you look at that:

OK, that was easy. Now for the hard part. Somehow I have to figure out how to cut this thing into four perfect triangles. Large toothpicks help stabilize the sandwich.

Now I simply have to quarter the sandwich. I take a sharp knife and active decisively, but it’s a bit of a struggle. And then this happens.

Yup, my club sandwich fell apart. No worries: it can be rebuilt. I piece the puzzle together and, voila! A club sandwich fit for a diner. But I have so much respect for the professionals who kick this out of their restaurant kitchens day in and day out.

— Trish Hennessy

Design a site like this with WordPress.com
Get started