Heading into the August long weekend, the plan was to fly to my hometown in Saskatchewan to celebrate Willow Bunch’s 150th anniversary.
There would have been smoked beef, wrapped in newspaper and wire, nestled into a pit of burning embers inside the clay hills that surround the town. It’s an epic affair.
But a global pandemic put a stop to that. No celebration this year. No trip home.
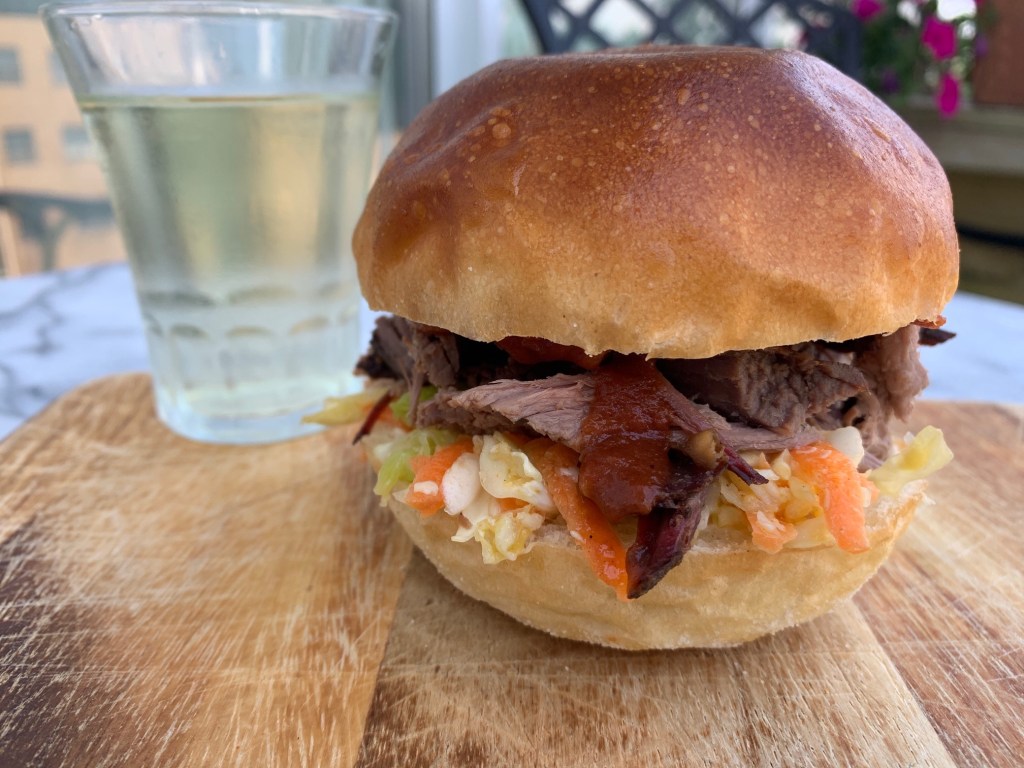
Smoked brisket, however, is a stone’s throw away at Toronto’s best BBQ joint, Beach Hill Smokehouse, which happens to be in our neighbourhood. So I’m making a smoked brisket sandwich on a bun.
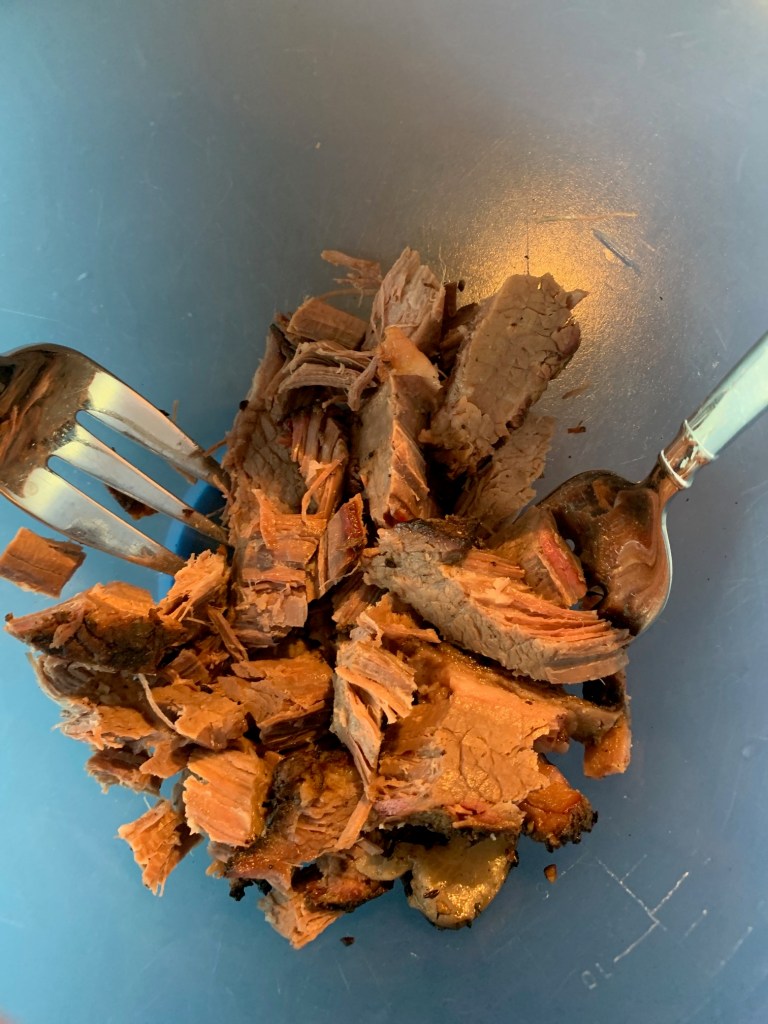
The brisket is super smoky; it’s like eating outdoors beside a campfire. I shred it into large chunks using two forks.
Often if you order a brisket sandwich it comes mixed in BBQ sauce. I like my BBQ sauce separate, and so that’s how this sandwich is going to be built.
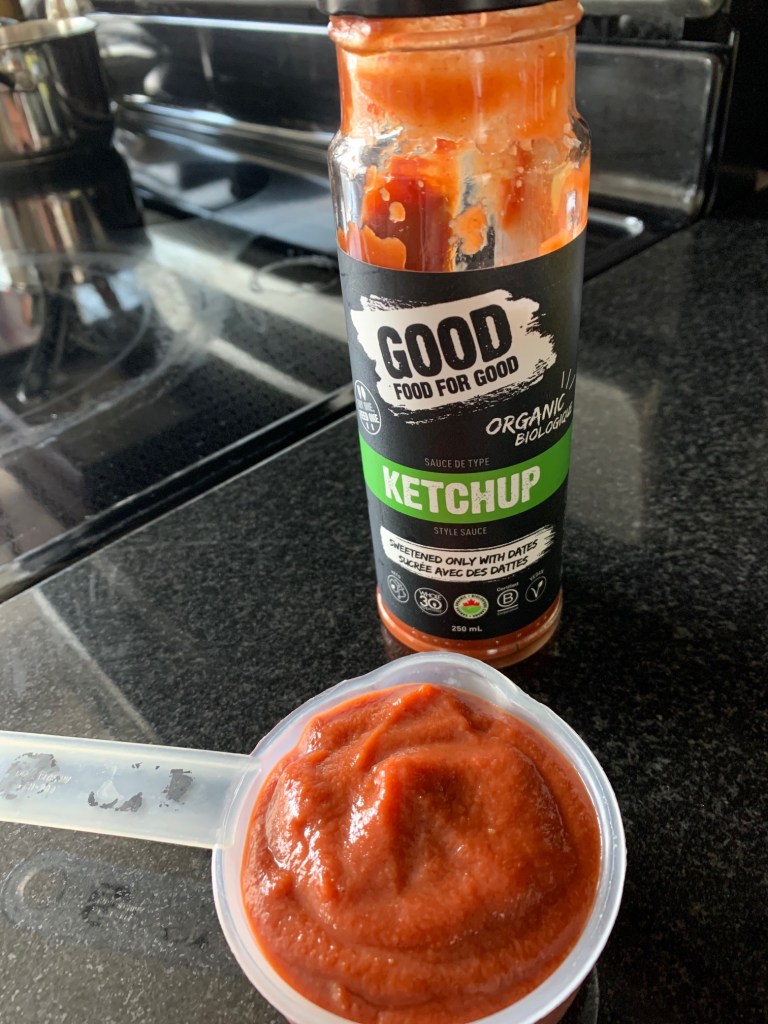
I make my own BBQ sauce, based on my own recipe—I prefer it over grocery store versions. Ketchup is the base here, and I want to give a shout out to this Canadian-made ketchup which isn’t sweetened with sugar, it’s sweetened with dates. It’s my go to ketchup. And because it’s got dates I don’t bother adding molasses to my BBQ sauce, which is typical of most recipes.
A 1/2 cup of ketchup goes into a saucepan, along with: 2 tbsp tomato paste, 1 tsp apple cider vinegar, 1 tsp honey (no sugar in this sauce!), 2 tbsp minced onion, 2 minced garlic cloves, a dash of worcestershire, a hit of smoky paprika, 1 tsp mustard powder, salt & pepper to taste, and about 1 tbsp of water to loosen things up. Let that bubble on medium heat for about 10 minutes, jar it up, and let those flavours mingle in the fridge overnight. This recipe is enough for 4 sandwiches.
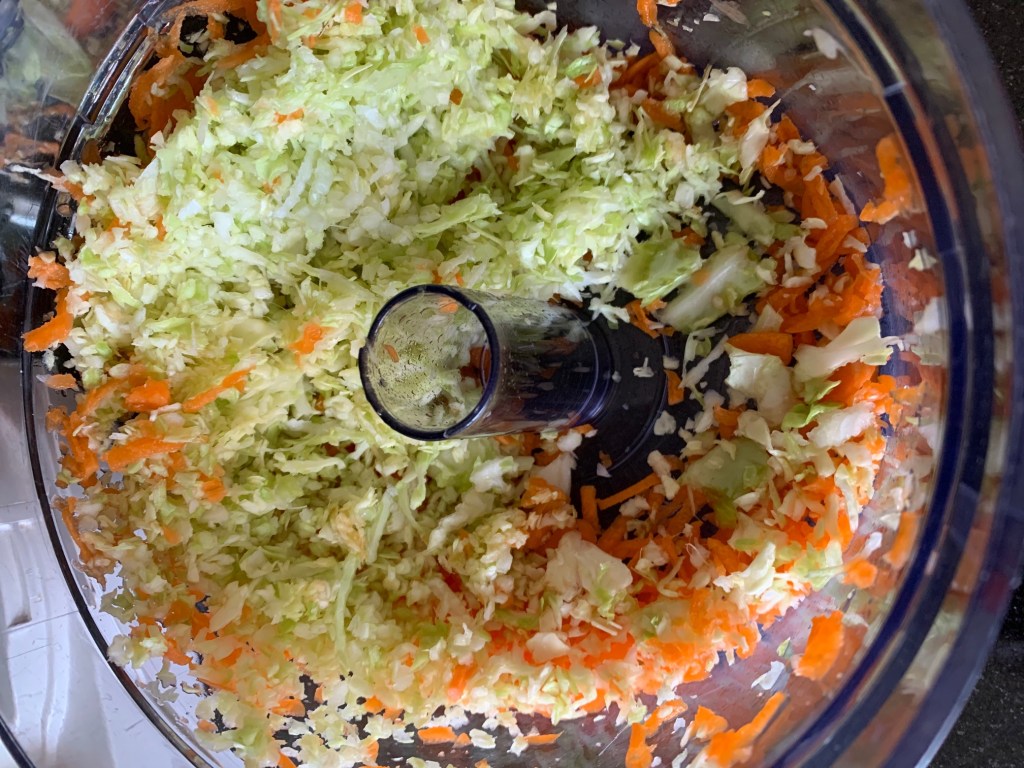
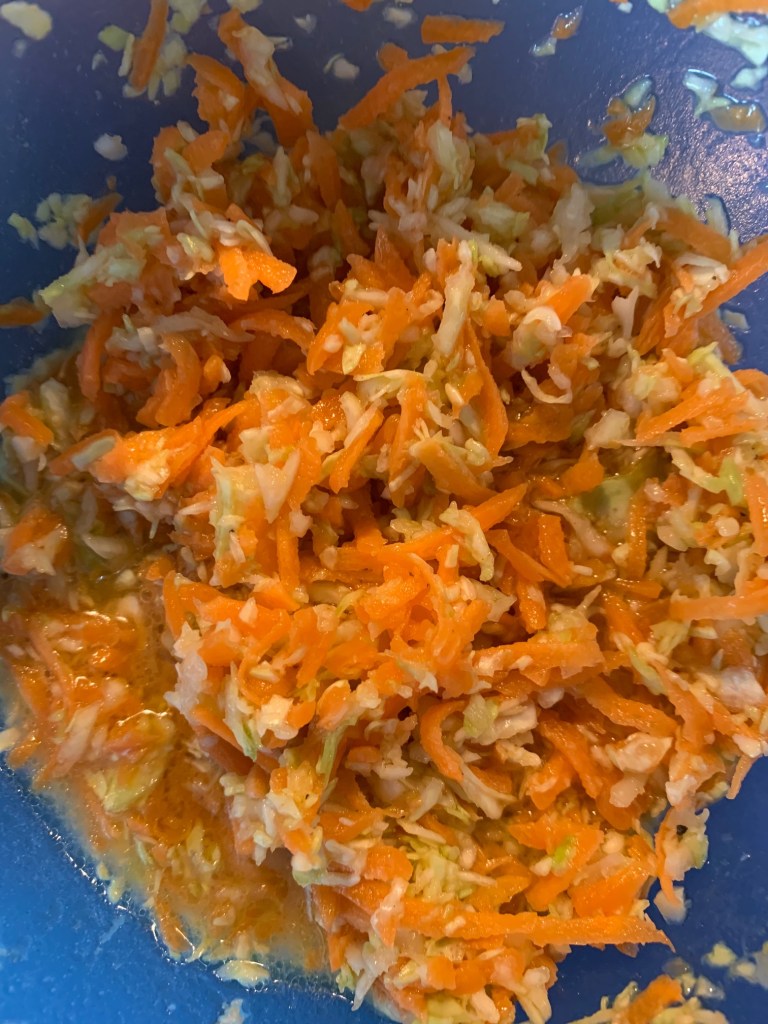
I want to add some cool, crunchy contrast to the smoky brisket and sauce, so I’m making a carrot and cabbage coleslaw. Veggies go into the food processor to make light work of it.
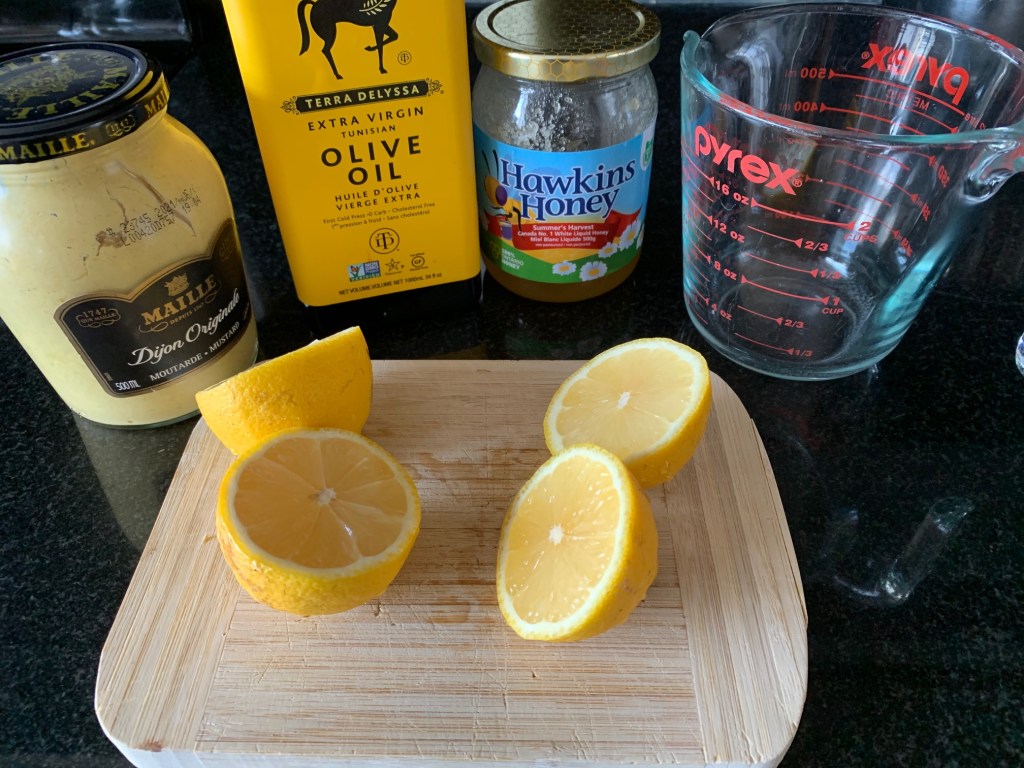
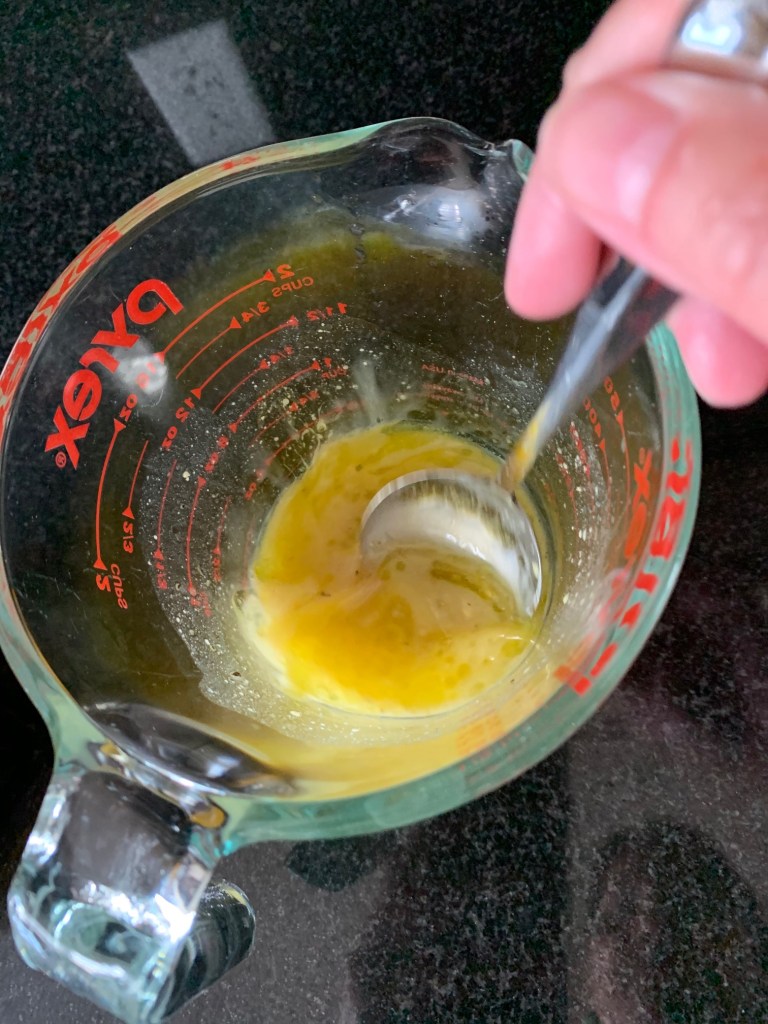
There are a million variations of coleslaw vinaigrette. In this case, I don’t want to go creamy. I’m looking for a bit of a light, tangy zip. So I make a vinaigrette consisting of the juice of two lemons, 1/3 cup olive oil, 1 tsp honey, 1 tsp dijon mustard, salt & pepper to taste. Simple but refreshing.
Pour the vinaigrette and let those flavours mingle in the fridge for a few hours or overnight. It’s ready …
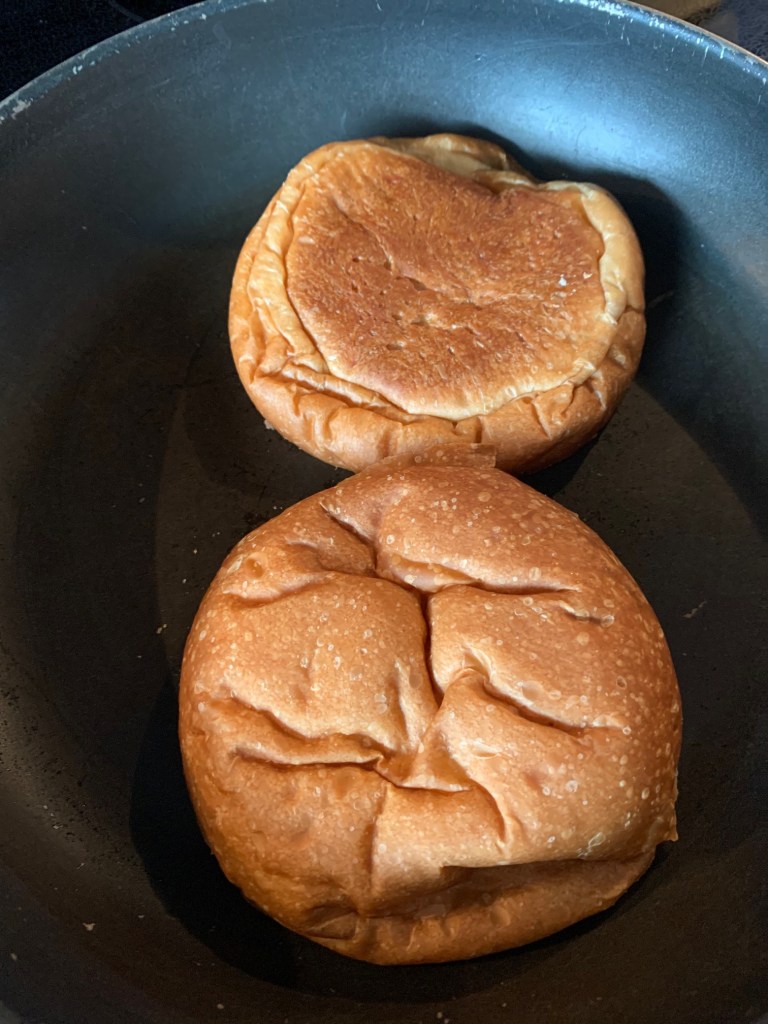
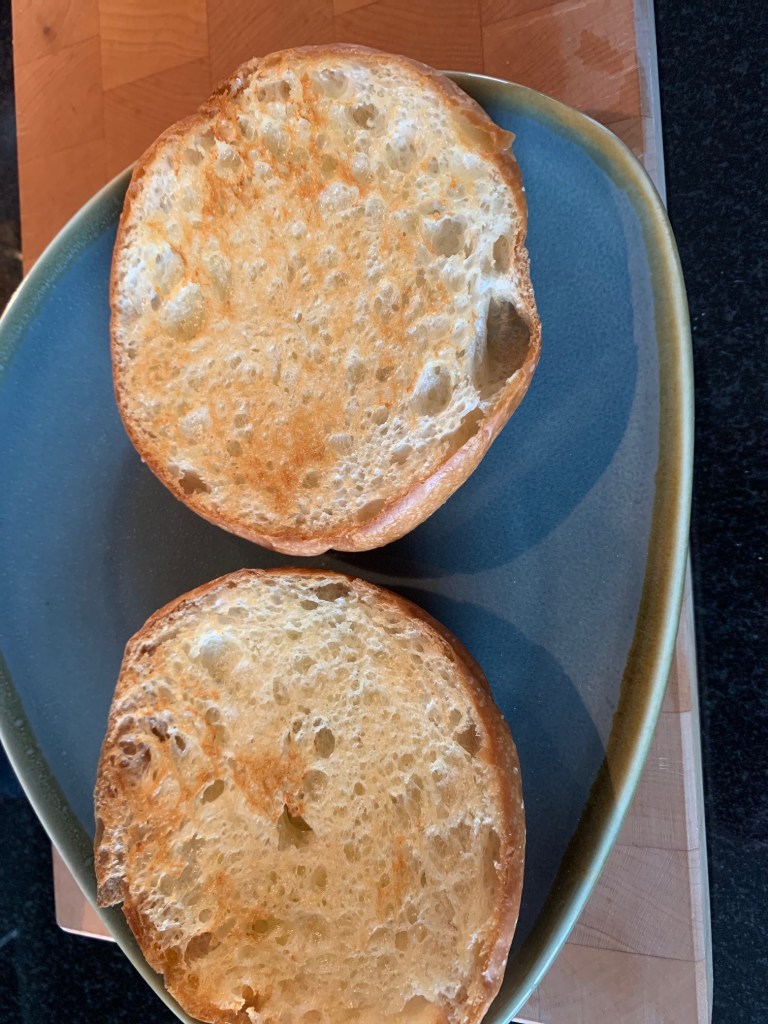
Time to build the sandwich! I slice two buns in half and butter them wall to wall. Into a pan they go on high heat for less than a minute (watch carefully).
Golden and ready.
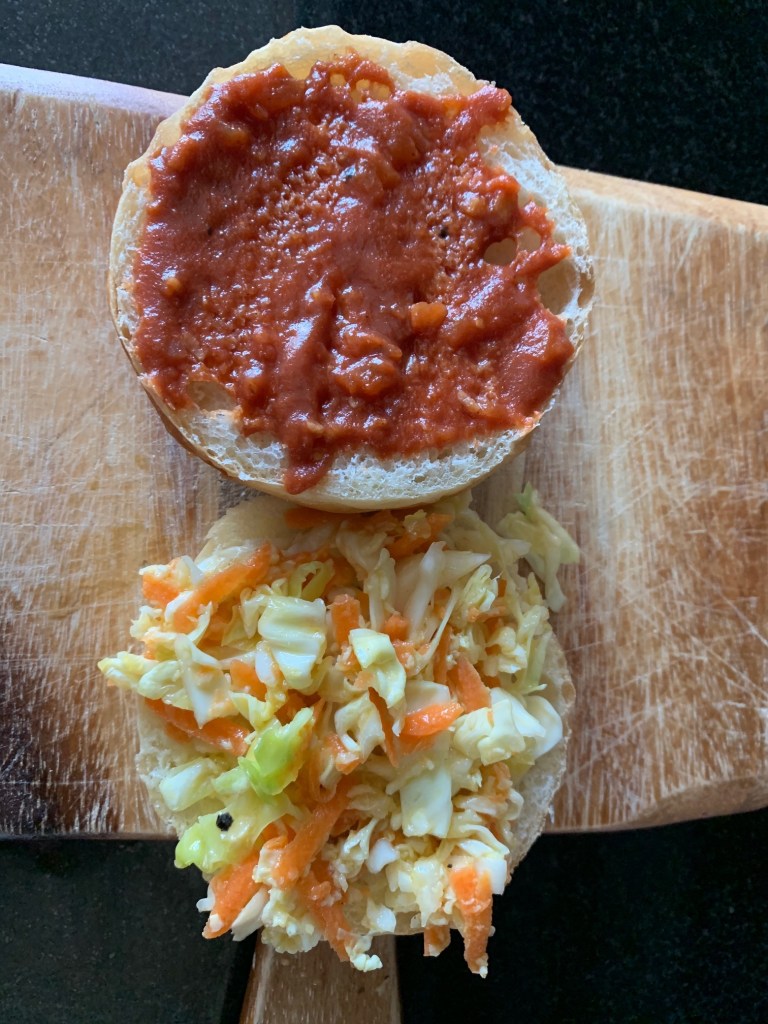
On the bottom of the bun, slather on some mayo (I’m using my homemade roasted garlic mayo). Give that top bun a schmear of homemade BBQ sauce.
Coleslaw goes down on top of the mayo bun.
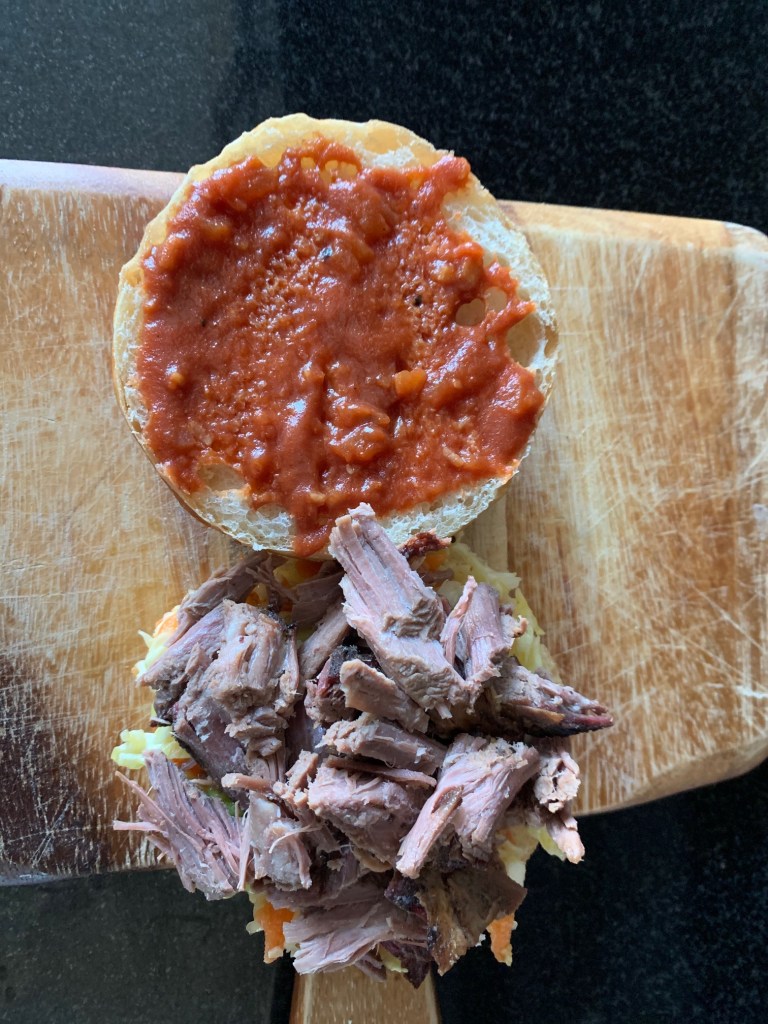
Time for brisket.
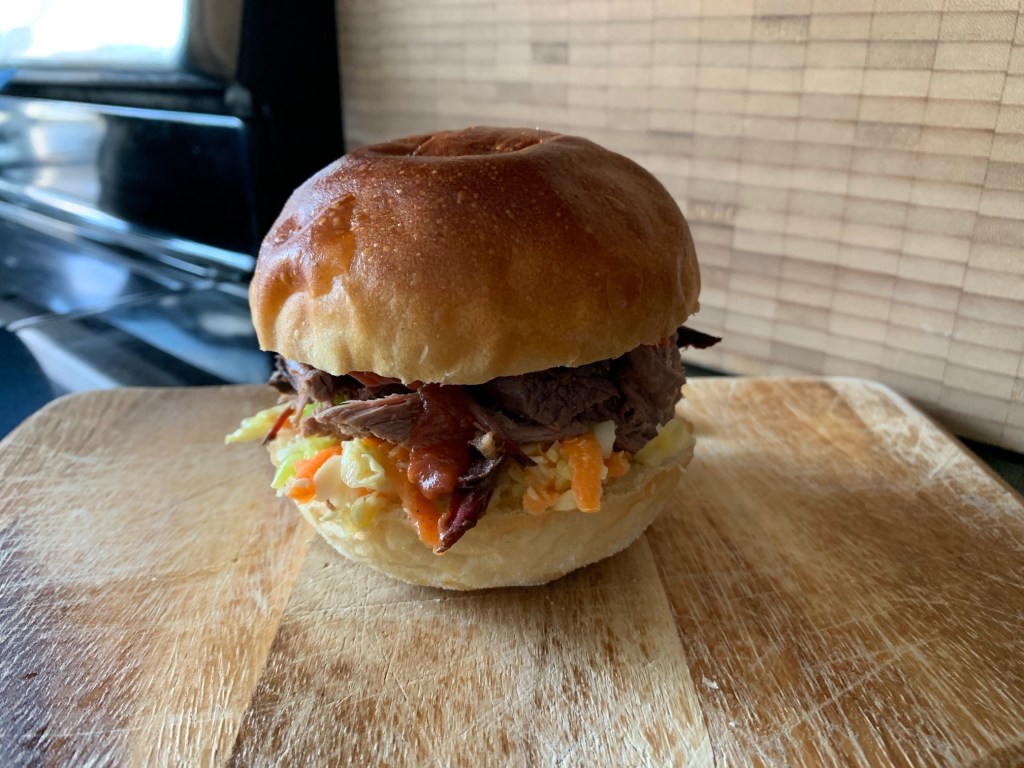
Drizzle a little more BBQ sauce on top of the brisket, cap with the top bun and enjoy. It’s summertime BBQ in a bun: smoky, tangy, cool, delicious. Hints of home during a pandemic.
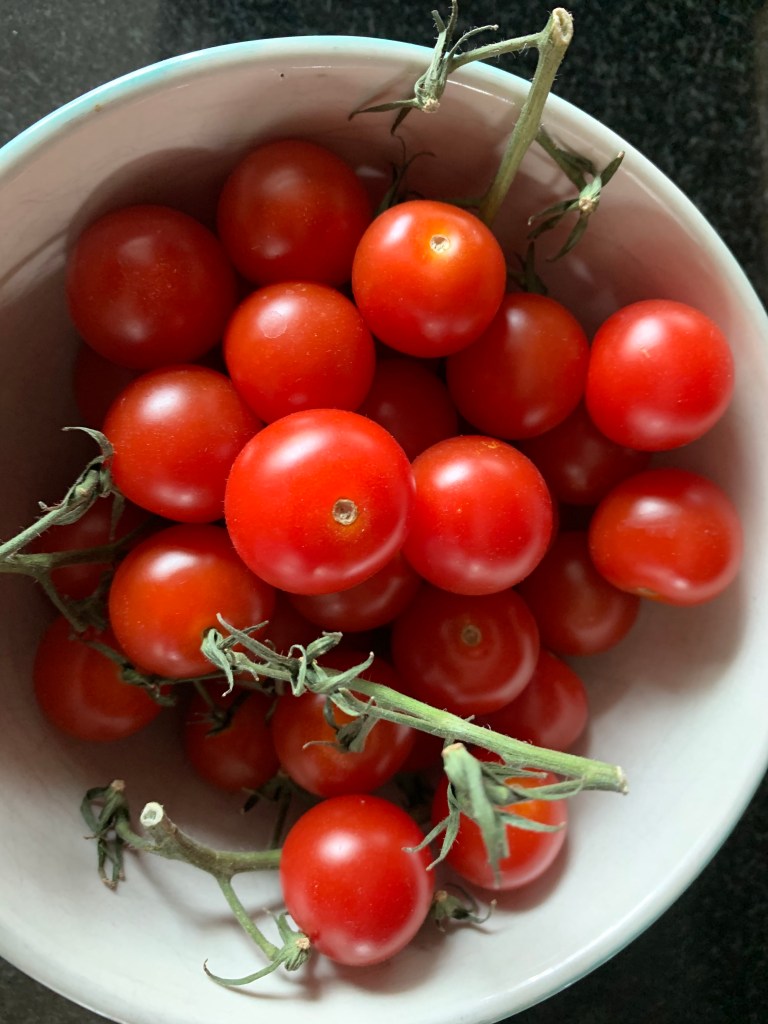
Summertime sandwiches should either celebrate the grill and/or celebrate fresh produce. Tomatoes are the perfect star for most summertime sandwiches, so let’s start with the iconoclastic bruschetta.
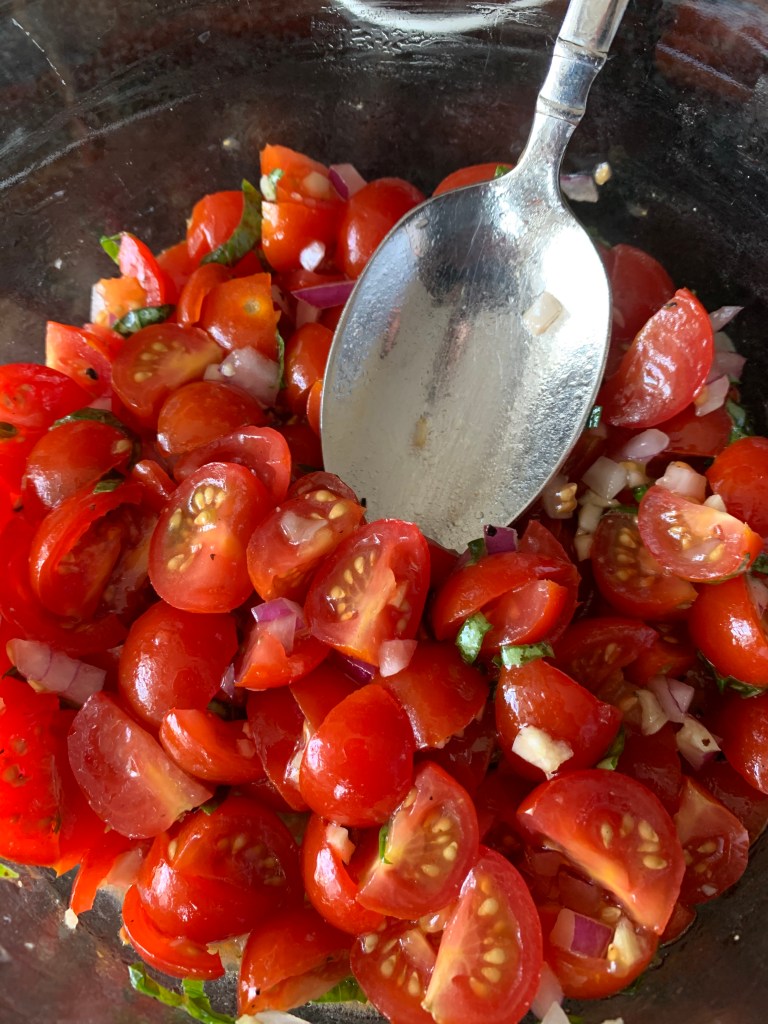
It’s super easy to pull together and you can use whatever ripened tomatoes you have on hand. In this case, I’m making use of a bowl of juicy cherry tomatoes.
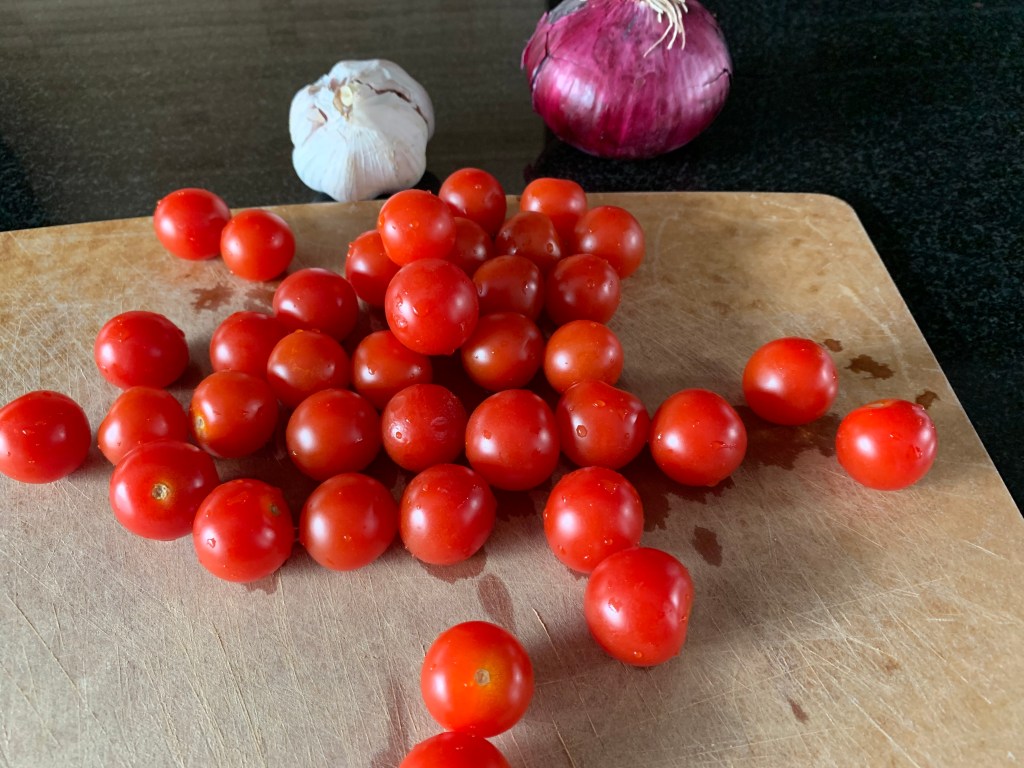
I’m going to add minced onion and garlic to give it depth of flavour.
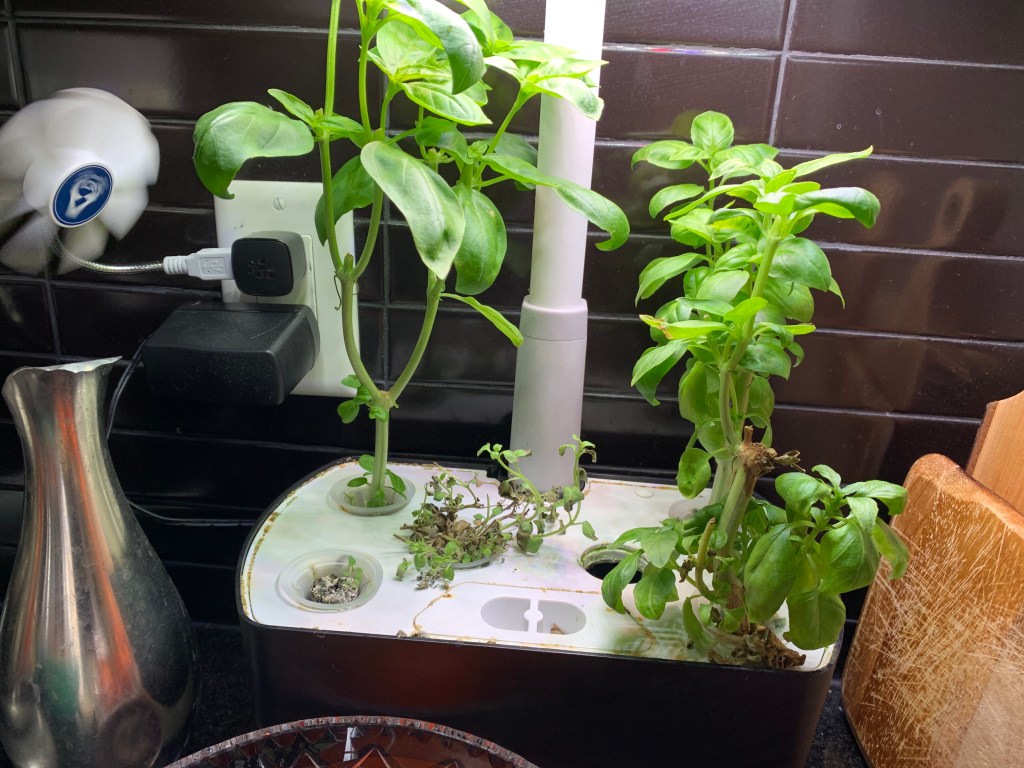
And a generous amount of homegrown basil.
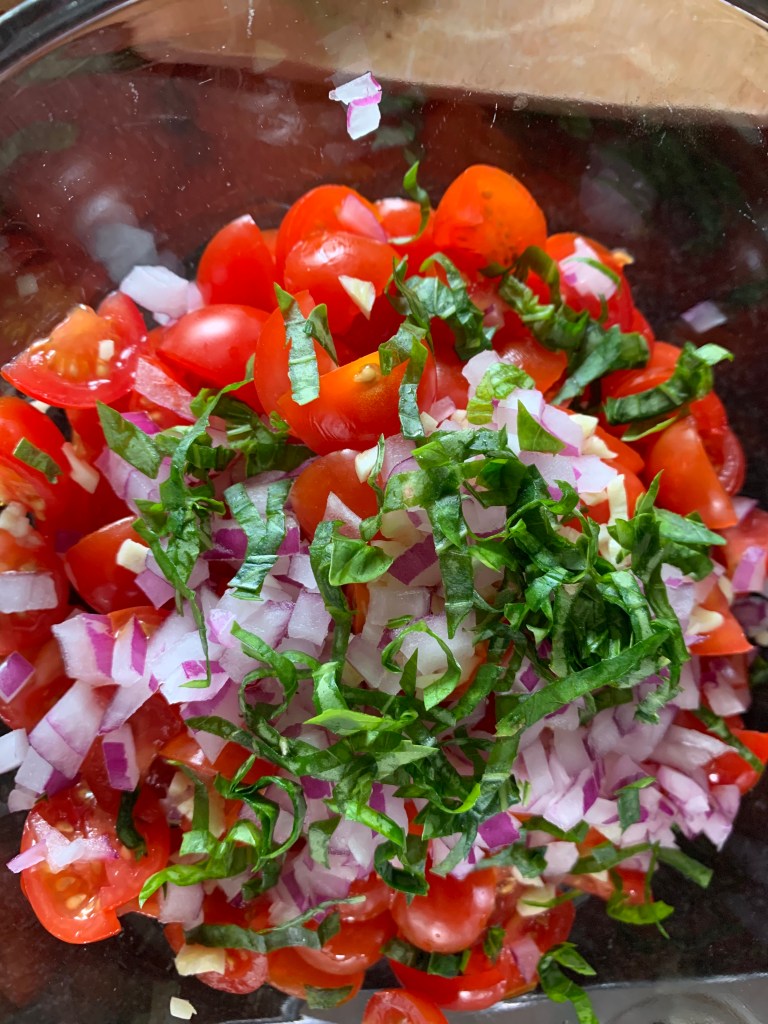
I quarter the cherry tomatoes, mince 1/4 of a red onion and 2 generous garlic cloves. I take a few sprigs of basil leaves and chiffonade the works.
I add a generous drizzle of olive oil, juice of half a lime, salt & pepper to taste. Mix it thoroughly and let those flavours mingle from 1/2 hour to 3 hours, room temp.
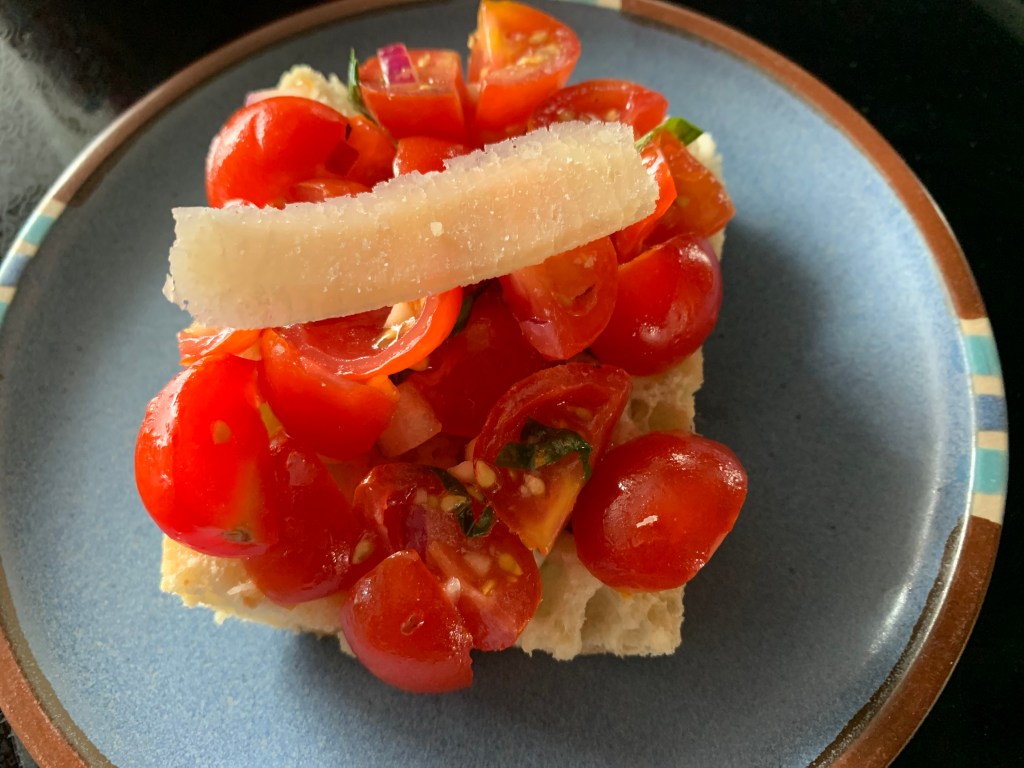
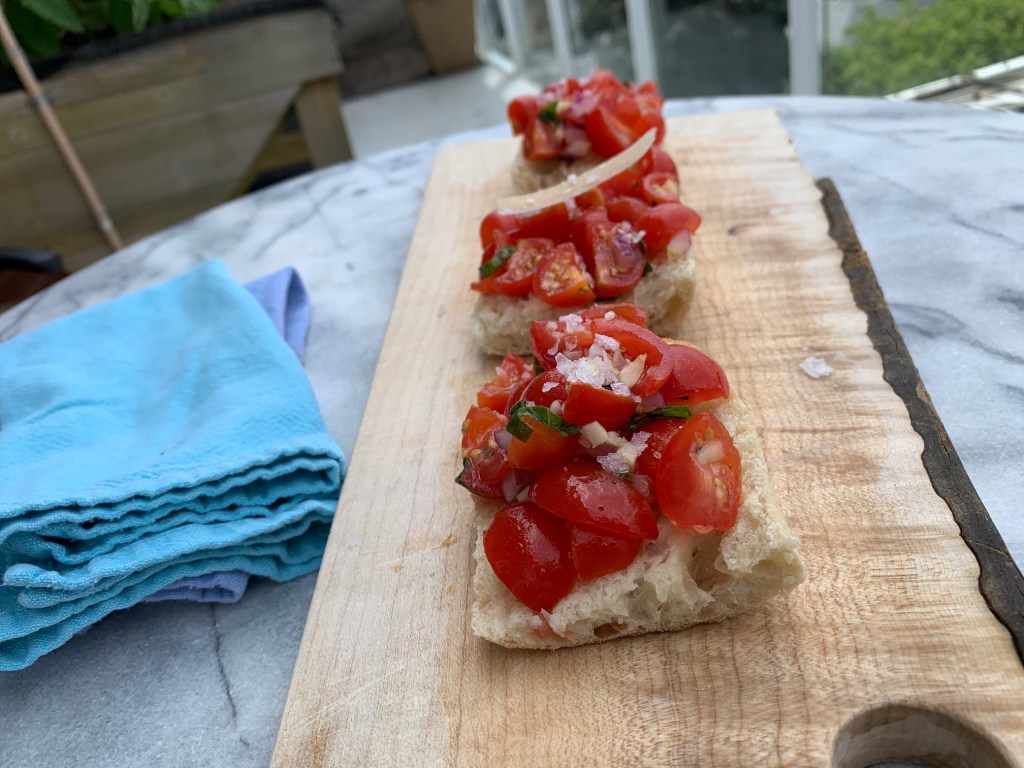
Now for the baguette. You could slice the baguette into crostinis or, if you’re like me, you’ll slice the baguette in half horizontally then cut it into thirds so you have a hefty piece of bread to soak up those sunny flavours.
You can brush olive oil on the inside of those baguette pieces and grill them, cut side down, before serving but I want this to be as simple as possible, so I’m serving the baguette as is. I like to leave the bowl of bruschetta out beside the baguette pieces and a small bowl of shaved parmesan (use a carrot peeler for this) and let everyone serve themselves. Add Maldon salt if you have it.
It’s messy, it’s juicy, it’s summertime on an open-faced sandwich. Always a treat.
It’s summertime and the sandwiches should be cool, dreamy, and easy. Cue the chicken salad sandwich.
It’s perfect: it makes use of leftover chicken; it incorporates fruits like diced apple, grapes, even mango; and I’ve lightened the dressing so it’s cool and refreshing but lower in calories too.
This is super easy to make because, essentially, all you need to do is chop things, make a quick dressing, toss, and serve on toast, whole wheat bread, a bed of lettuce, a wrap, or, in this case, a Ace Bakery croissant fresh out of the oven.
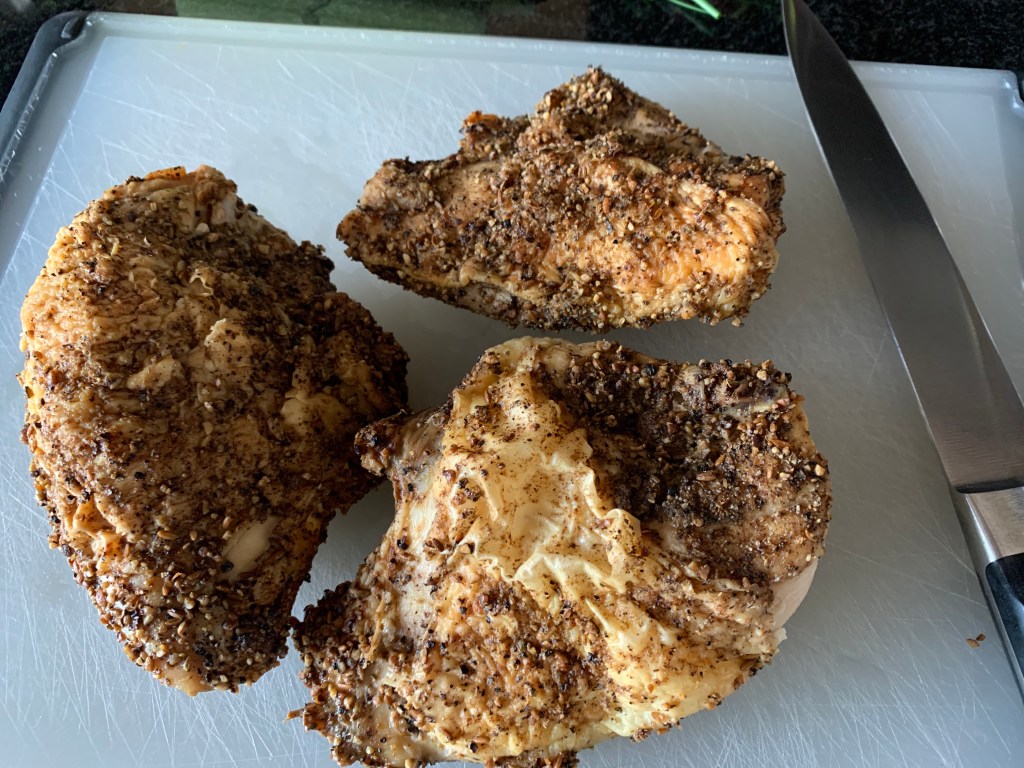
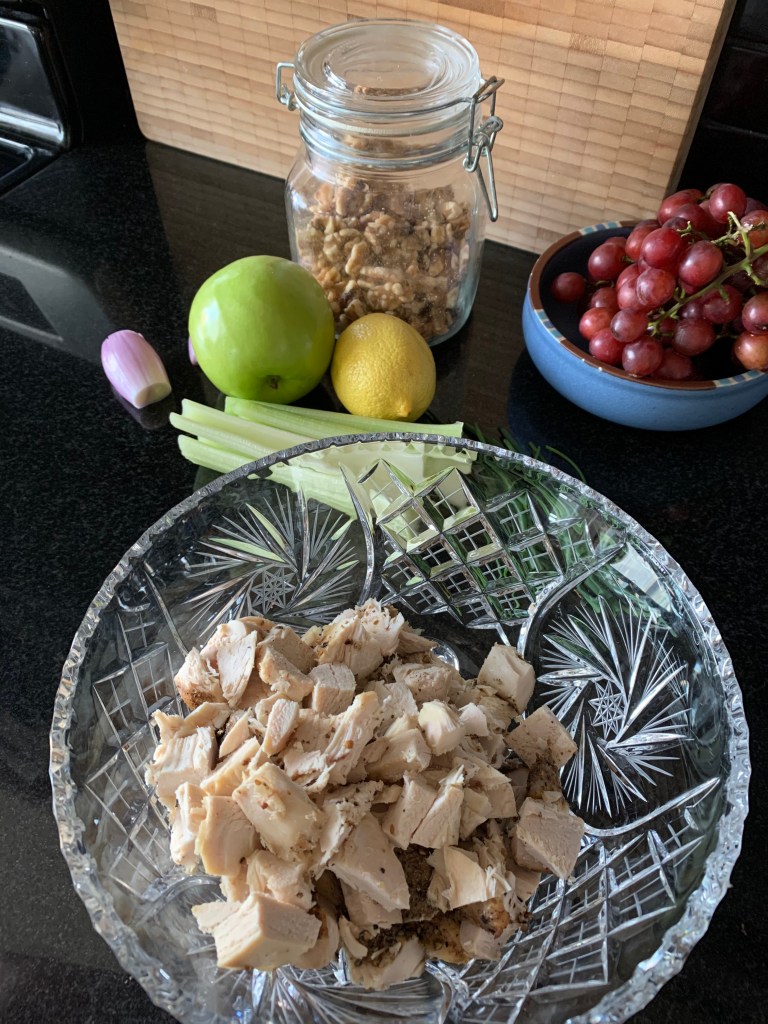
I’m starting with leftover chicken breasts that have been coated with Craig’s custom spices, roasted at 350 F for about 45 minutes, from last night’s dinner. Craig’s custom spice rub for 4 chicken breasts consists of: 1 tsp cumin seeds, 1 tsp coriander seeds, 1 tsp blackpeppercorn. Toast the spices lightly in a pan to bloom the flavours then crush them in a mortar and pestle. You get nice, subtle heat and deep flavour.
Here are last night’s leftovers.
Remove the skin and bone, chop chicken breasts into 1/2 inch cubes.
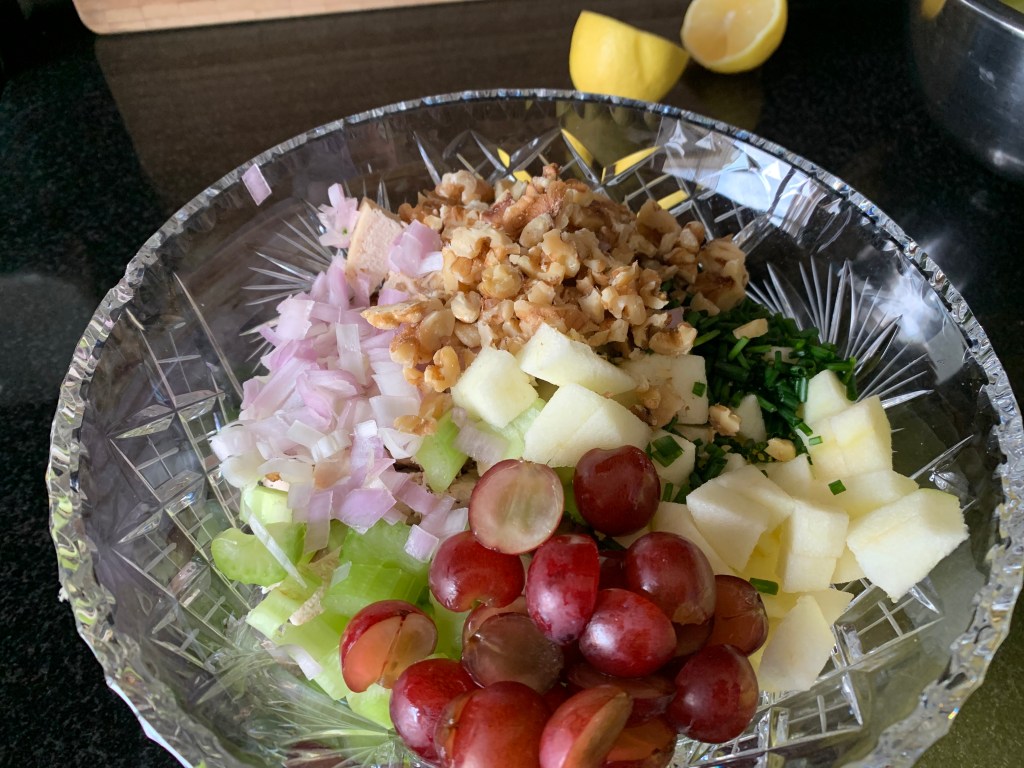
Now to add the groceries. Dice 2 celery stalks, 1 shallot (red or green onion will do), 1 peeled apple, about 2 tbsp of fresh chives (you could use tarragon or basil if you have it), and about 1/4 crushed walnuts (you could use sliced almonds).
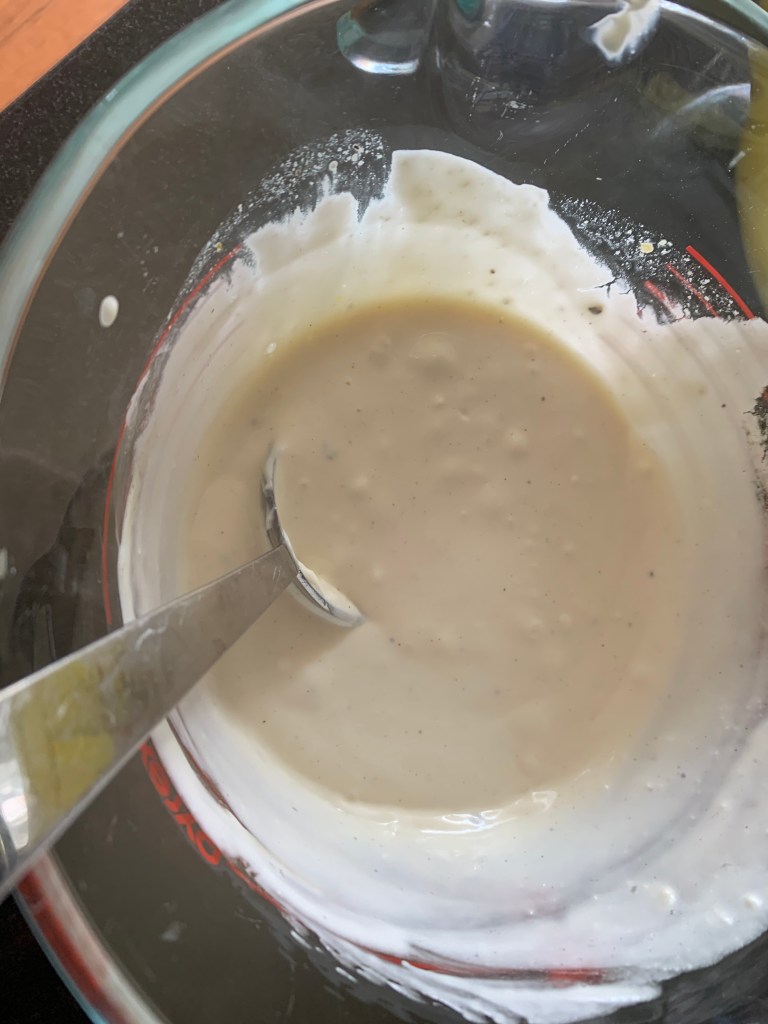
Now to make the dressing. Most chicken salad recipes simply say add mayo. Boooring! I blend 1/2 cup Hellmann’s mayonnaise, 1/2 plain yogurt, 1 tbsp dijon, and a dash of soy sauce for extra flavour. You could add a tsp of curry powder—I don’t because the chicken is already nicely spiced. Salt and pepper to taste.
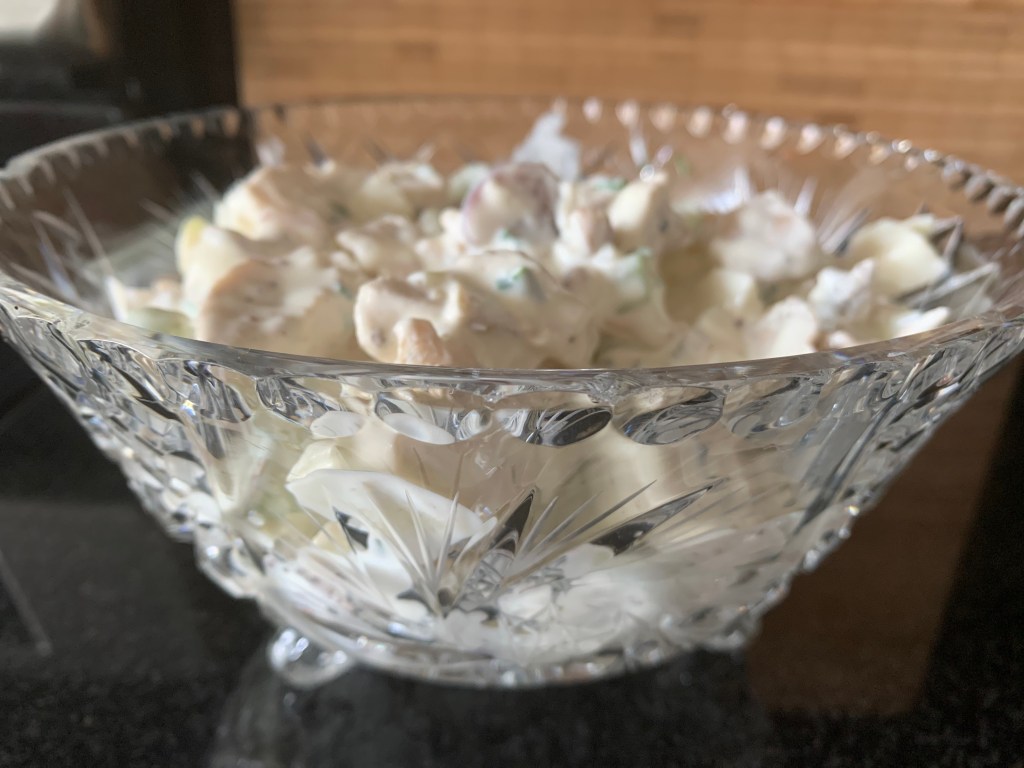
Fold the dressing into the chicken and veggies/fruit/nut mixture, adding a little at a time until it’s creamy but not a goopy mess (I had about 1/4 cup leftover, which is great for an iceberg lettuce wedge later).
Here’s my chicken salad.
This is a nice, no-cook, refreshing salad to pile into a croissant and enjoy outside for a lovely summer lunch.
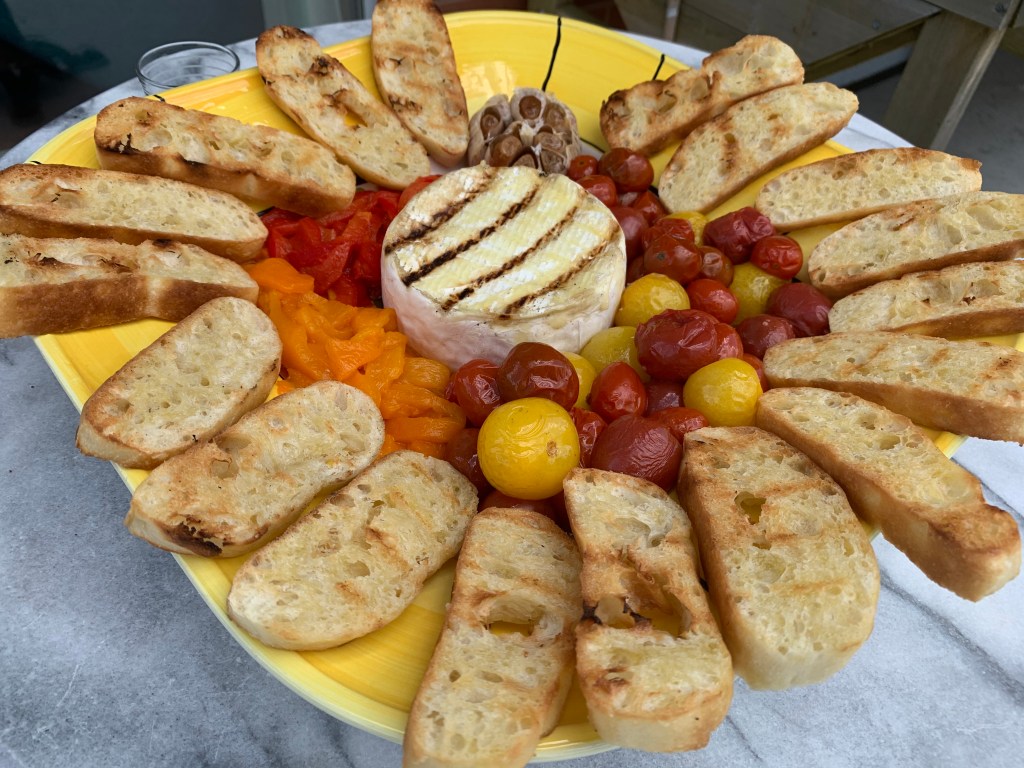
It’s summertime and there’s few things better than putting out a crostini spread to eat outdoors—especially if the start of the show is a grilled round of brie.
Of course I’ve never tried to grill brie on the barbecue before, and my grilling skills are pretty limited, so let’s see how this goes.
Before I start the grill I’m going to prep the toppings for my crostini, starting with a bulb of roasted garlic. This is such an easy thing to do. I usually roast garlic every weekend and keep it in the fridge to put in vinaigrettes, salads, homemade hummus, whatever. It’s a flavour gift that keeps on giving all week long.
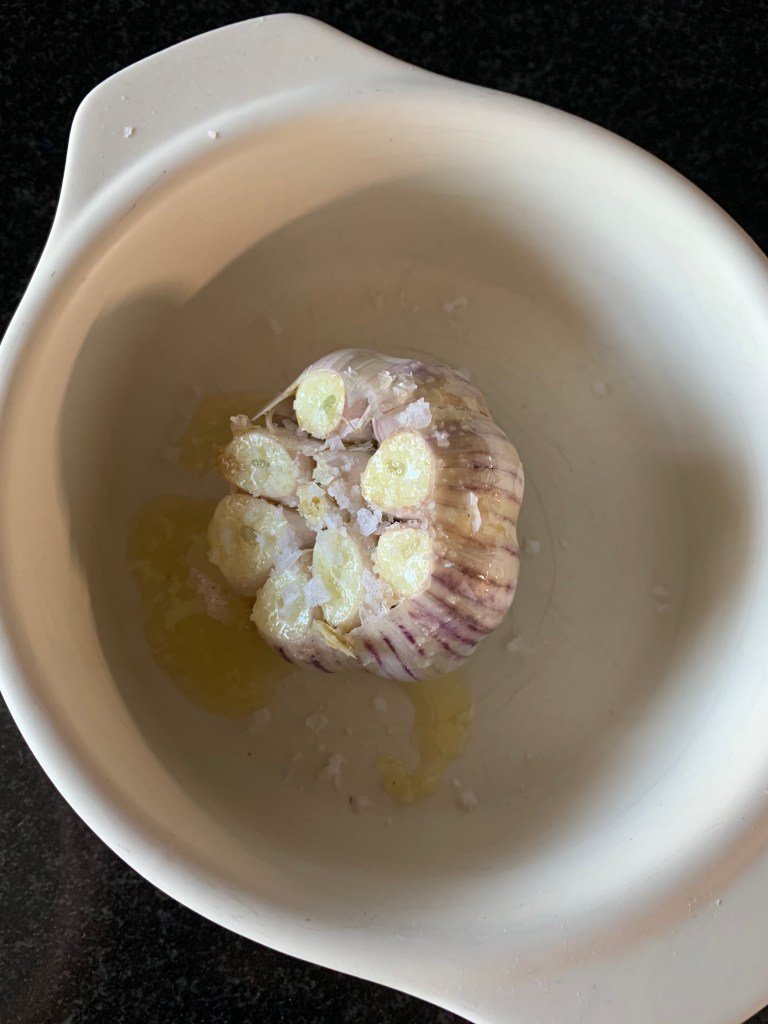
Cut the top of the garlic bulb off to expose the cloves.
I use my little brie baker round for baking garlic but you could also use tin foil. If using tin foil: cut a square big enough to be able to firmly twist the top shut before it goes in the oven and put the foiled garlic on a baking sheet to avoid drippy oven cleanups. Drizzle the cut side of the garlic with olive oil, sprinkle with salt (I use Maldive salt), close the foil pouch and put that in a 350 F oven for 30-40 minutes, until the garlic cloves have turned caramel brown and can easily squeeze out of their pouches. Set aside until you’re ready to assemble your platter.
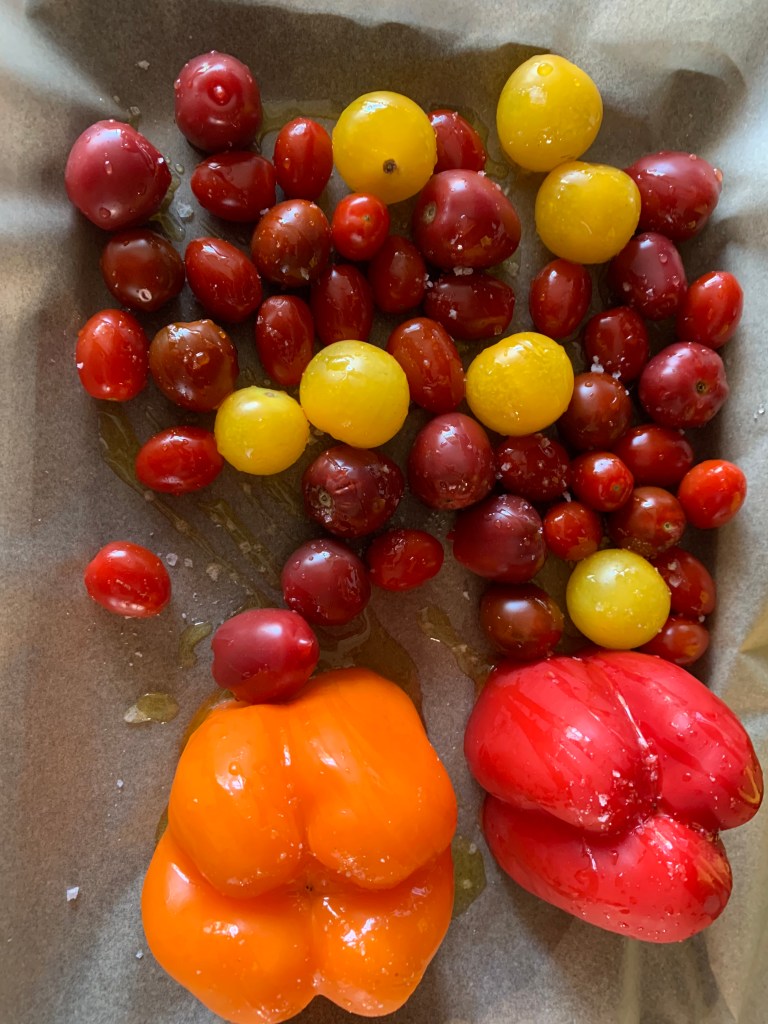
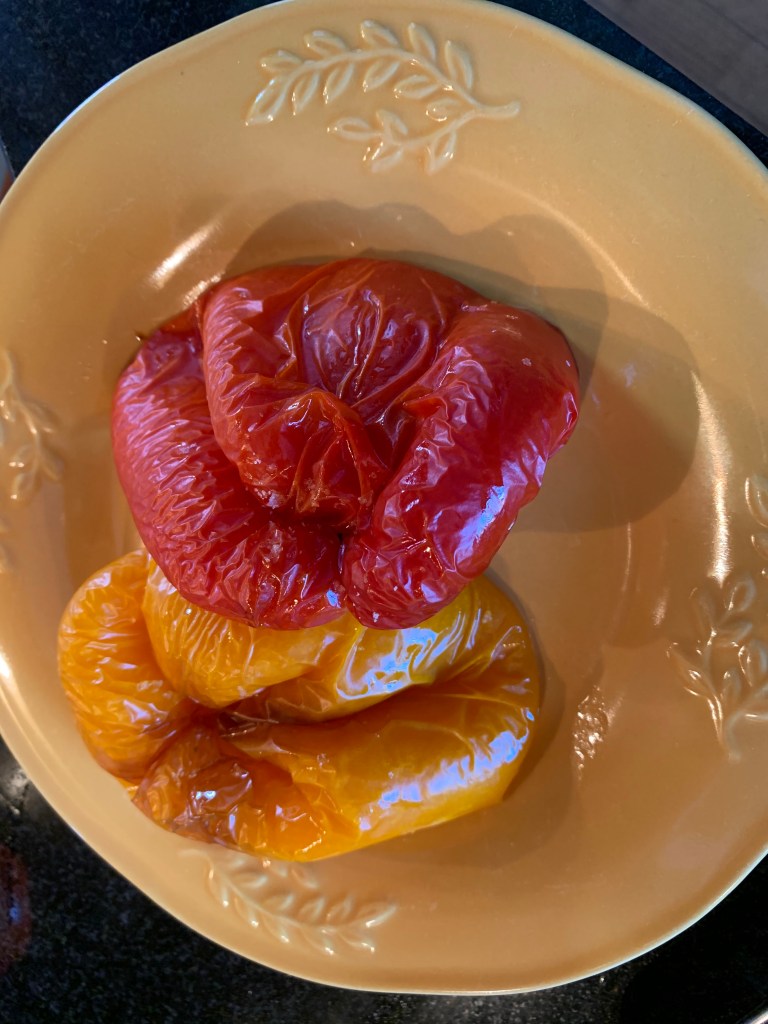
Since the oven’s going, I’m going to douse cherry tomatoes and two bell peppers with olive oil and salt, place that on baking tray lined with parchment paper, and that’s going in for about 20-30 minutes: until the tomatoes are beginning to wilt and the peppers are beginning to collapse. Ready for the oven.
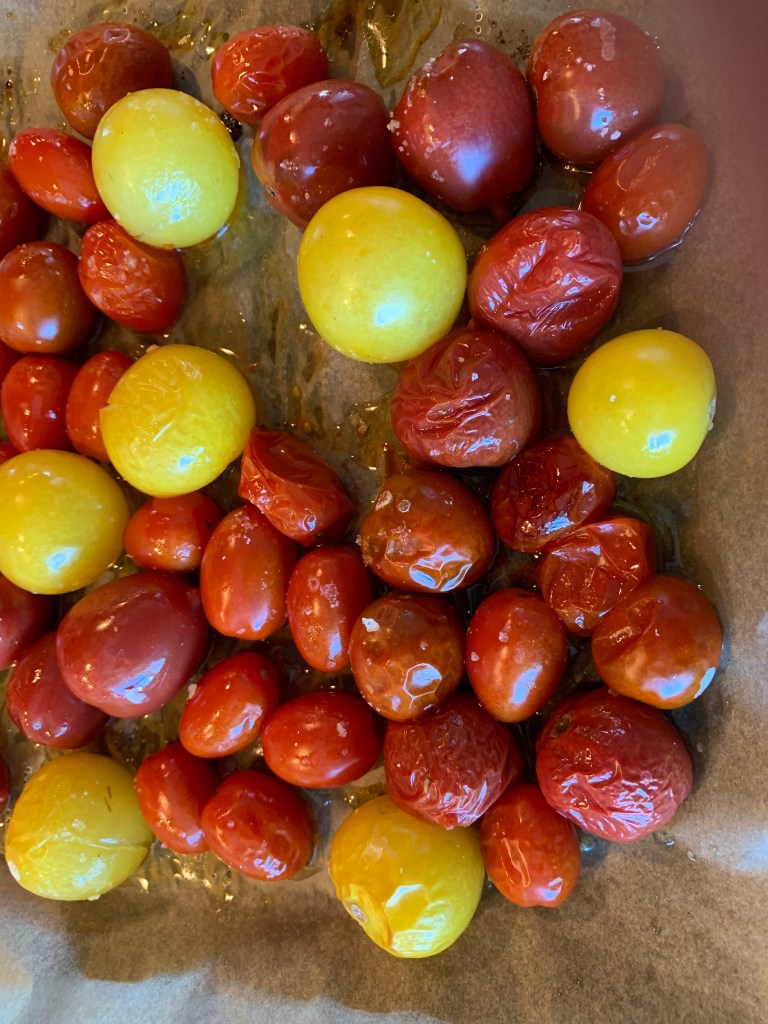
Tomatoes are ready. I do this every weekend. It’s great to add to platters, sandwiches, pasta or couscous salad, or blitz them up to make a pasta or pizza tomato sauce. It’s a workhorse in the kitchen.
Same with bell pappers. These are ready.
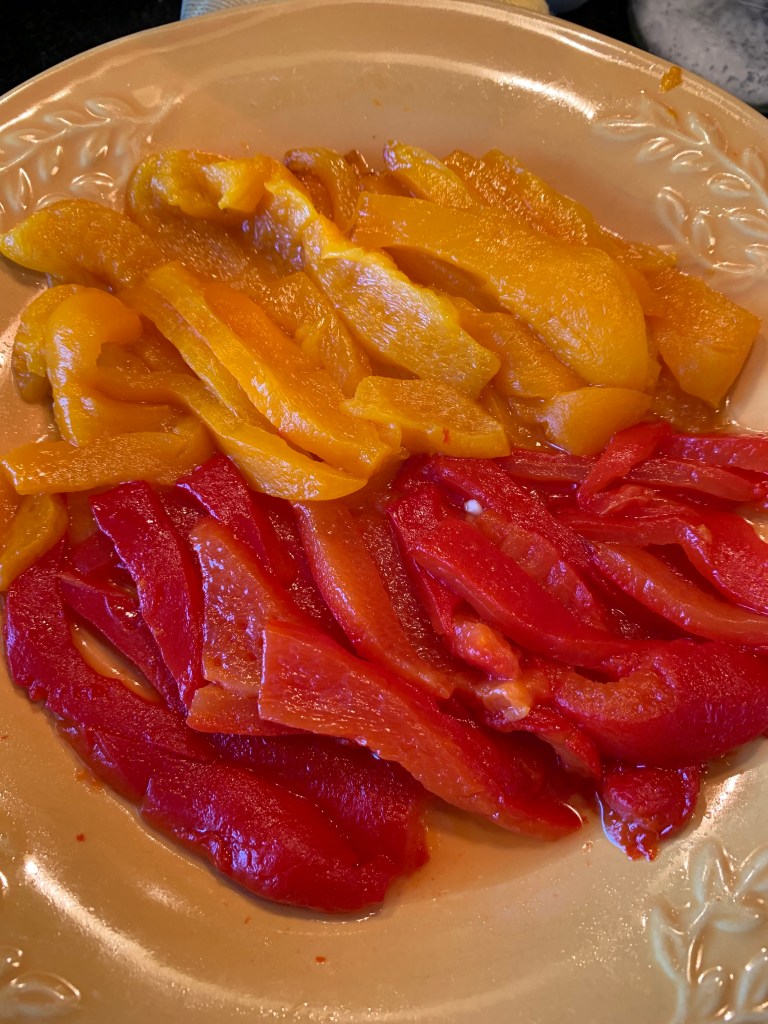
Using tongs and a fork, I slip the skin off like a jacket ready to be shed on a warm spring’s day. Then I thinly slice the pepper pulp. These can go in the fridge and be incorporated into all kinds of dishes throughout the week. They’re really good with goat cheese and a balsamic vinegar reduction.
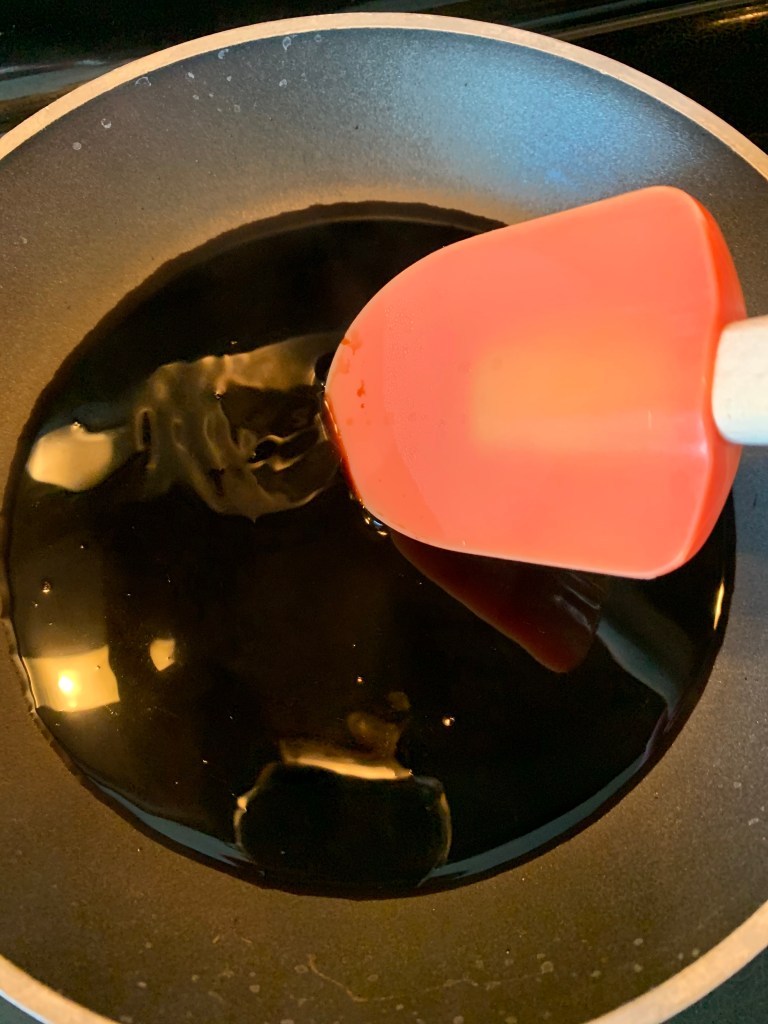
Let’s make that balsamic reduction: 1/2 cup balsamic vinegar goes into a non-stick pan on the stove, on medium-high heat.
Keep stirring and reduce it until it’s syrupy. Pro tips: 1) Put the pan on the back burner and don’t poke your head in there–you’ll get an unpleasant hit of vinegar burning off; 2) Don’t let it reduce too much. You’re looking for syrup, not molasses. Once it’s goes molasses, it’s turn hard. Unpleasant; 3) Soak your pan and utensils immediately after making the reduction–it makes clean up a lot easier.
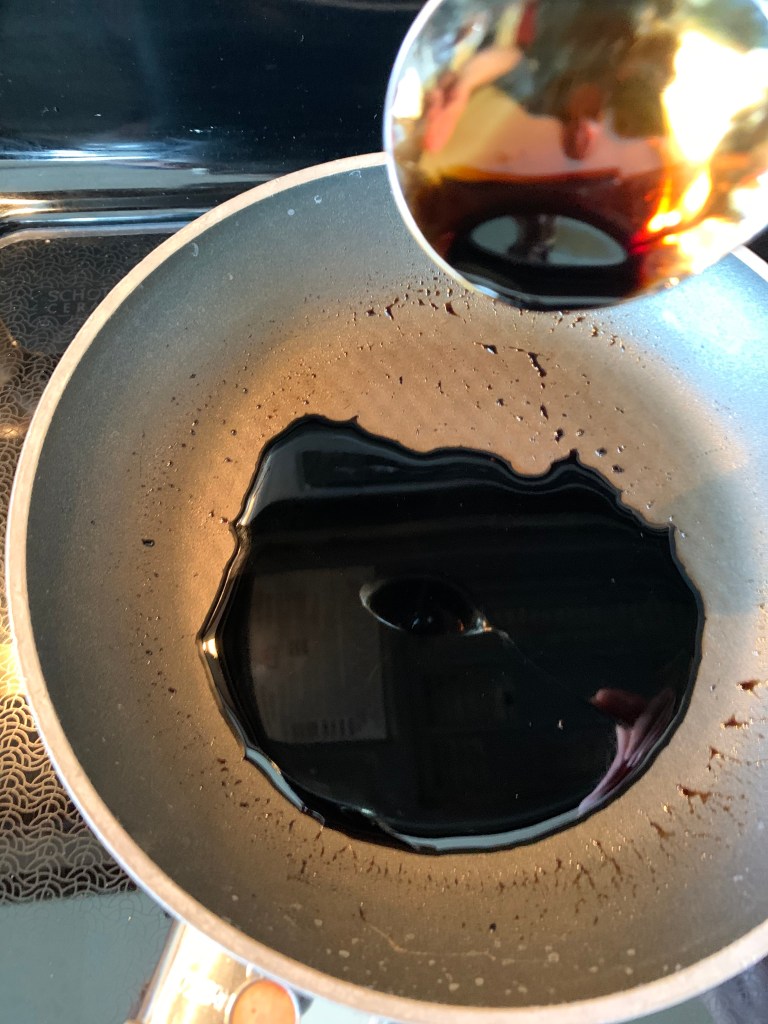
See how much it reduces. How we’ve got a fruity, tart syrup to drizzle on the crostini.
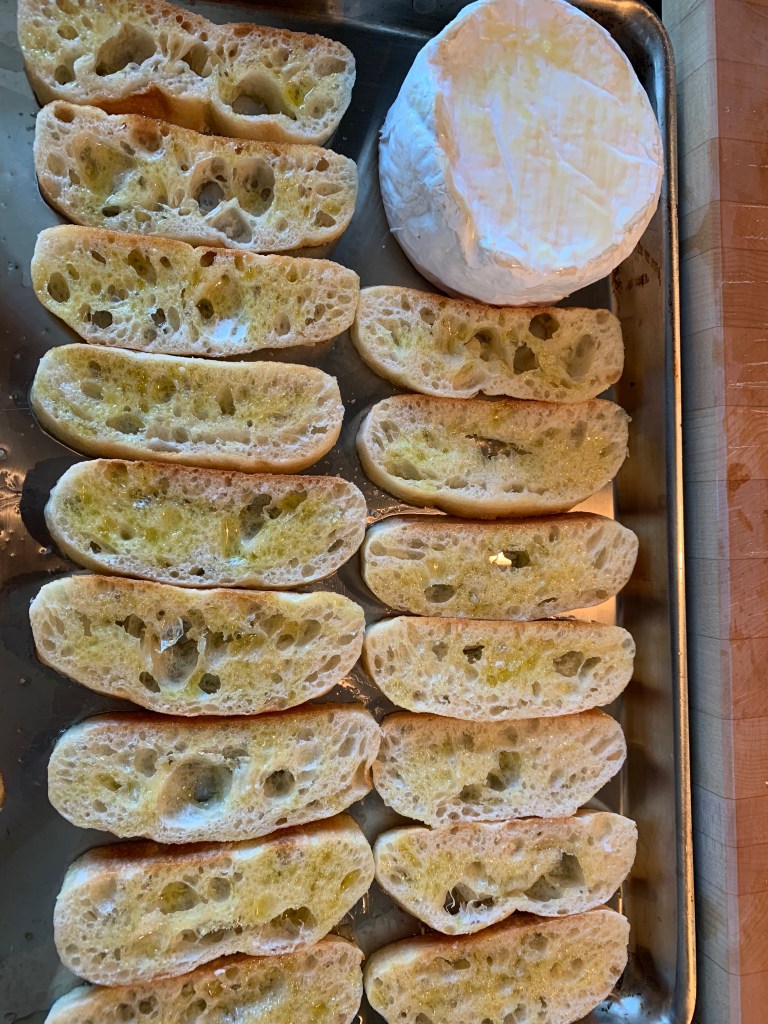
Time to prepare the crostinis and brie. I’ve got three ciabatta buns in the freezer, so I thaw and slice those. You could also use a baguette. They get slathered with olive oil on both sides, as does the brie. Ready for the grill.
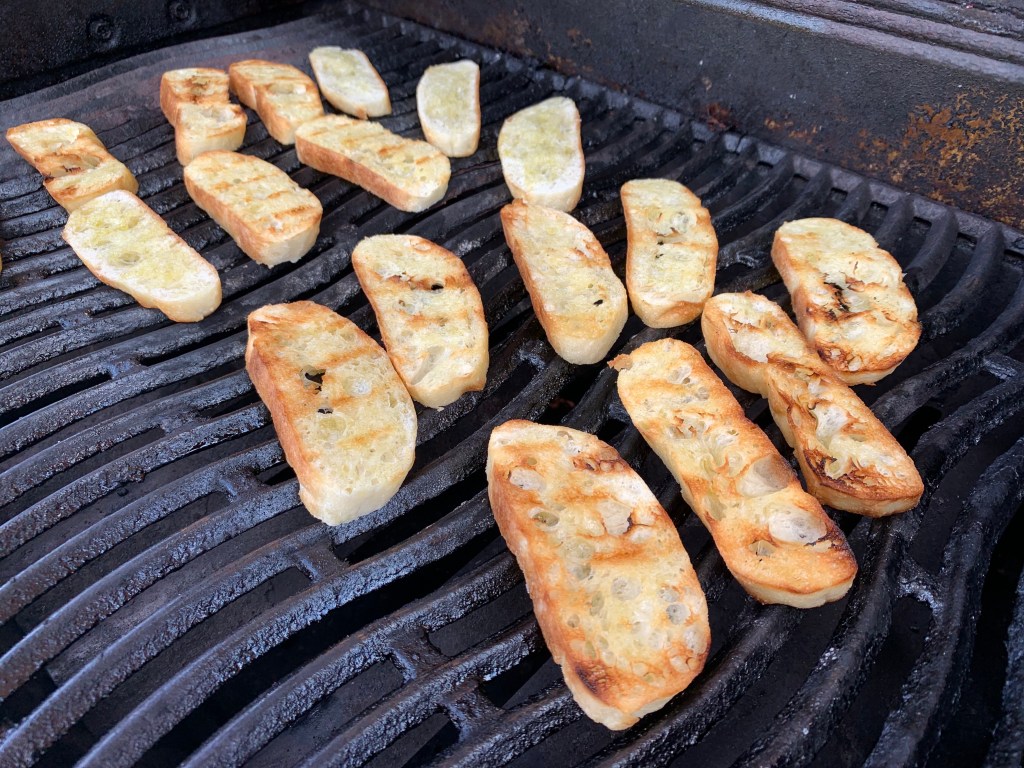
The grill is set at about 300 F for the bread. It goes down. You’re really just looking for grill marks here; grill for too long and the crostini will be way too crunchy.
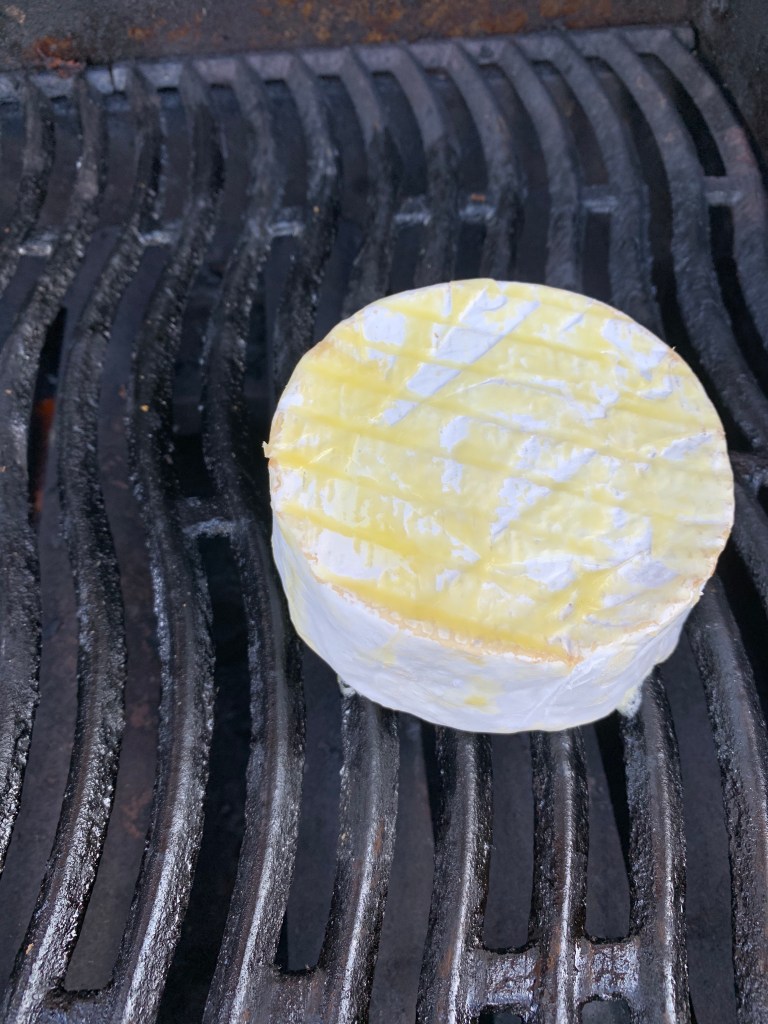
OK, time for the star of the show and the challenge here is to let the brie round stay on the grill for long enough to get good grill marks without it getting so hot that the cheese oozes out of the rind. Let’s see how this goes. Grill temperature gets cranked up to 500 F, then all but one burner gets turned off. Brie goes down on indirect heat.
Close the BBQ lid for about 2-3 minutes. Using tongs, gently lift the brie and check the bottom for grill marks. Pro tip: use tongs, not a spatula, in order to prevent tearing the rind. Once I see grill marks, that brie gets flipped, lid closed, for another 1-2 minutes. Gently use tongs to lift the brie on a large spatula. Voila!
Slide that brie onto the middle of the platter and we are ready for a lovely summer make your own brie and veggie crostini.
One of the things I like about writing this hobby blog is that it challenges me to try new things. This week: I’m turning on the grill and making a chicken burger.
How is it that I’ve never eaten a chicken burger before? Is that good or bad?
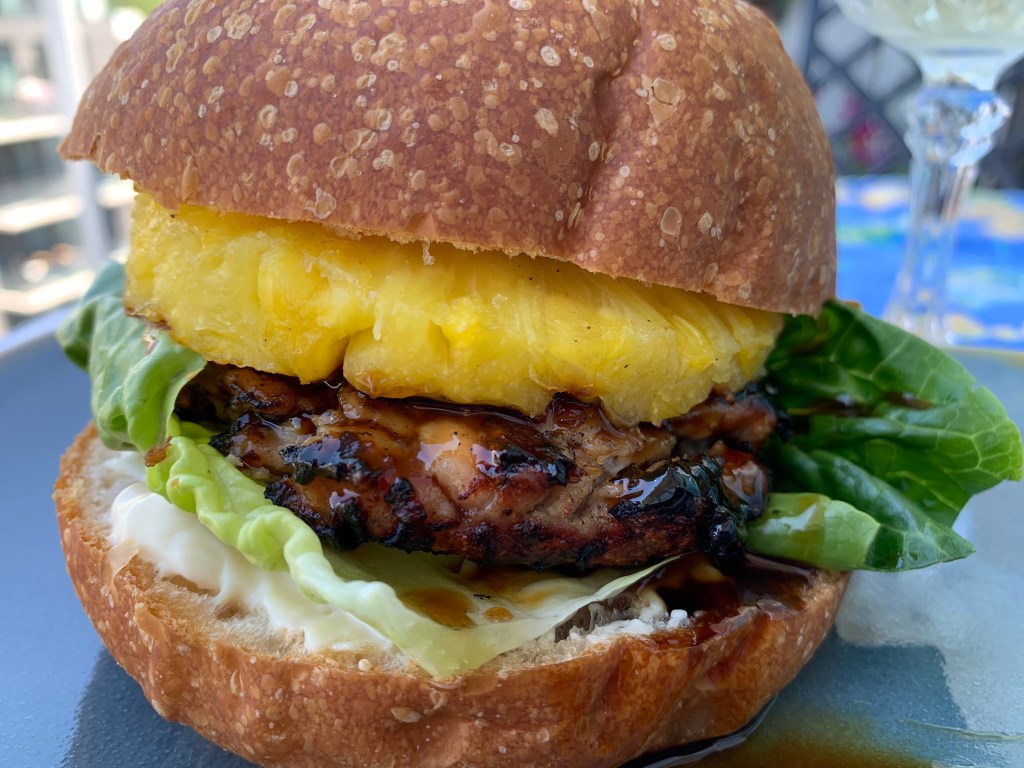
I draw inspiration from this teriyaki turkey burger recipe, which features homemade teriyaki sauce and a grilled pineapple ring. Feels very backyard barbecue circa 1950s.
First, I make my teriyaki sauce. Super easy. In a pan, combine 1/3 cup tamari or soy sauce, 3 tbsp of pineapple juice (water works too), 3 tbsp honey, 1 minced garlic clove, and about 3/4 tsp grated ginger. Pro tip: wash then store your ginger in the freezer; it makes grating easier. I use ginger skin and all and then pop it back into the freezer after each use.
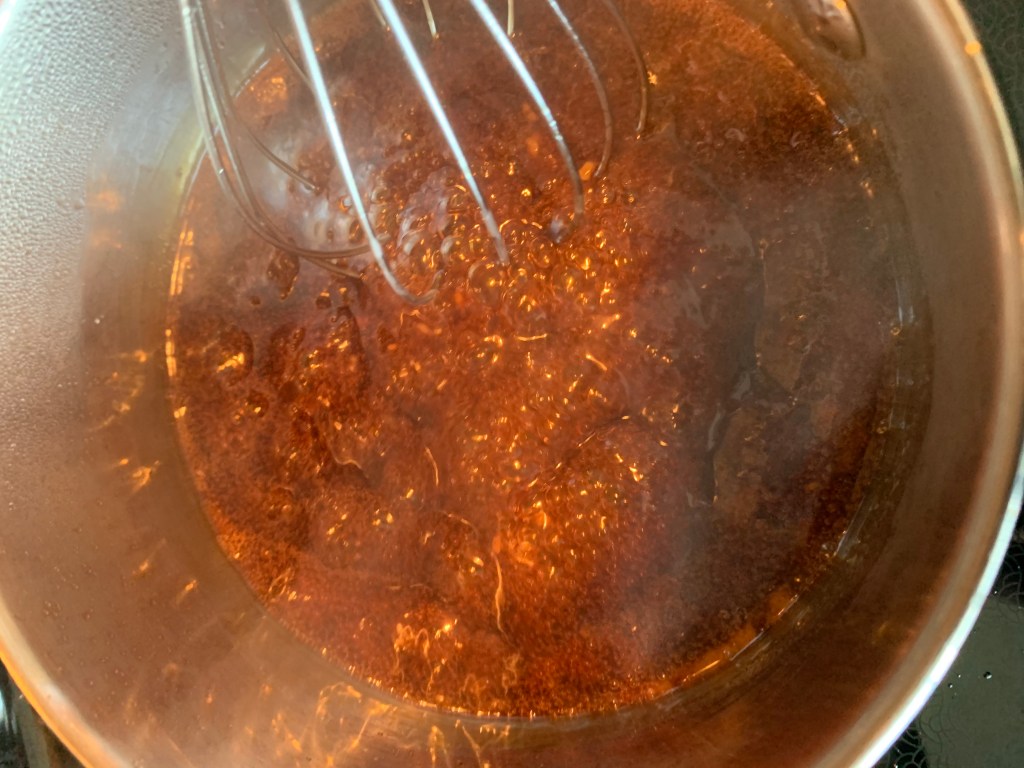
Bring the teriyaki to a boil, reduce heat, and whisk for about 2 minutes.
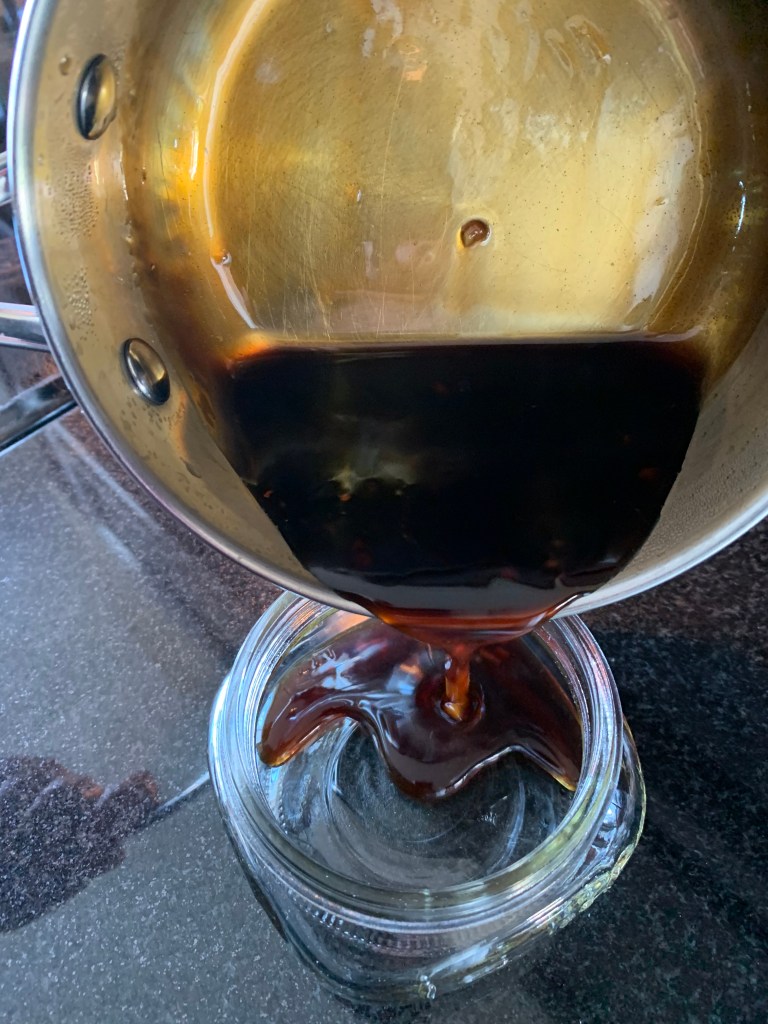
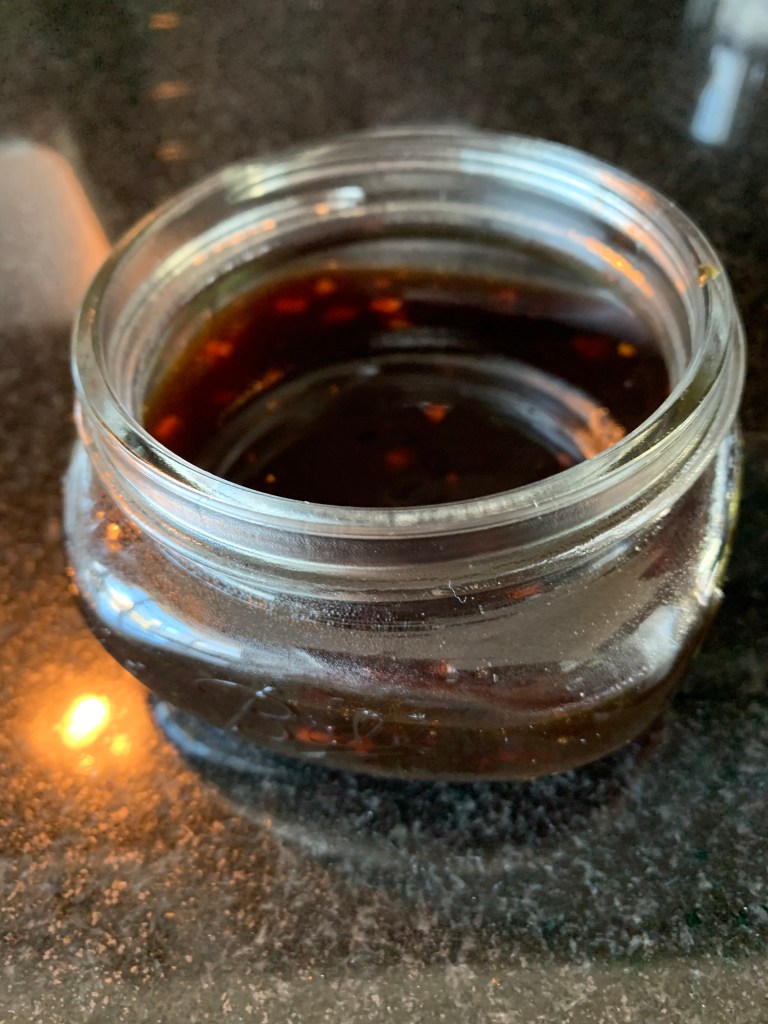
Add a slurry of 2 tsp cornstarch and 2 tsp water. Whisk for another minute until you’ve got a bit of a syrup happening. It’s a magical transformation. Teriyaki is ready.
The teriyaki is going to compete with the burger and pineapple as the star of this sandwich, so you want it to be lip smacking. Mine isn’t too sweet (if you want sweet, replace honey with brown sugar) but it could use more ginger (I like it bold), so I grate about another 1/4 tsp into the teriyaki.
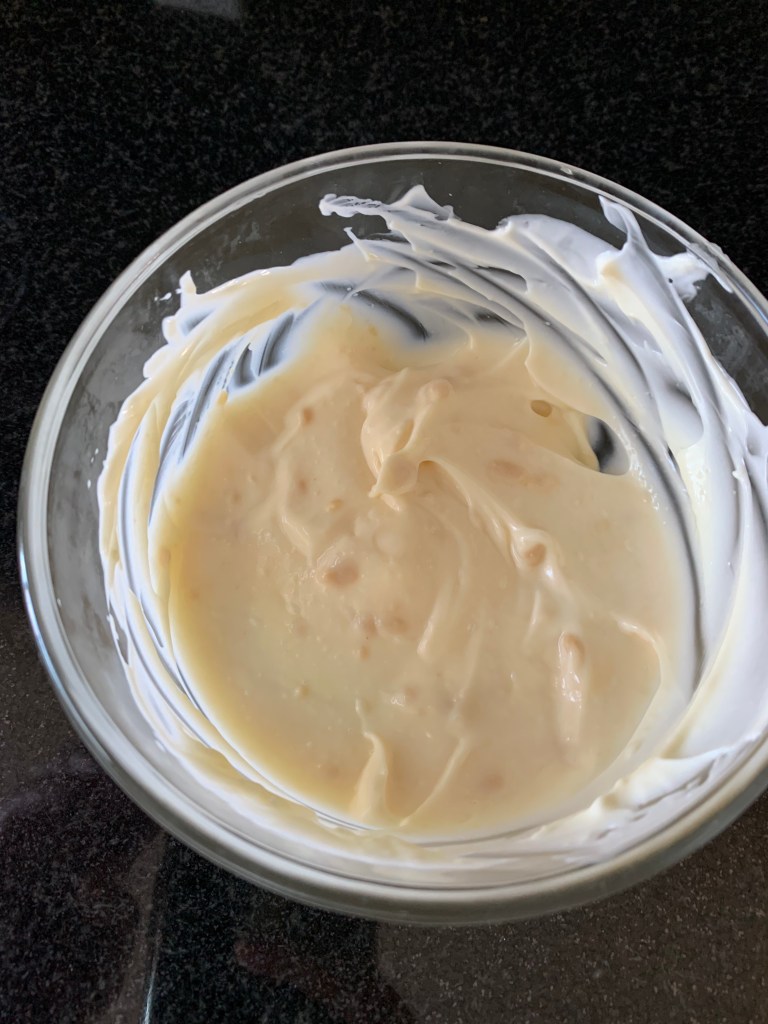
I want to lay down some mayo on the bottom of my sandwich to cut through the sweetness of the teriyaki and grilled pineapple, so I combine 2 tsp white miso with 1/4 cup of Hellmann’s mayo. It’ll add richness and a bit more umami flavour but if you’re going for low sodium, plain mayo will do.
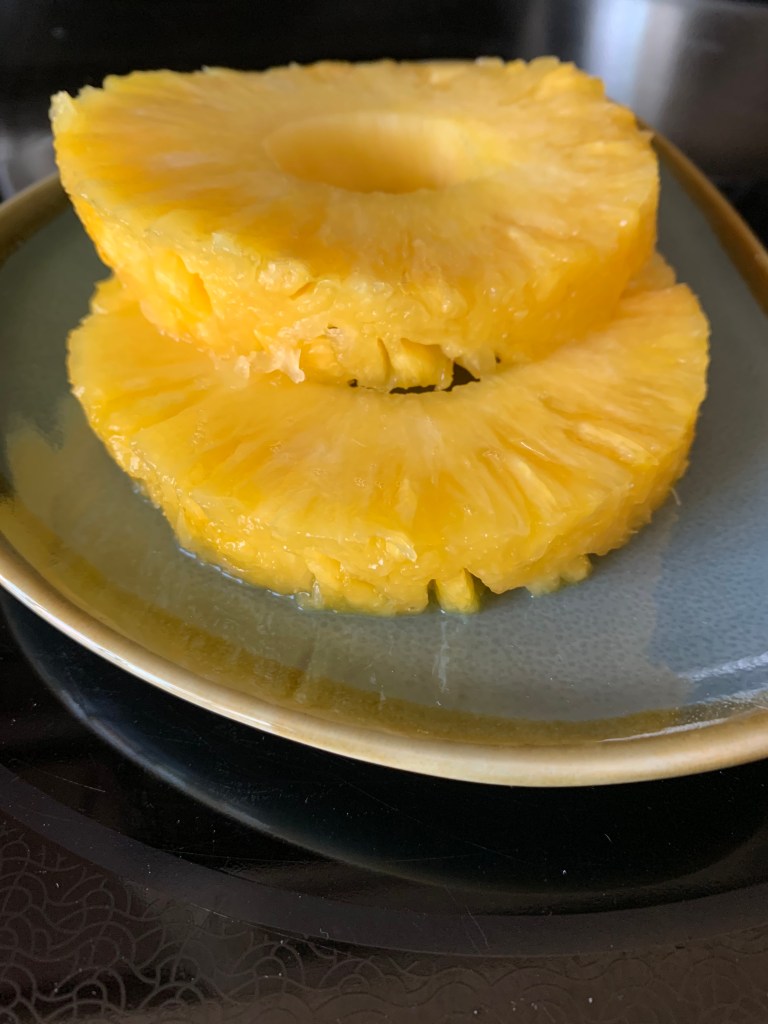
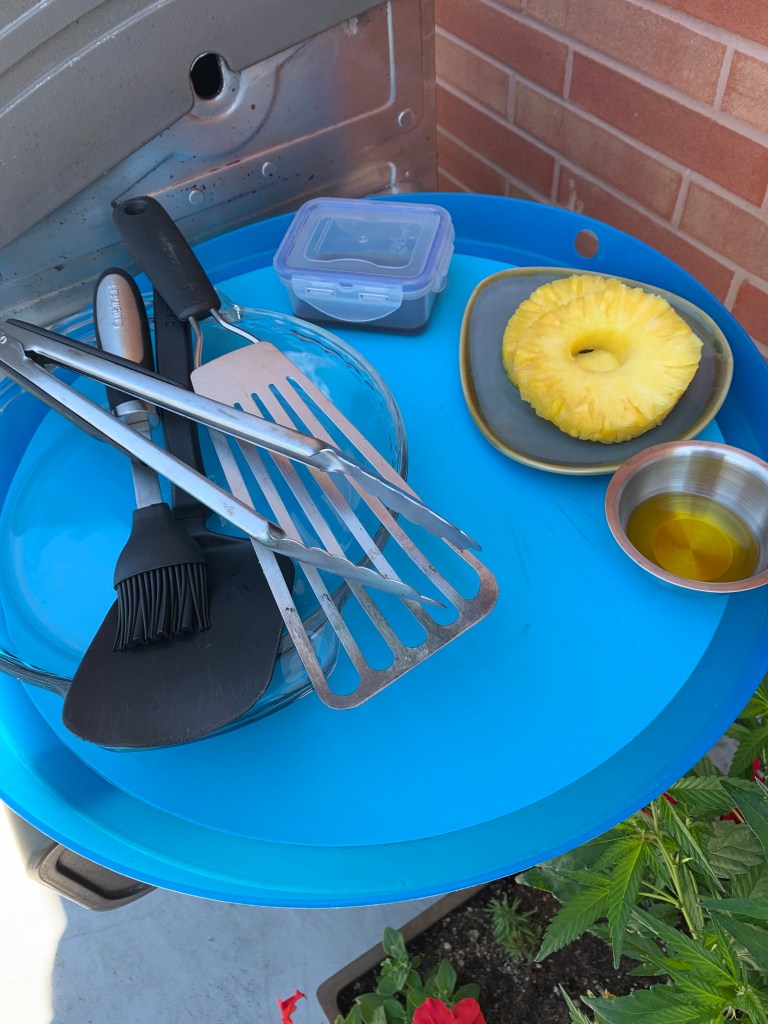
I slice a pineapple to create 1/4 inch sized rings. These can be sliced even thinner if you don’t want pineapple becoming the boss of your burger.
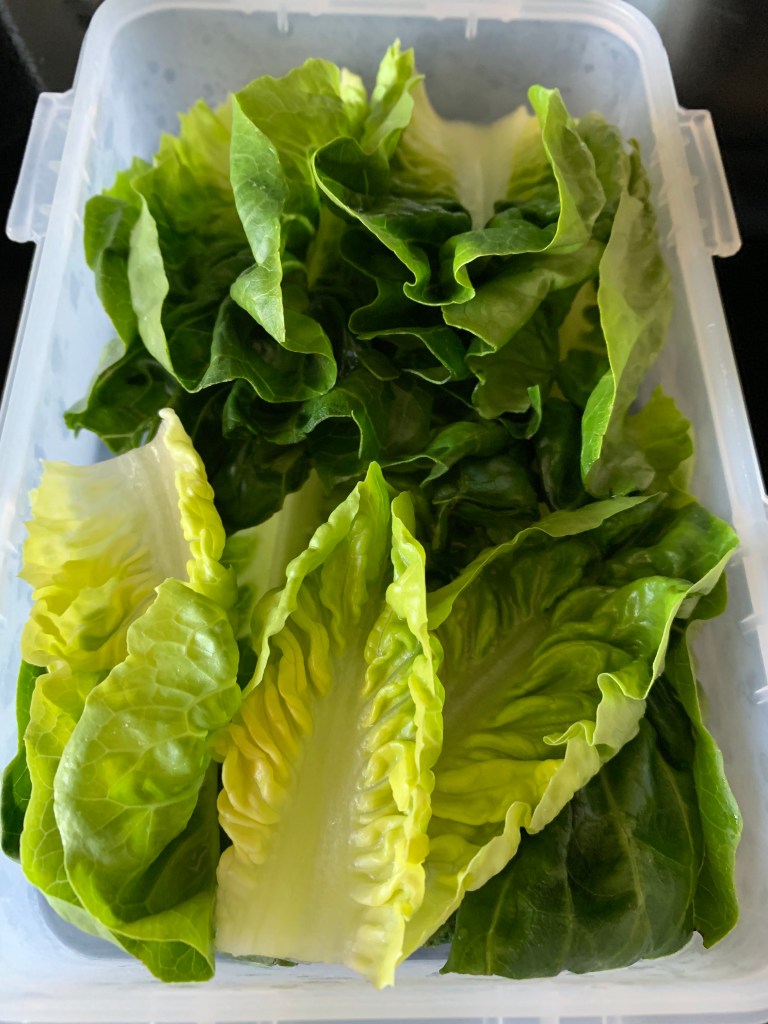
I wash and dry these sweet little gem lettuces. They’ll go on top of the mayo, underneath the burger.
I slice open some lovely burger buns from Blackbird Baking Co. Everything’s ready but the chicken burgers.
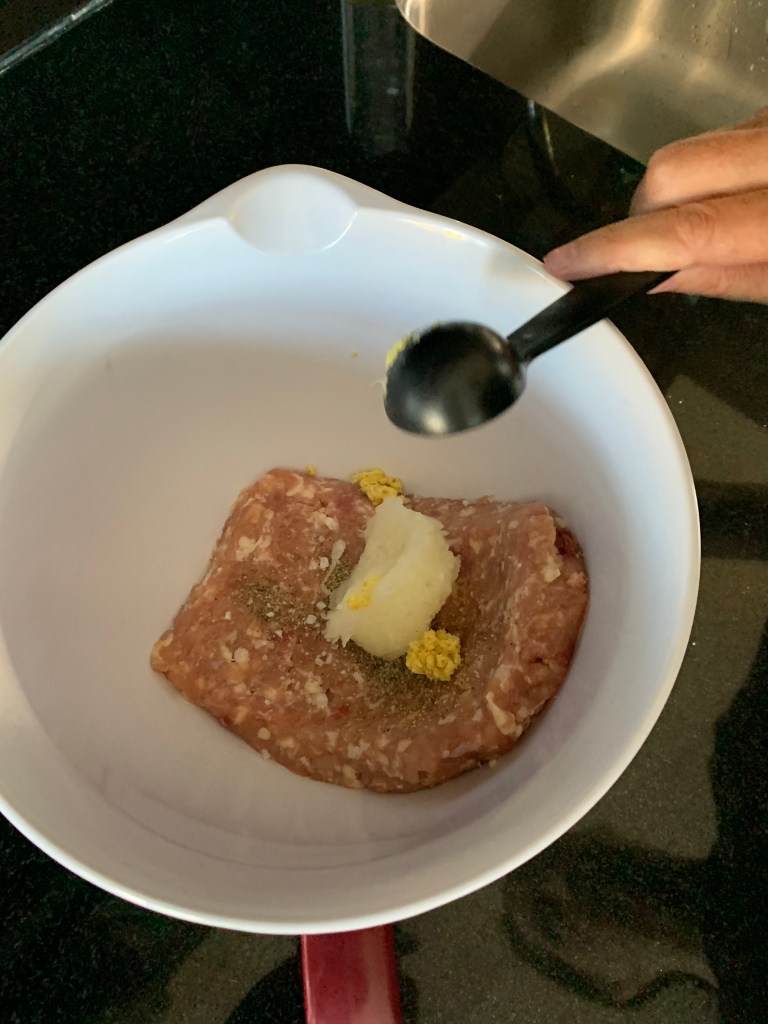
Now for the part I really, really hate: working with raw meat. I’ve got 1 lb of ground chicken thighs from Rowe Farms, my trusted meat supplier. In a bowl, I add the grated onion and ginger, as well as salt and pepper to taste.
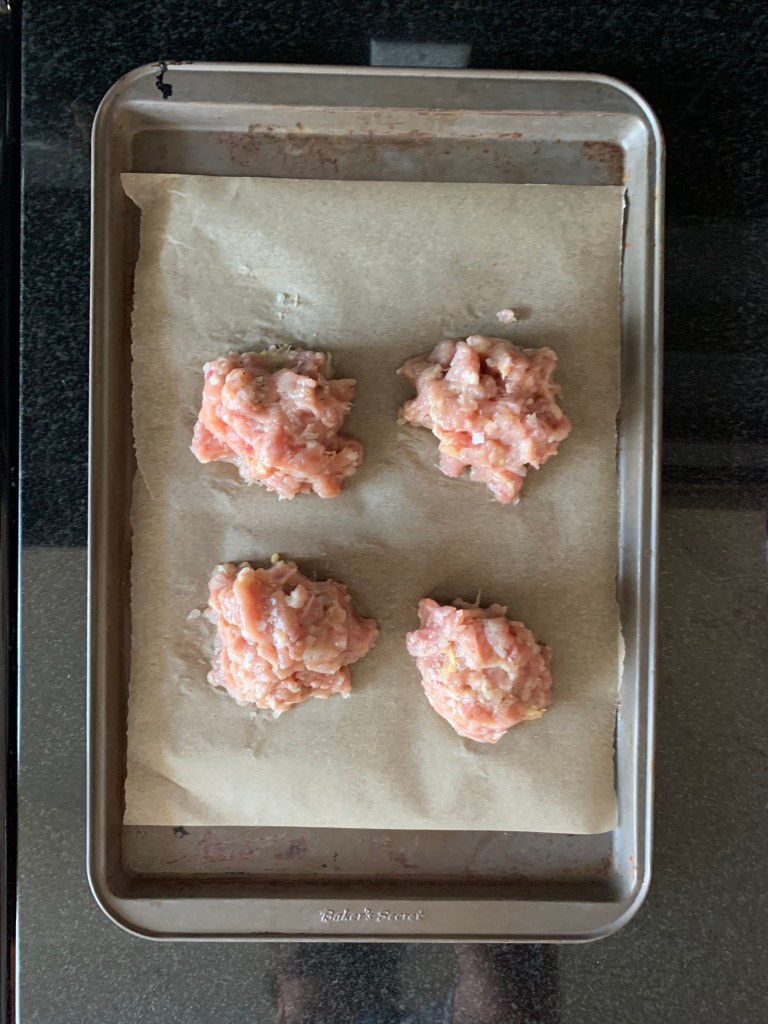
Using my hands, I gently work that into the chicken, just enough for the ingredients to incorporate. Then I form them into loose balls, placing them on a baking tray lined with parchment paper.
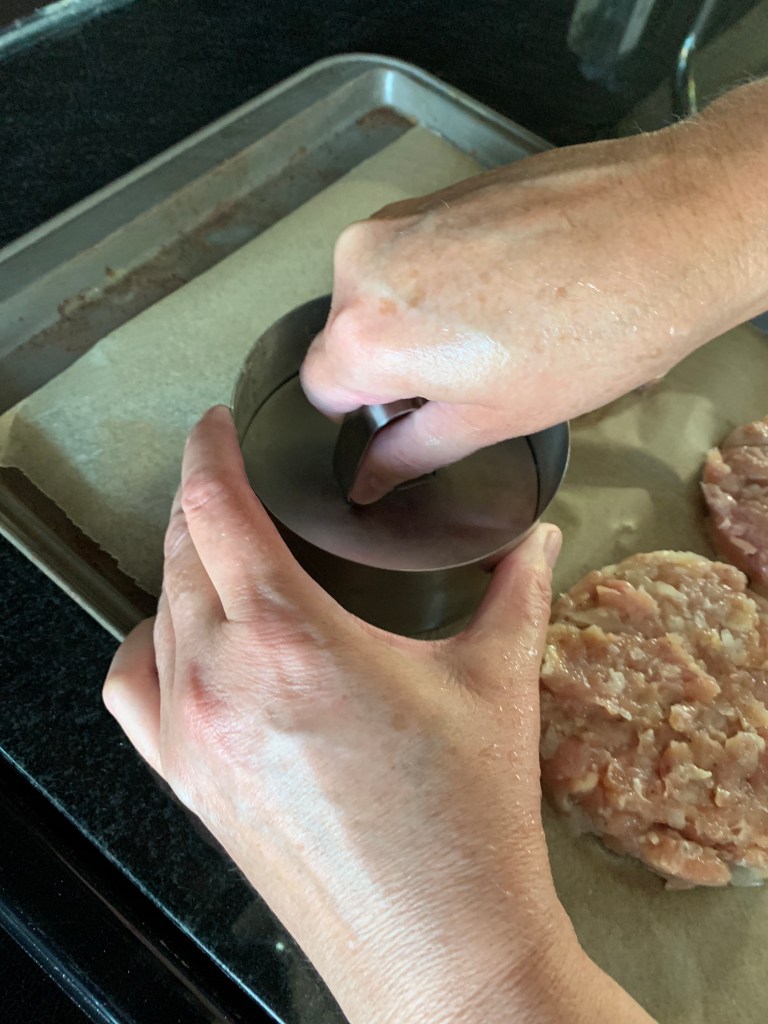
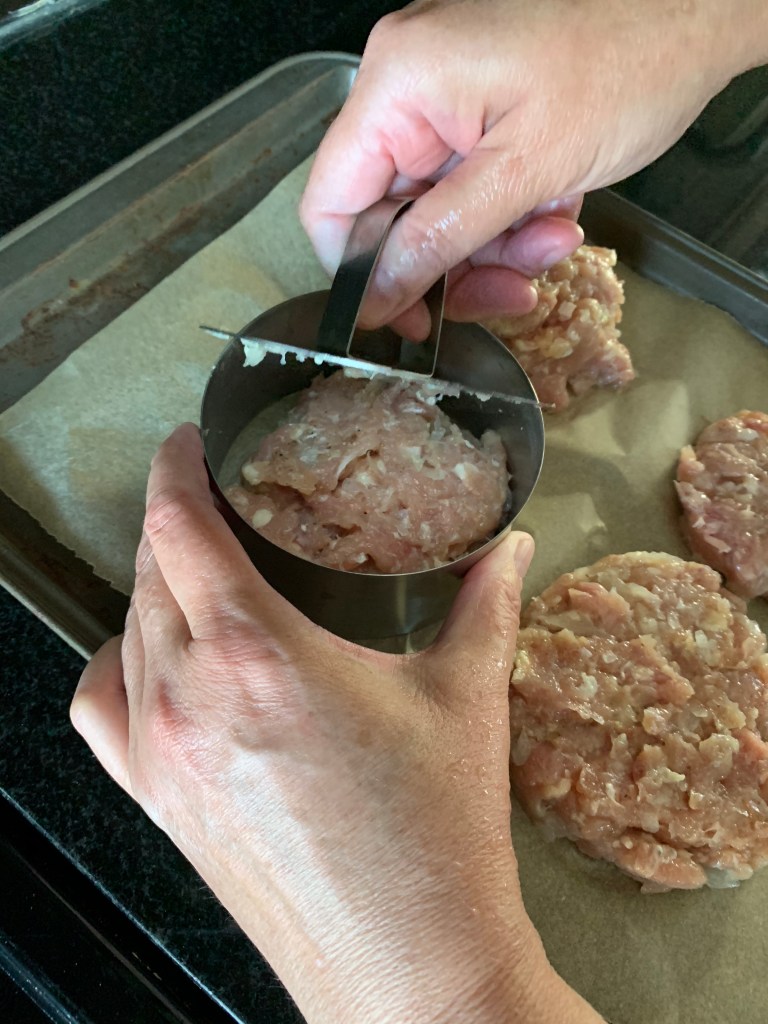
At this point you can form the burgers by hand or, if you have a metal ring mould and press, put that into action.
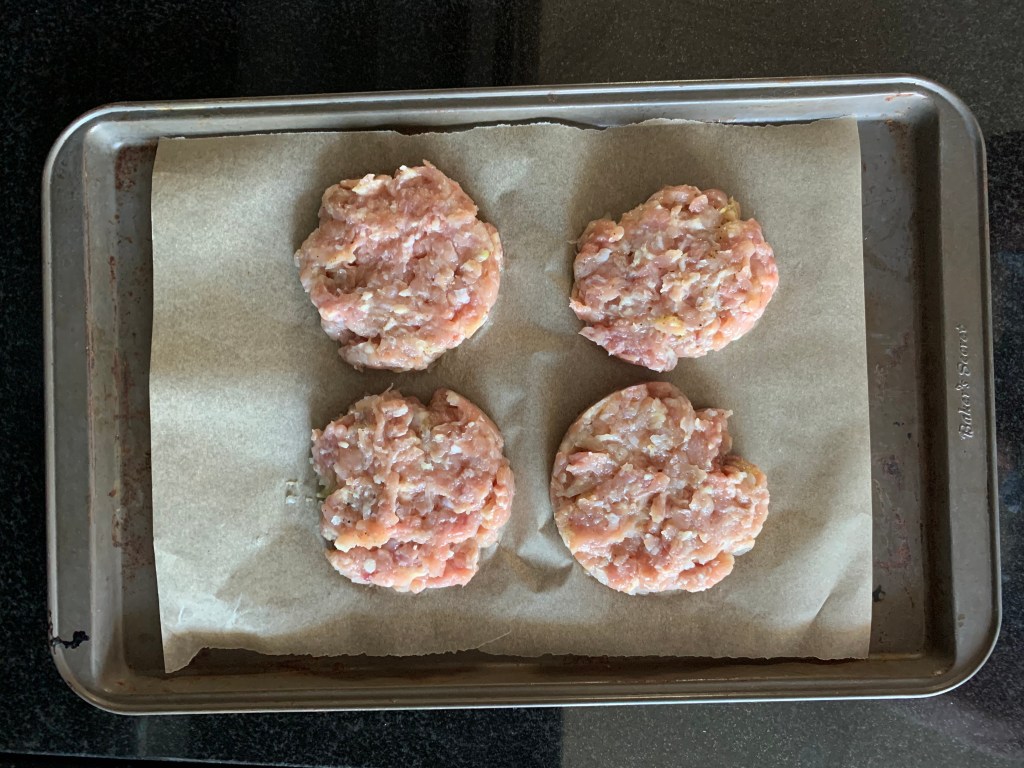
I cover those with plastic wrap and let them chill in the fridge for a half hour. Now I’m ready to grill.
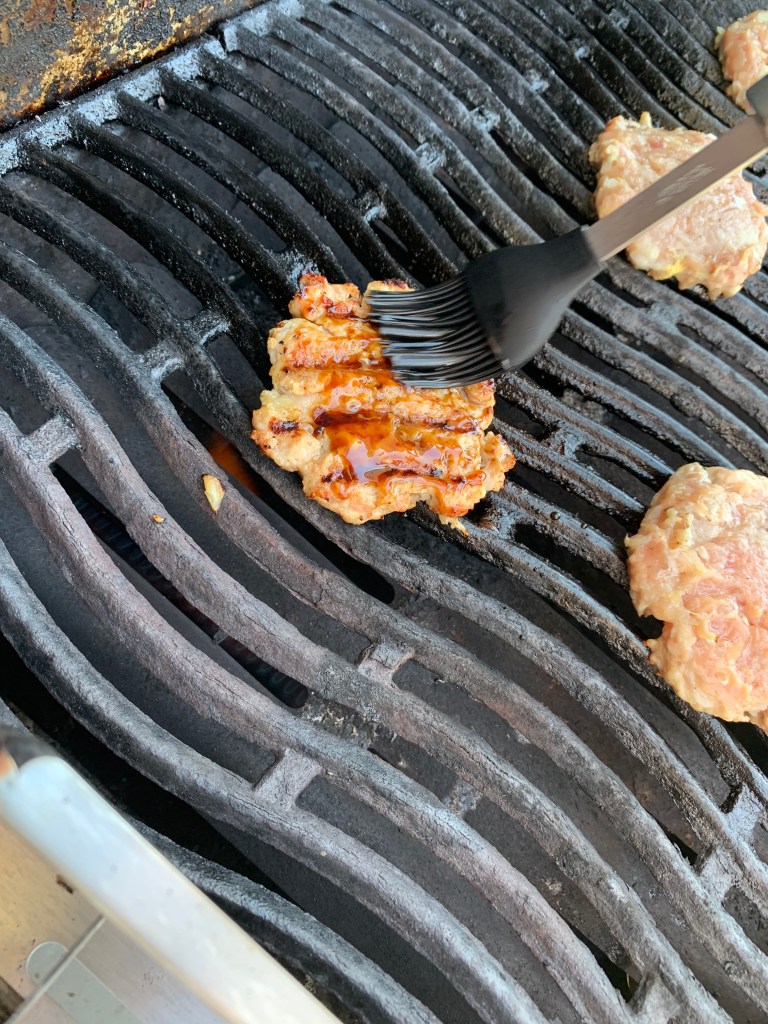
The BBQ is set high — at 500 F and the grill grates have been brushed with olive oil to prevent sticking. On go the burgers for about 3-4 minutes per side. Once the bottom is cooked (you’ll know because the burgers will release from the grill), flip and brush the cooked side with some of the reserved teriyaki sauce.
Get those pineapple rings on the grill and cook them on both sides to get grill marks (about 3 minutes in total).
Everything’s ready.
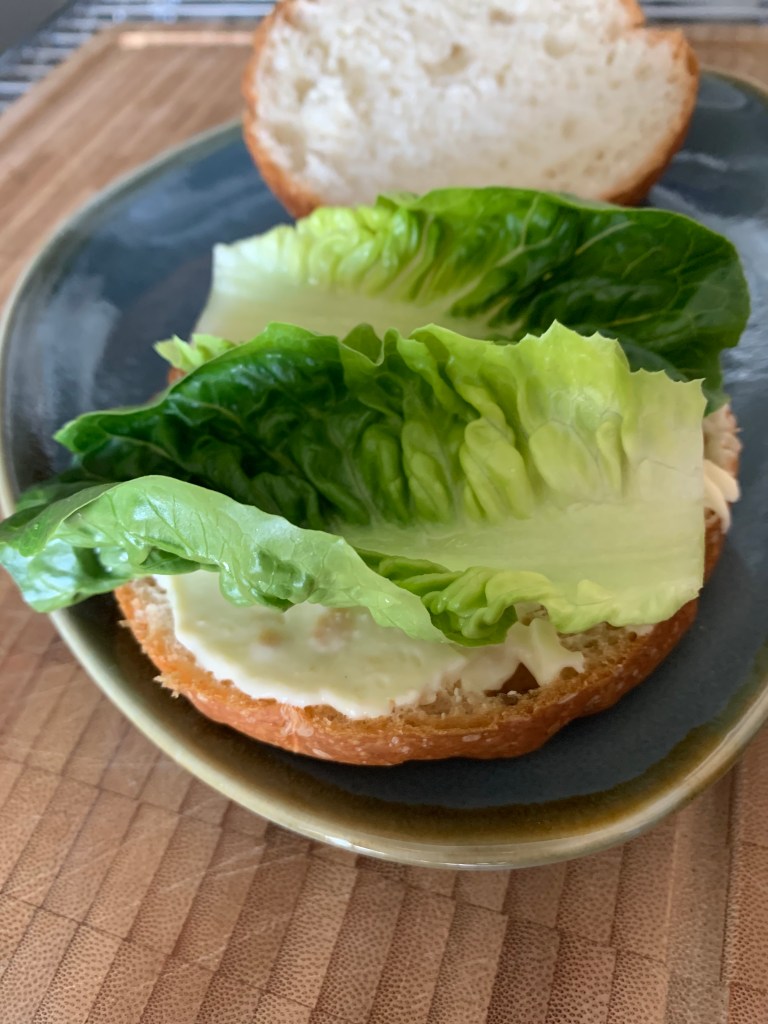
Time to build the burger. Buns down, cut side facing upward. Bottom bun gets painted with the mayo and topped with gem lettuce.
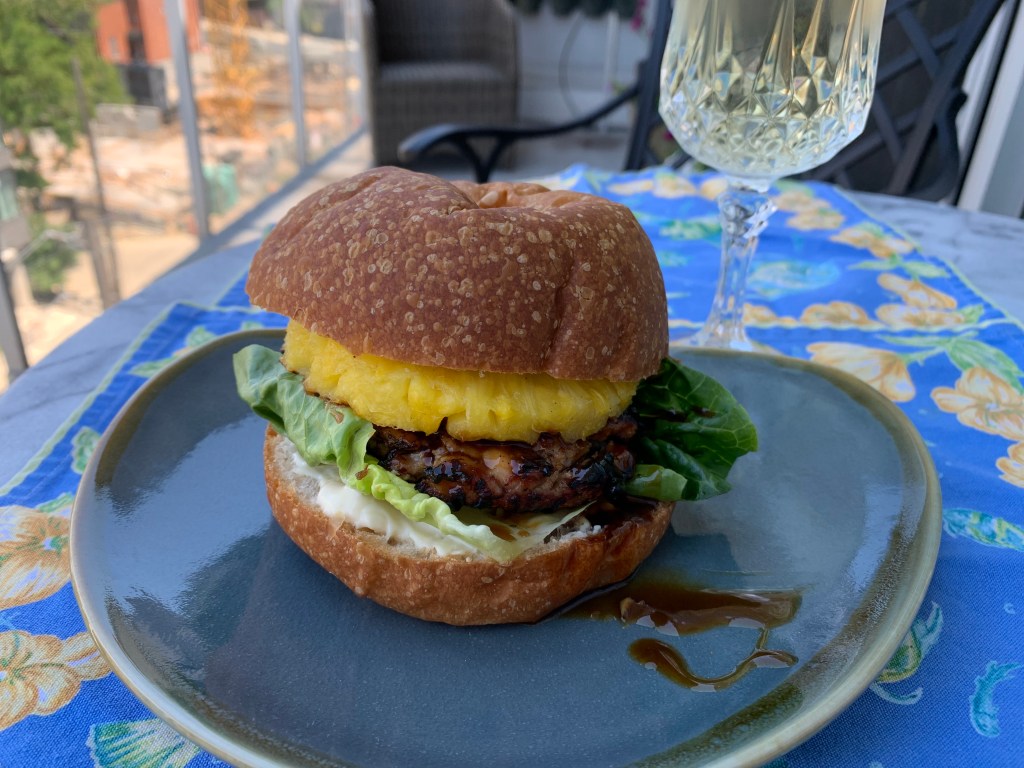
Top that with a chicken burger and drizzle on some teriyaki sauce. Place a pineapple slice on the top bun.
And there it is. My first chicken burger and it’s got a lot going for it. Great char on the burger; a nice smoky flavour. Sticky teriyaki sauce really makes it feel playful. Pineapple is great but adds to the sweetness. Not sure I’d do that again. But the chicken burgers themselves? They’re the star. A great summertime treat.
If I’m at a diner, chances are good that I’m ordering the BLT. But there’s no diner visits during a pandemic, so I’m building a BLAT (bacon, lettuce, avocado, and tomato) sandwich from the comfort of home.
Problem is, we’re out of basic sandwich bread. But wait, no problem at all because Craig is in the mood to make his first ever loaf of bread: Julia Child’s sandwich bread, no less. Let’s see how that goes.
Craig slightly modifies the recipe to measure by weight and he’s using instant instead of dry active yeast. Here’s his recipe for one loaf: 283g warm water 4g instant yeast 6g sugar 360g+ all-purpose flour 5g salt 27g butter, softened
Weigh the ingredients.
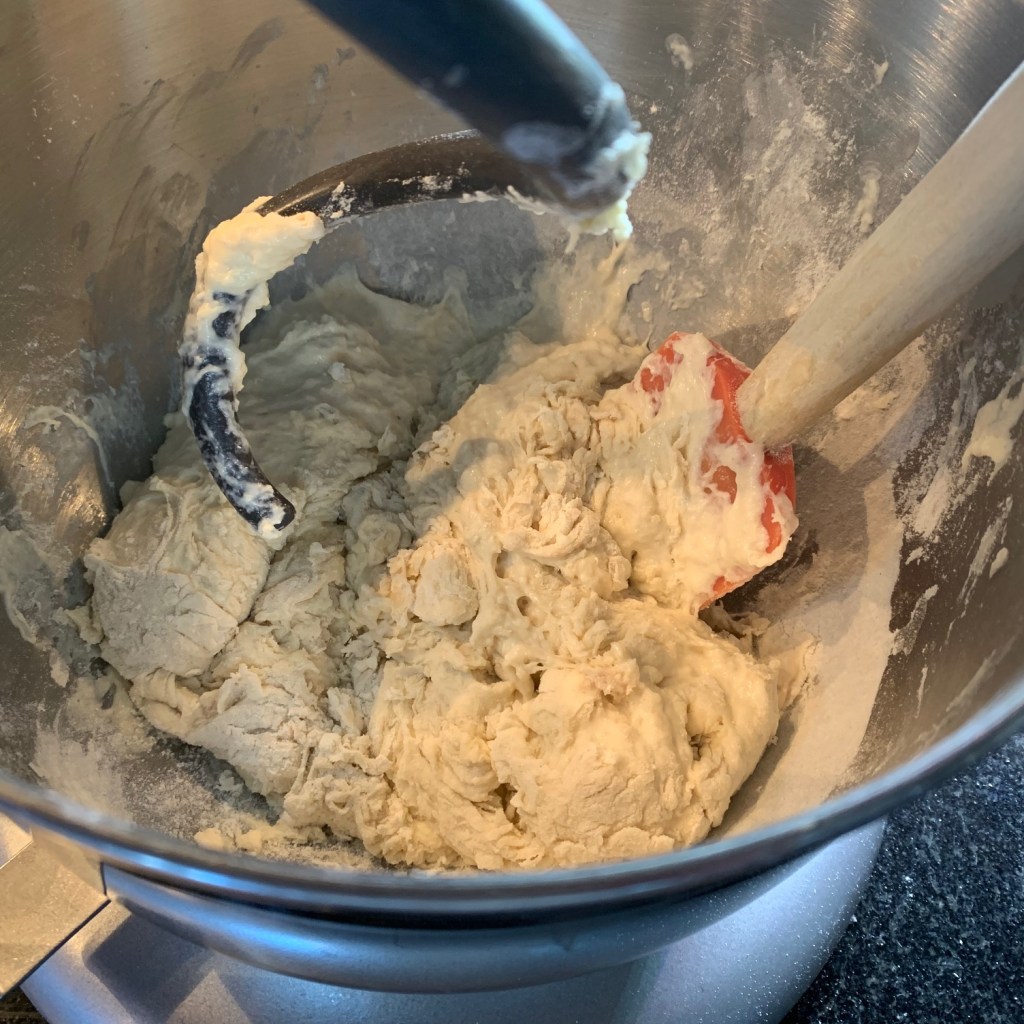
Add the yeast, water and about half of the flour. Stir until well blended. Add the rest of the flour, the salt and butter and stir with the dough hook (or by hand) until well combined and shaggy. Continue to knead (Craig let the dough hook go for about 8 minutes, poking it down once in awhile) until it’s smooth and elastic. You could do this by hand, too.
If you use the dough hook, turn the dough out onto the countertop and knead a few times to make sure it’s evenly smooth. Here’s the dough, ready for kneading.
And after a bit more kneading.
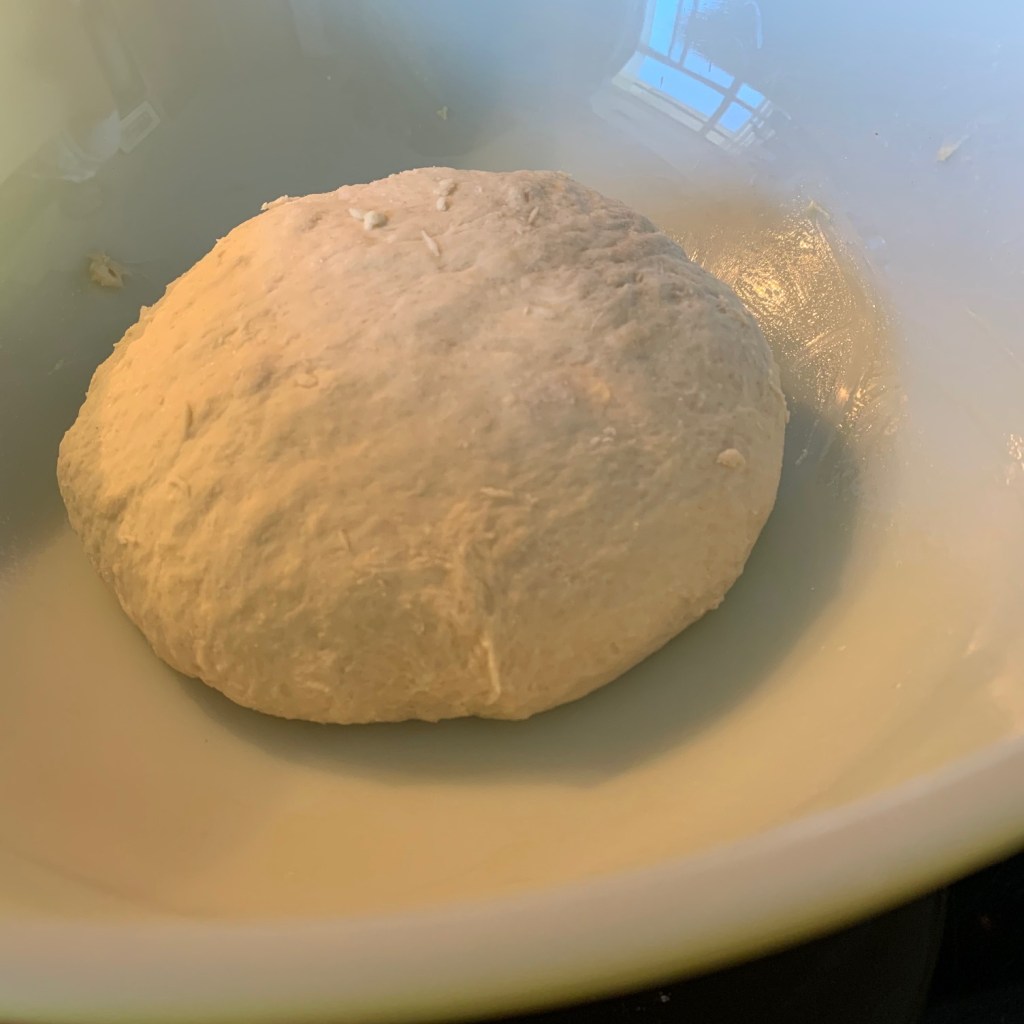
The dough is ready to go into a bowl lined with olive oil for proofing. Cover with a clean damp dish cloth. Let it sit for 1 to 1-1/2 hours, until it’s doubled in size.
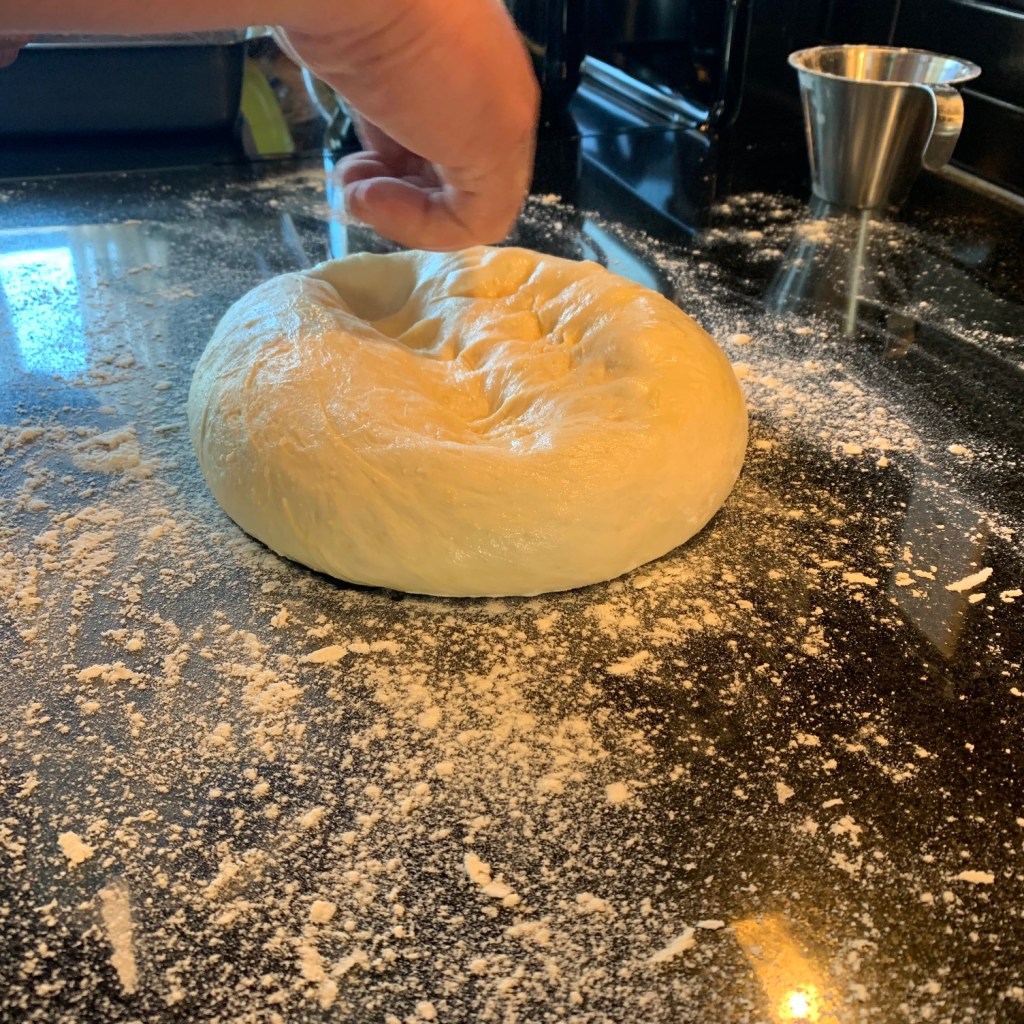
Butter a 4″x8″ loaf pan. Punch the dough down (Craig loves that part!).
Pat each piece into a rectangle that’s about 9″x12″, or a bit bigger than a standard piece of paper.
Starting at a short end, fold it in thirds, like a letter.
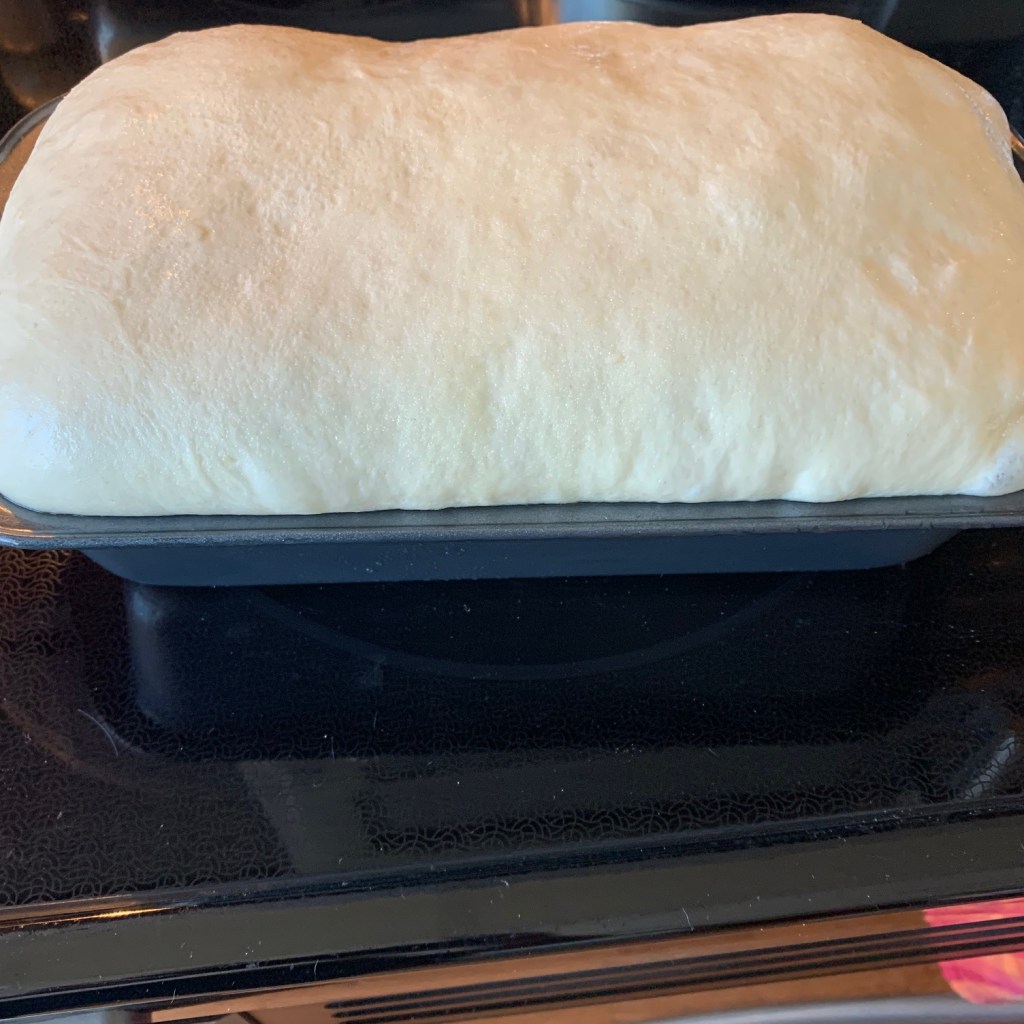
Place seam side down in the loaf pan, tucking the ends in. Cover with the tea towel again and leave it for an hour, until it puffs right up out of the pan.
That bread is ready to go into a preheated oven (375 F). Put the rack in the middle of the oven. Bake for 30-35 minutes, until the loaf is honey brown. Immediately turn the loaf out of its pan and onto a rack to cool.
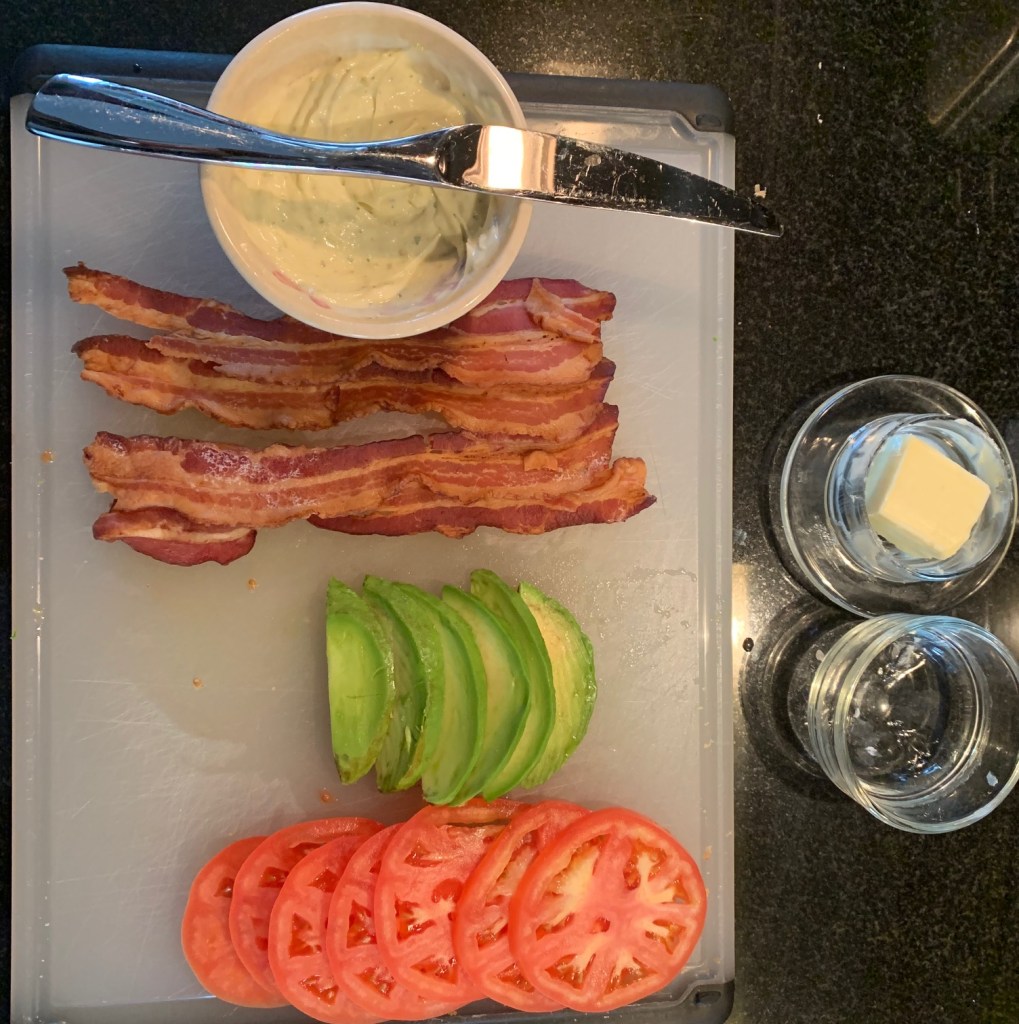
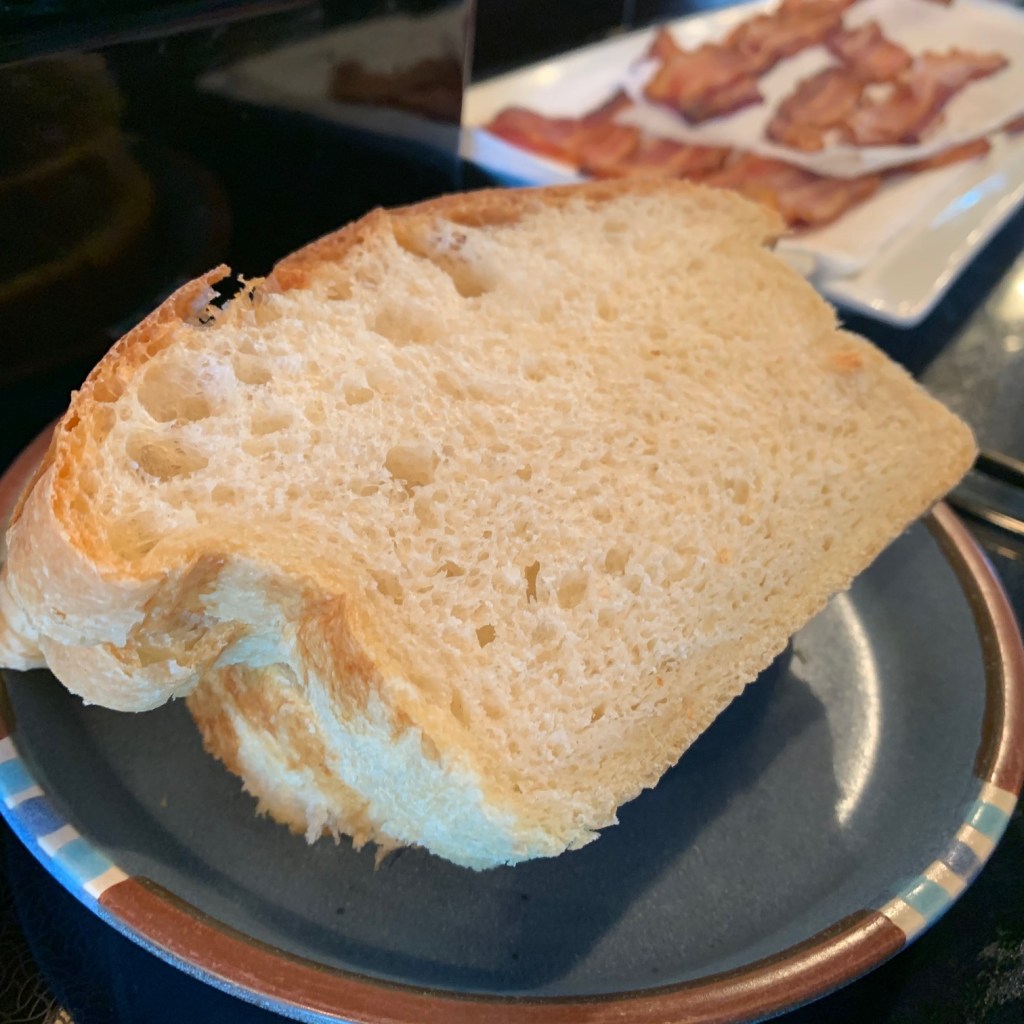
Once it’s cool, we’re ready to make our sandwich. Bake a package of bacon on a foil-lined pan at 350F for about 20 minutes or until crisp. Slice the bread.
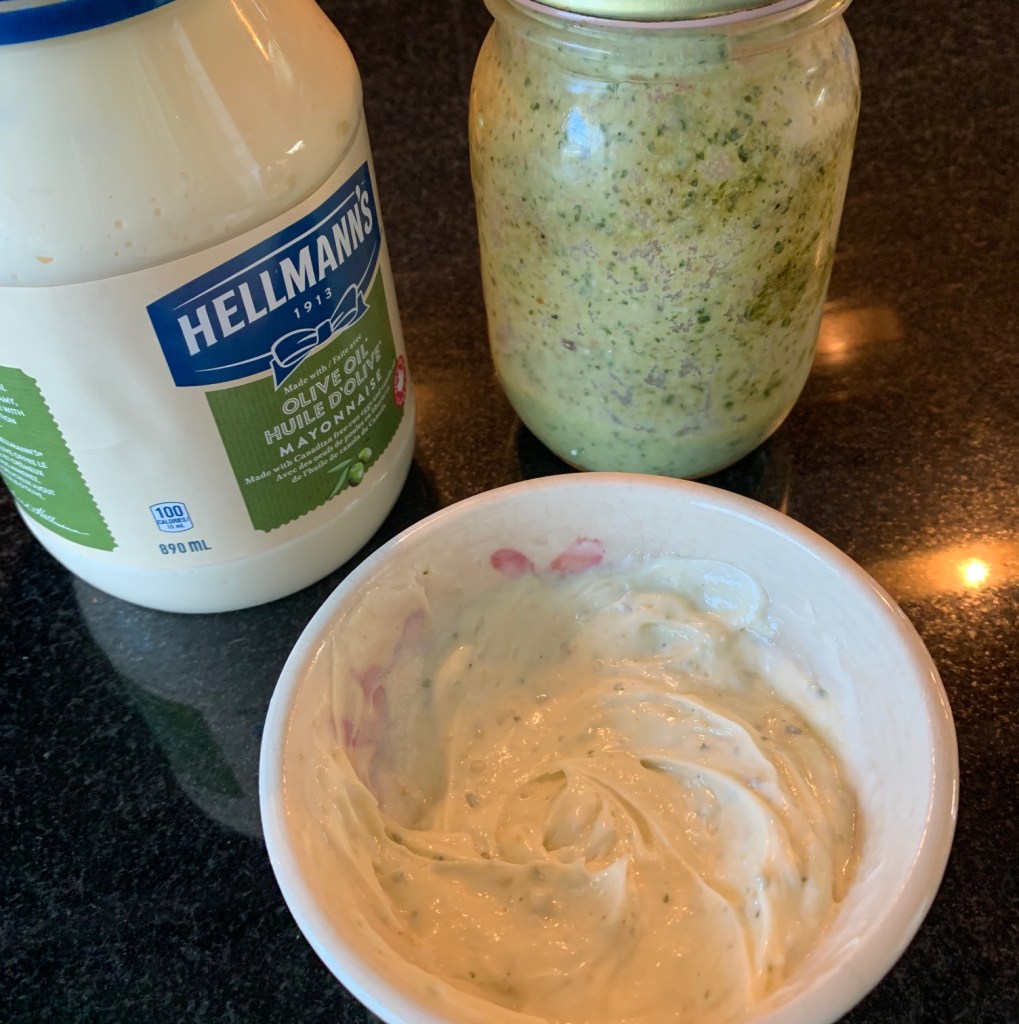
I’m making a pesto mayo by combining 1/4 cup Hellmann’s mayonnaise with 2 tbsp of homemade basil/walnut pesto that we had sitting in the fridge, like a patient friend waiting to get pressed into service. Always great to have on hand.
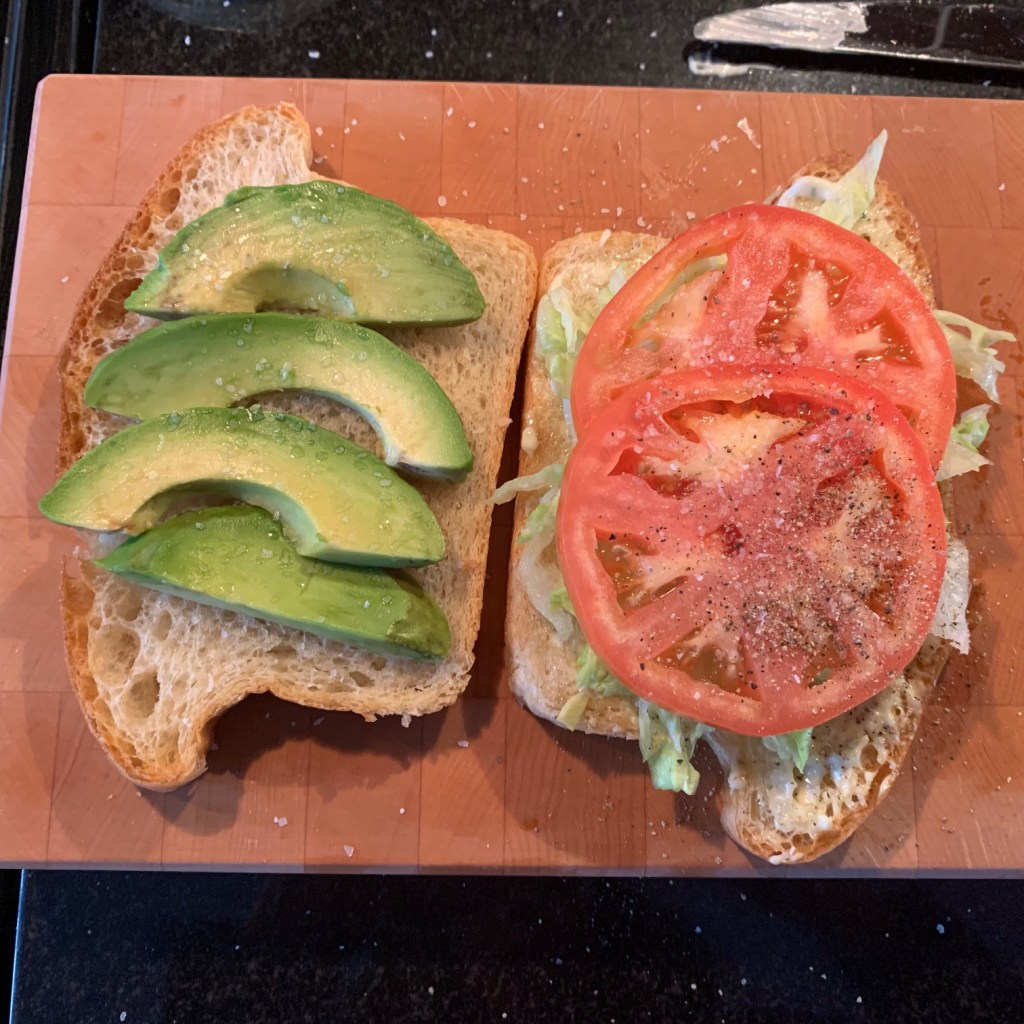
Slice tomatoes and avocado. Take iceberg lettuce and thinly shred a few healthy handfuls of it to make the shreddice. Butter the bread on one side only and in a medium fry pan, toast the bread butter side down. Don’t skip this part—I promise you, it elevates the sandwich.
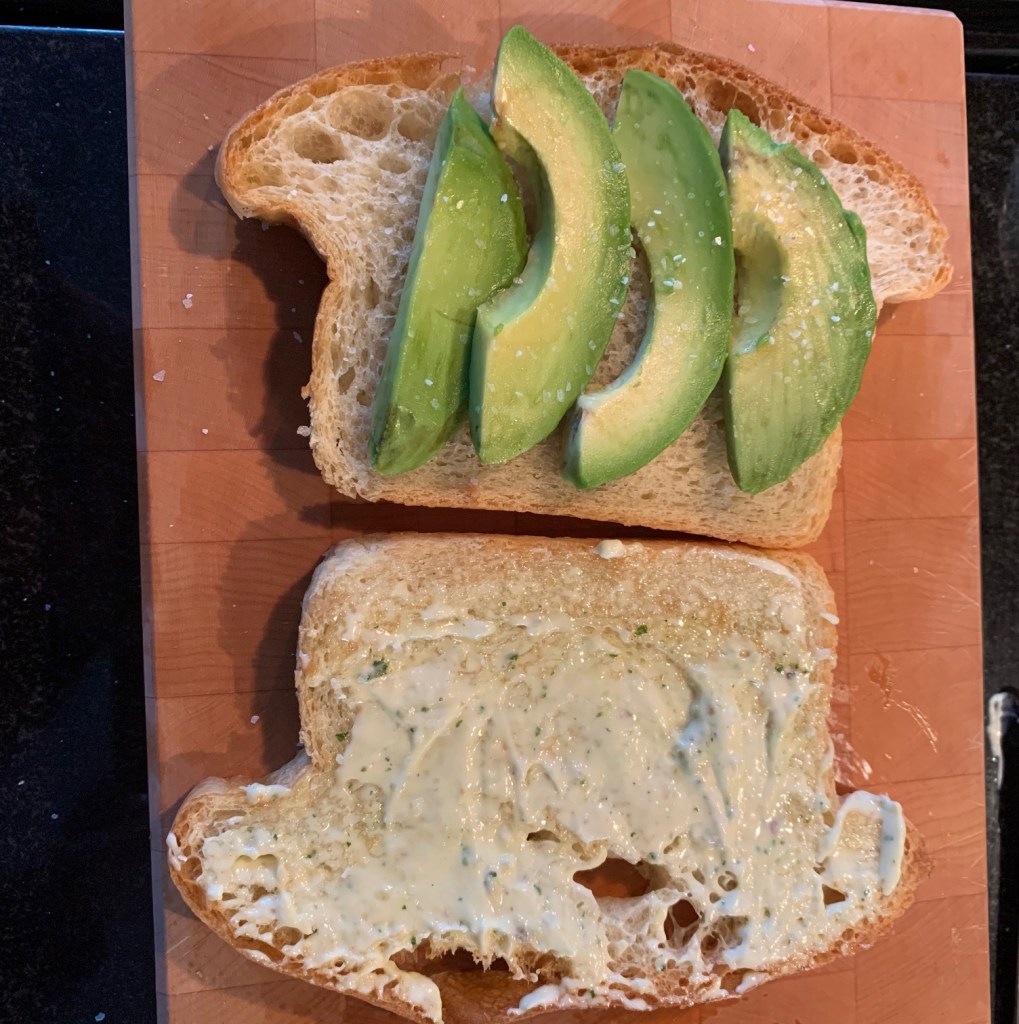
Time to build! Pesto mayo goes down on one unbuttered side of the toasted bread, avocado on the other, seasoned with sea salt.
Add tomato, seasoned with salt and pepper, and shreddice on the mayo side.
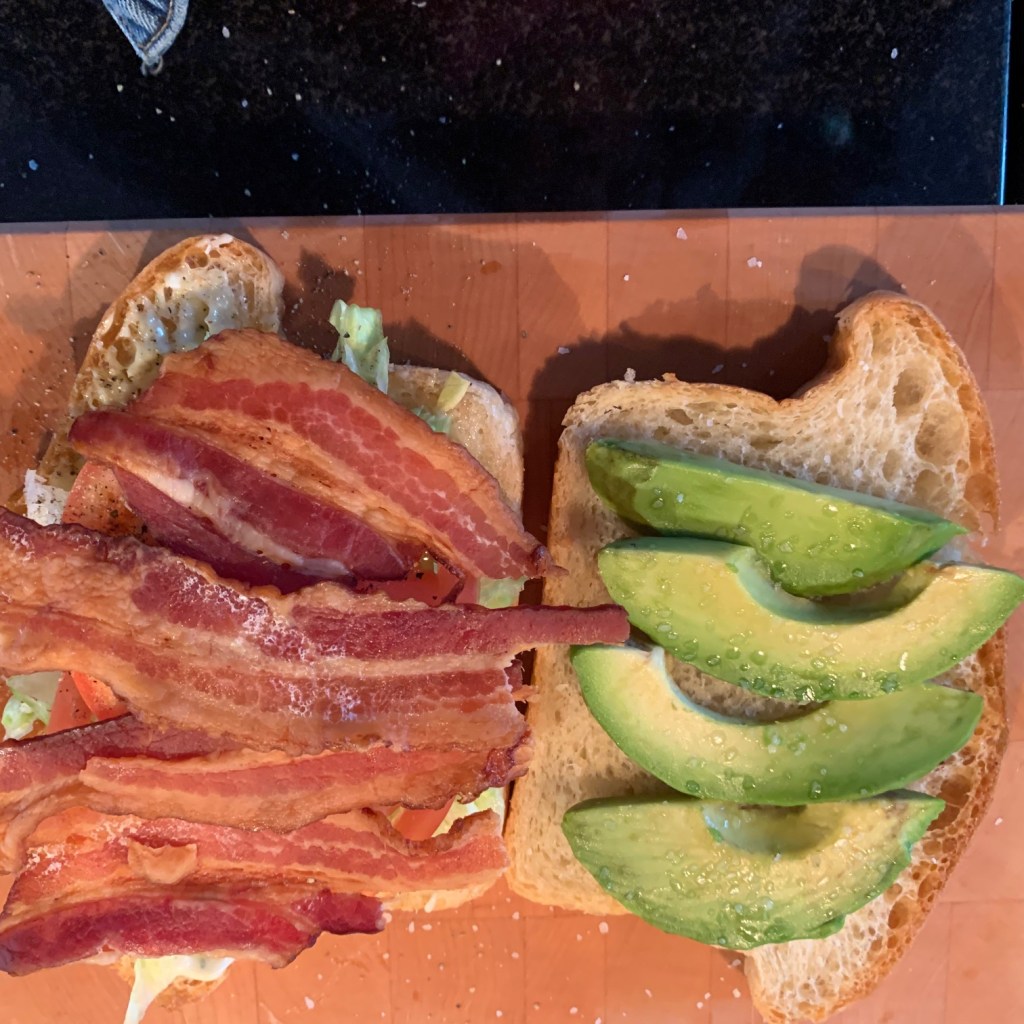
Crown with crispy bacon.
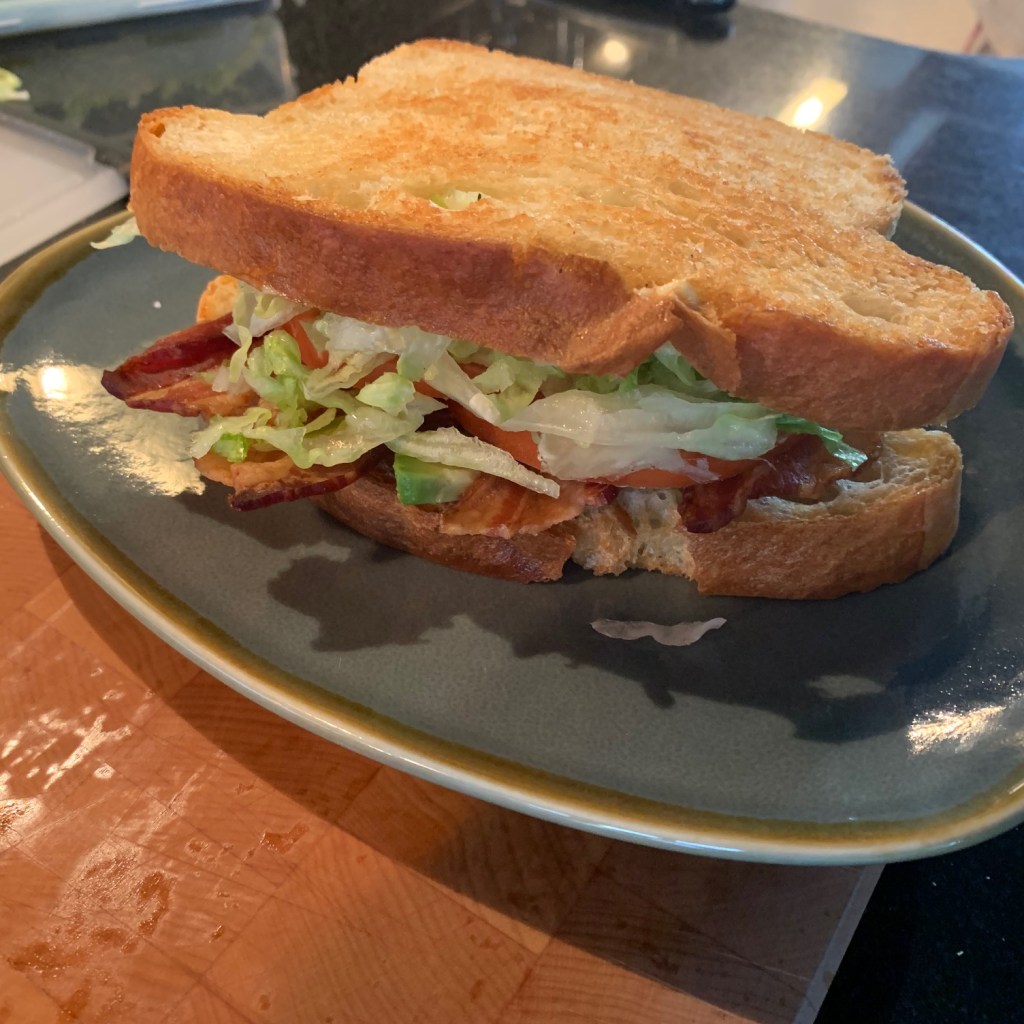
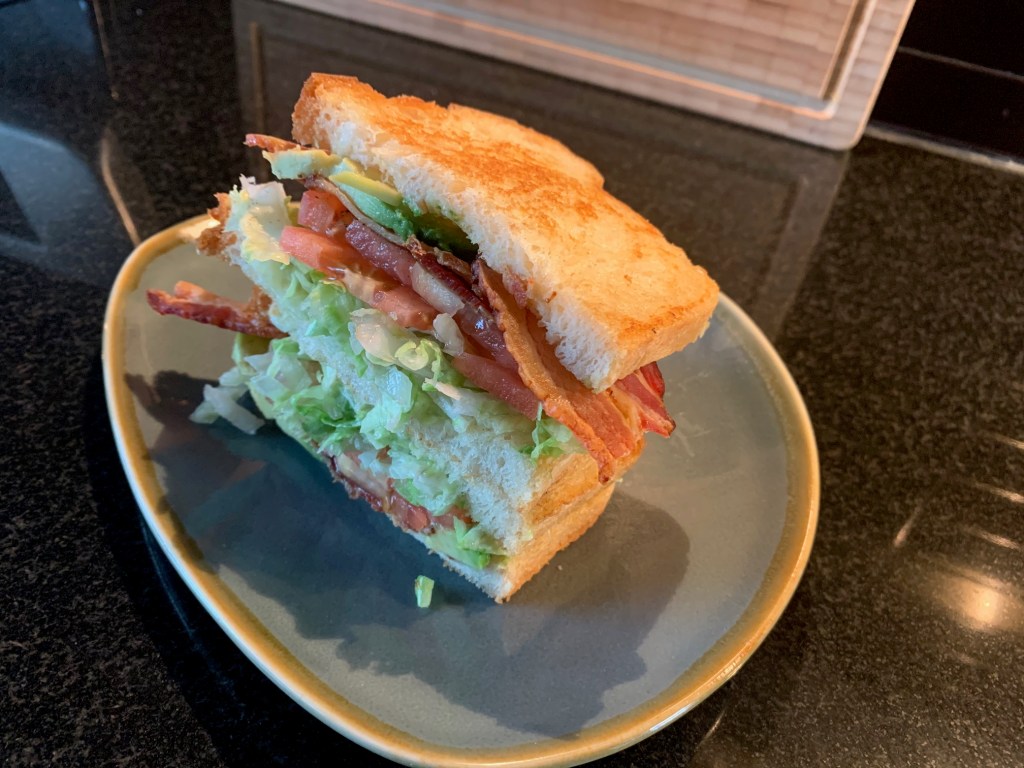
And you have got a diner worthy sandwich that I personally think is underrated. Warm toasted homemade sandwich bread, crisp, salty bacon, creamy avocado and pesto mayo, cool tomato and shreddice to complete the deal. Best BLT ever.
Some sandwiches are a breeze to pull together, others are a commitment. The delightful falafel sandwich is a full-on project, but well worth every step.
And there are many steps: make the falafel balls, make and fry the pita dough, make tahini sauce and a yogurt sauce from scratch (or toum!), marinate sliced onions in lemon juice and sumac, prep the pickle spears (and pickled turnip if you have it).
Let’s start with the falafel mix, which can be made a day ahead of time and kept in the fridge. I scoured the internet for falafel recipes and couldn’t find one alike. I did find a consensus on this point: dried chickpeas are better than canned chickpeas, so I went this route.
I like this falafel recipe the best, but failed to execute it properly, so I had to start all over again. This Food 52 version seems a little less authentic because it involves egg and bread but I decided that might help with the texture, which I failed to nail the first time around. So Food 52 falafel it is, with one adjustment: I used the spices from the original falafel recipe: cumin, coriander, and cardamom. A match made in heaven.
I put 2 cups of dried chickpeas (rinsed) into a pot and generously cover them with water. Put a lid on that thing and let it sit for 24 hours. Note: the pros add 1 tsp of baking soda but I didn’t have any on hand. The next day, drain the chick peas, rinse them, and either put them in a salad spinner to completely dry them off or let sit at room temperature for a few hours, on a dry dish towel.
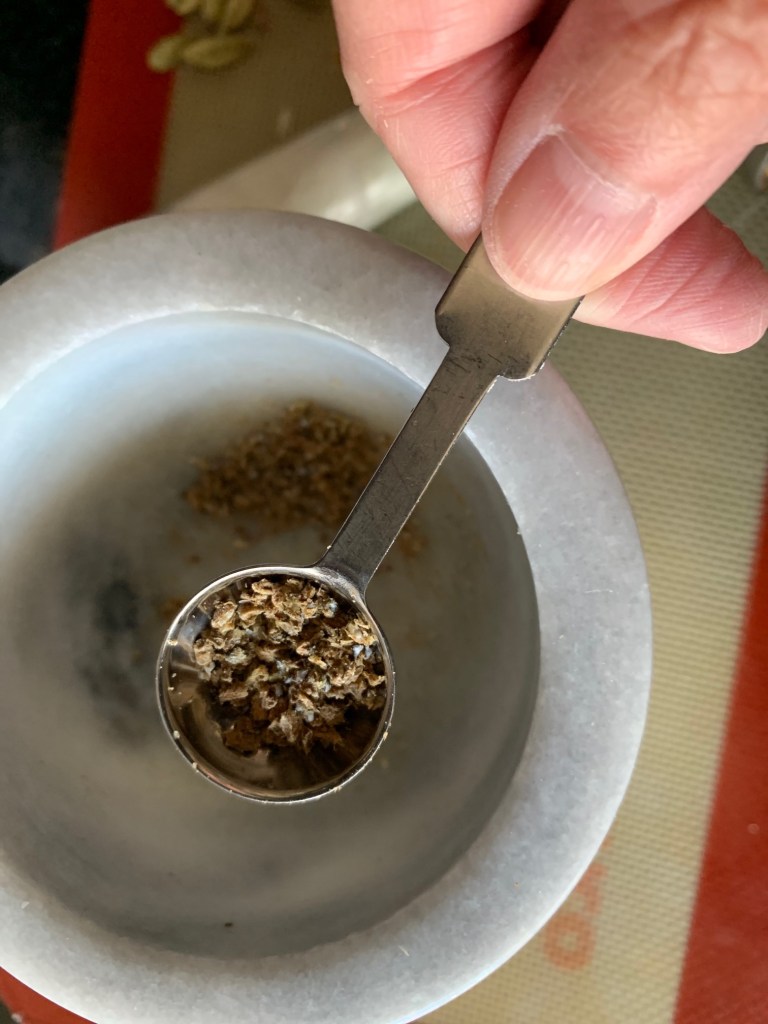
Time to prep the aromatic spices that make falafel such a treasure. In a mortar and pestle, grind 1 tsp cumin and 1 tsp coriander seeds. This might feel tedious, but it’s worth it. Making food is an act of love.
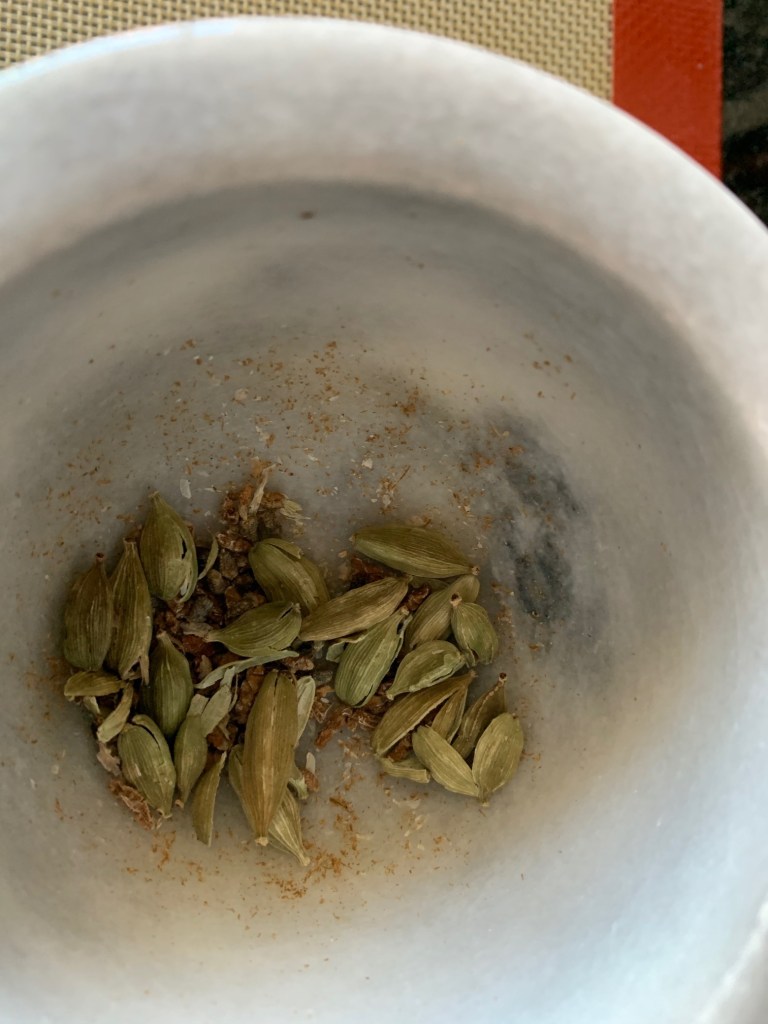
Now take 1 tsp of cardamom pods and smash them in the mortar and pestle to release the seeds.
With your hands, remove the pods, discard, and then, using your pestle to crush the seeds. So worth it.
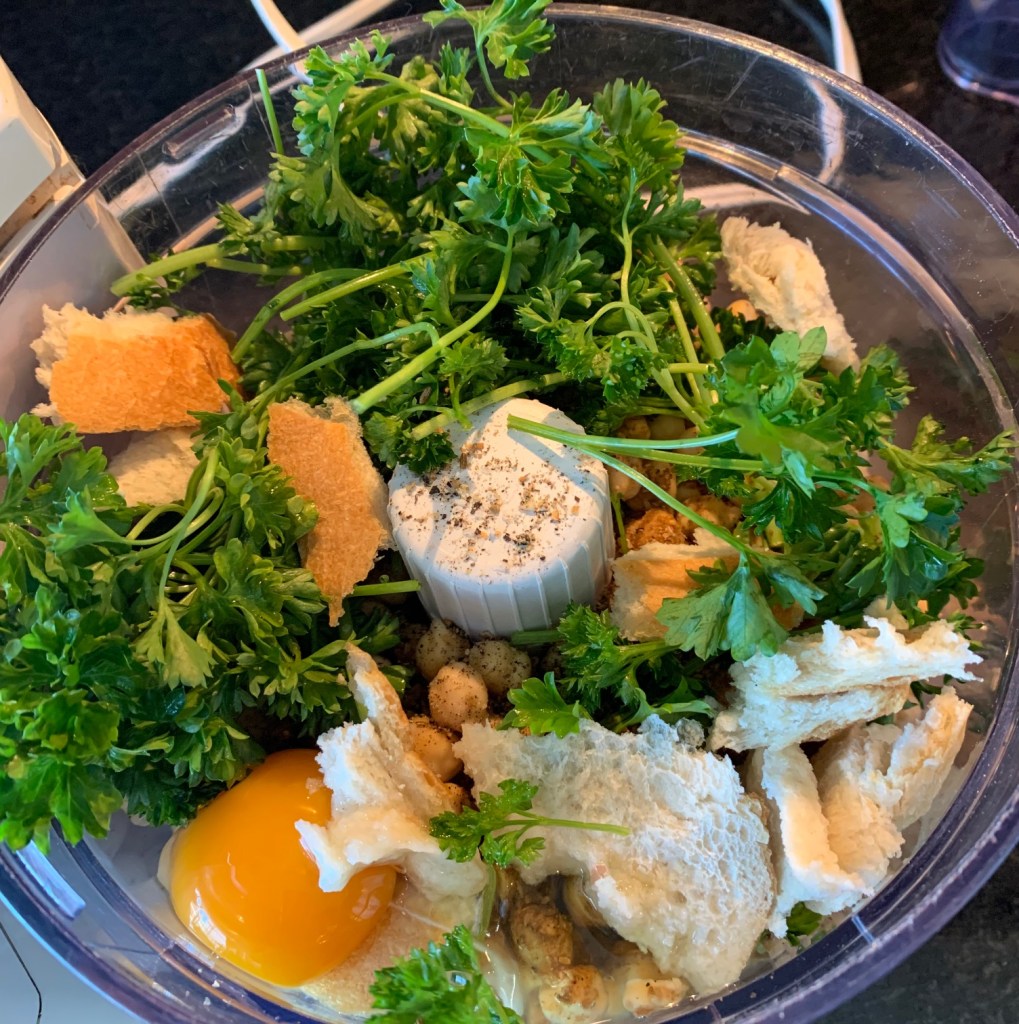
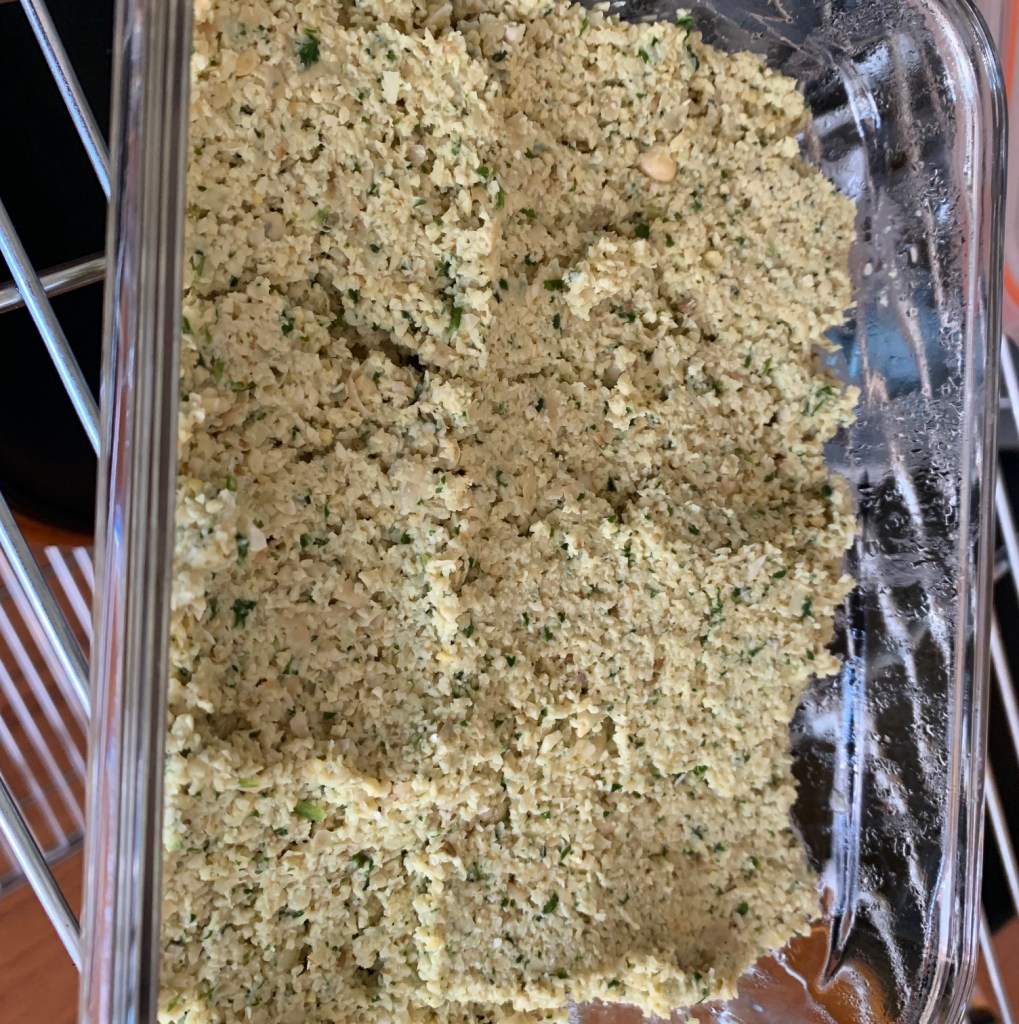
Dump the following in your food processor: chick peas, 1 cup of fresh parsley or coriander, one egg, one piece of torn bread, one garlic clove, the ground cumin, coriander, cardamom, 1 tsp of baking powder, then salt and pepper to taste.
Blitz that until you have a paste that holds together and the dried chickpeas aren’t like little rocks (this last part is how I ruined my first batch). Looks like this.
At this point you can cover your falafel mix, pop it in the fridge for up to a day, and work on your next components.
Up next: homemade pita. This is a really easy recipe that I could probably tackle but, the truth is, Craig is the dough expert in our household so I gratefully hand the blog over to him. He’s using this recipe with some modifications (including halving the recipe) and if you want to learn via video, here you go.
He takes 1-1/4 cup of all-purpose flour, 1/2 tbsp sugar, 1 tsp of salt, 1/2 tbsp olive oil, 1 tsp of instant yeast, 1/2 cup of warm water. He puts everything into a bowl and hand mixes it until incorporated (a shaggy dough). Then he takes the dough out of the bowl and kneads it by hand, using flour on the surface, for about 8 minutes until it formed a nice ball and wasn’t sticking to things anymore. This is the shaggy look.
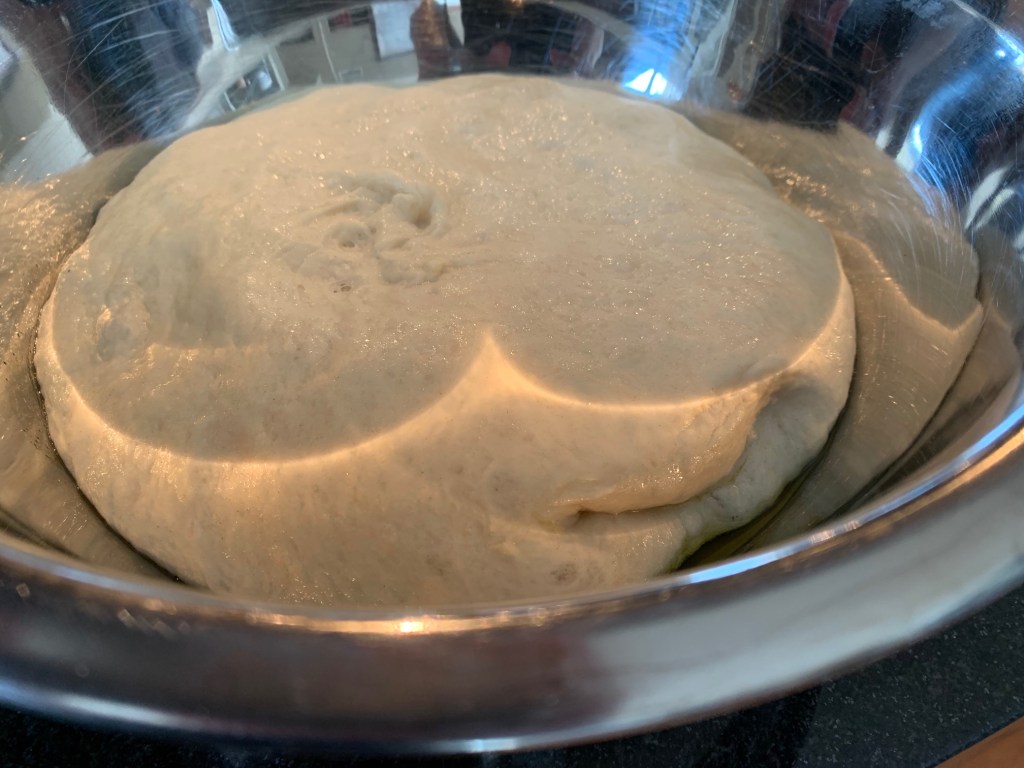
This is after kneading and it goes into a bowl, coated with olive oil to prevent sticking, to proof. It looks like this going in.
Proof in a warm place, covered with a dish cloth, for two hours. Here’s what you get.
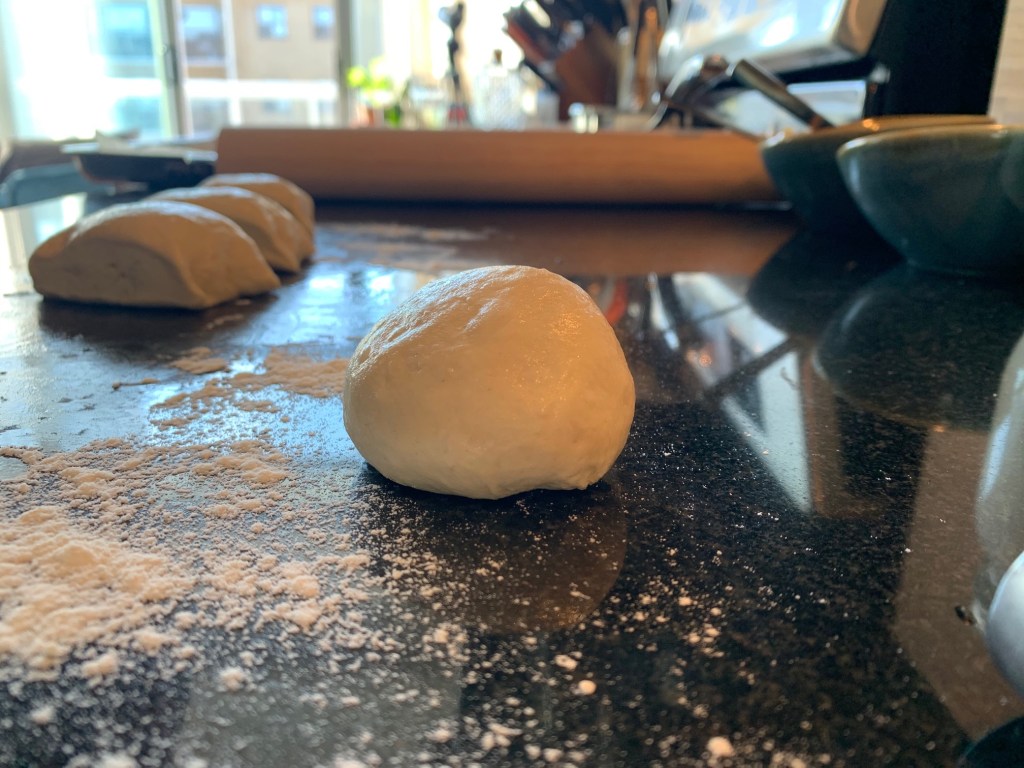
Craig punches it down and that dough goes onto a lightly floured surface. Then he rolls the dough into a log form and, using a bench scraper, he cuts the dough into 5 equal-sized pieces.
The gluten is largely formed at this point, so Craig doesn’t want to overwork the dough. He takes each piece and works it until the surface is smooth, folding the shape inward so you’re continually stretching the surface until it’s nice and even and smooth. Looks like this.
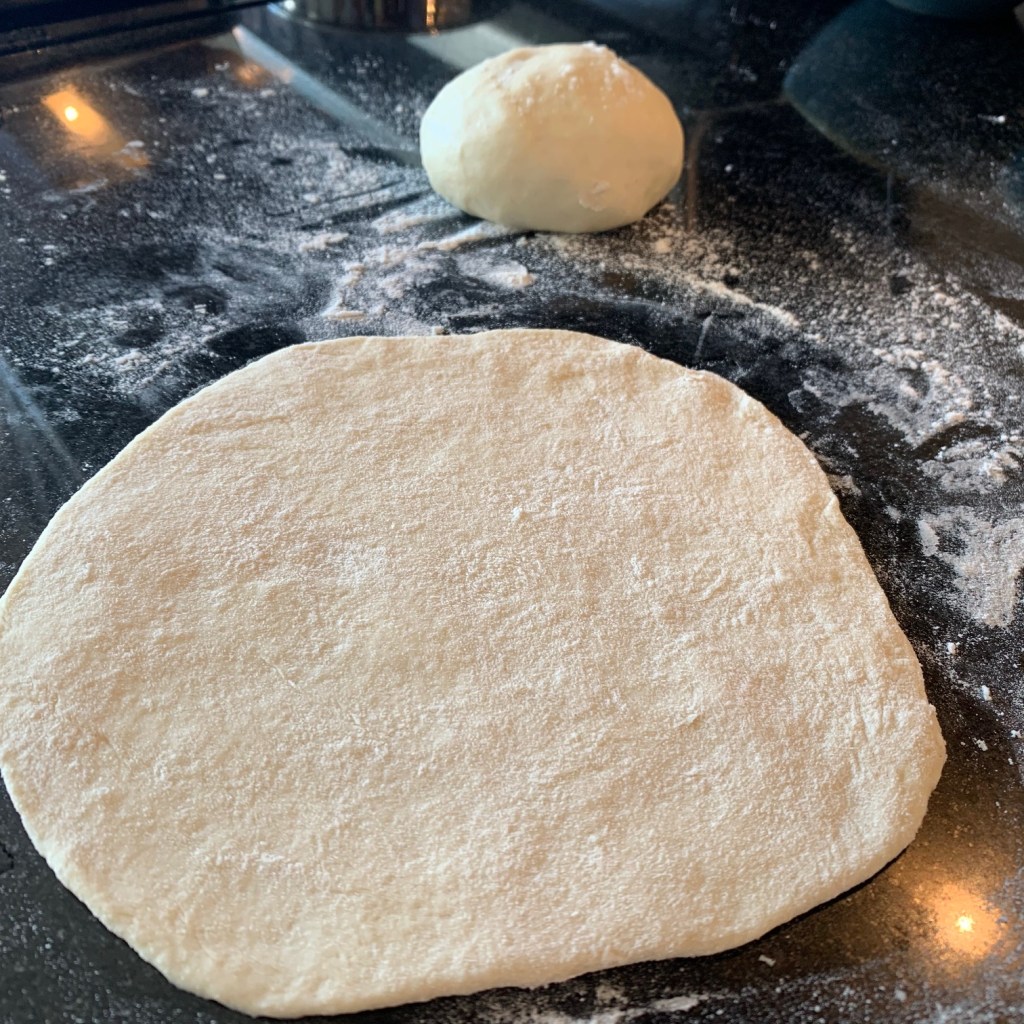
Once the pieces have been formed into balls, he covers them with a damp dish cloth and lets them rest for 30 minutes. Then he takes a rolling pin and rolls them out to a 6-inch circle of even thickness (about 1/4 inch). Looks like this.
He’s got all 5 pitas rolled out, he puts them on a cookie sheet, sprinkles some flour and covers with a damp dish cloth. They rest for another half hour, covered with a dish cloth.
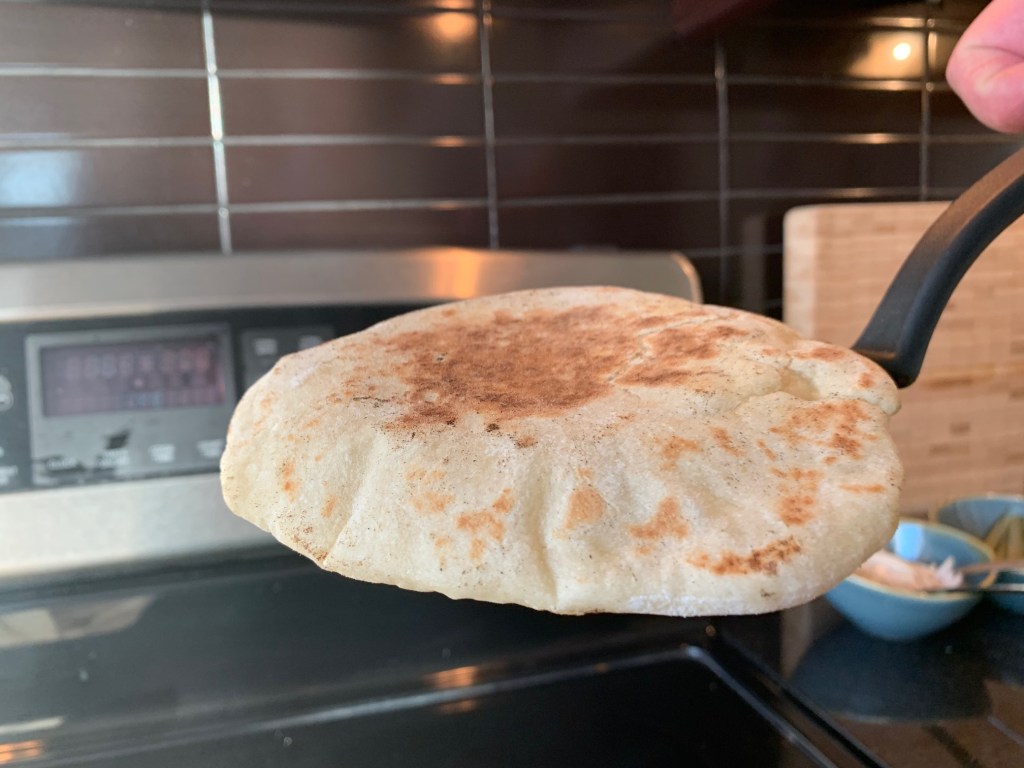
These pitas are ready to fry! And so I’m now back at the helm. I take a hot cast iron pan on medium-high heat, very lightly oiled (with a neutral oil). I place the pita into the pan and when I start to get brown spots on the underside, I flip it (about a minute). Now I let the dough tell me when it’s ready: with any luck, the steam within the dough will start to do its magic and the pita will puff up to form a pocket. Like this. It’s fun and it feels like magic.
Don’t worry if the steam doesn’t form a pocket; you can use the pita as a wrap instead of opening the pocket and stuffing it. Place your warm pitas in a bowl and cover it with a dry dish towel.
As the dough was resting I worked on the toppings.
For the tahini sauce, I take 1/4 cup tahini, 1/4 cup water, the juice of one lemon, and one minced garlic clove (salt and pepper to taste) and mix that until it’s a nice drizzly sauce.
I prefer toum (garlic sauce) for falafel but I’ve got homemade tzatziki in the fridge so it’s going into the sandwich: 1 cup yogurt, juice of half a lemon, one minced garlic clove, 1/4 cup shredded cucumber (salted and juices squeezed out), and mixed herbs (only because I didn’t have dill on hand).
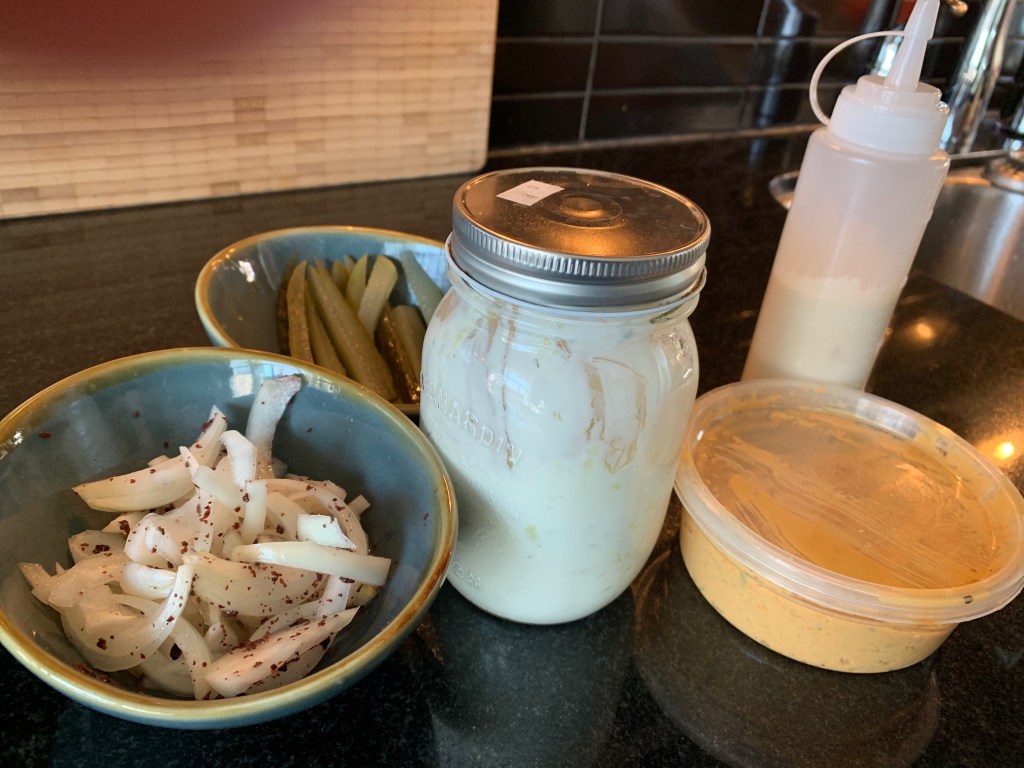
I slice some onions and marinate them in lemon juice and sumac. And I cut dill pickles into thin spears. I adore the traditional pickled turnip that goes on falafel but don’t have the ingredients on hand. There’s a tub of hummus that’ll get used for the sandwich too. Toppings ready to go.
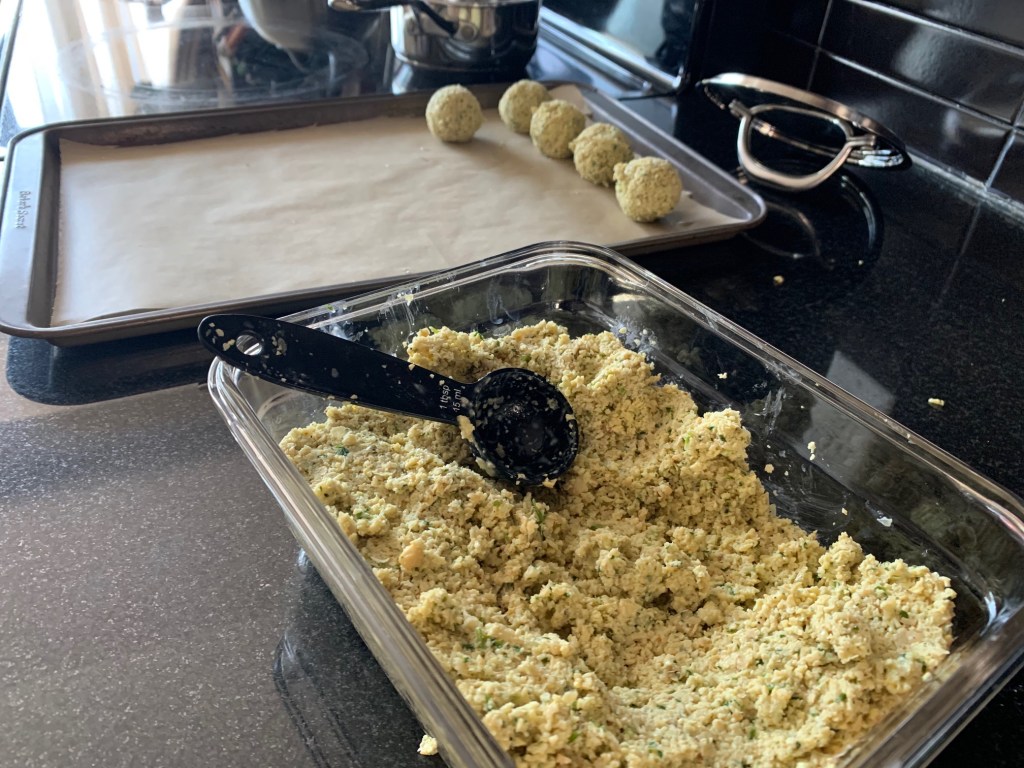
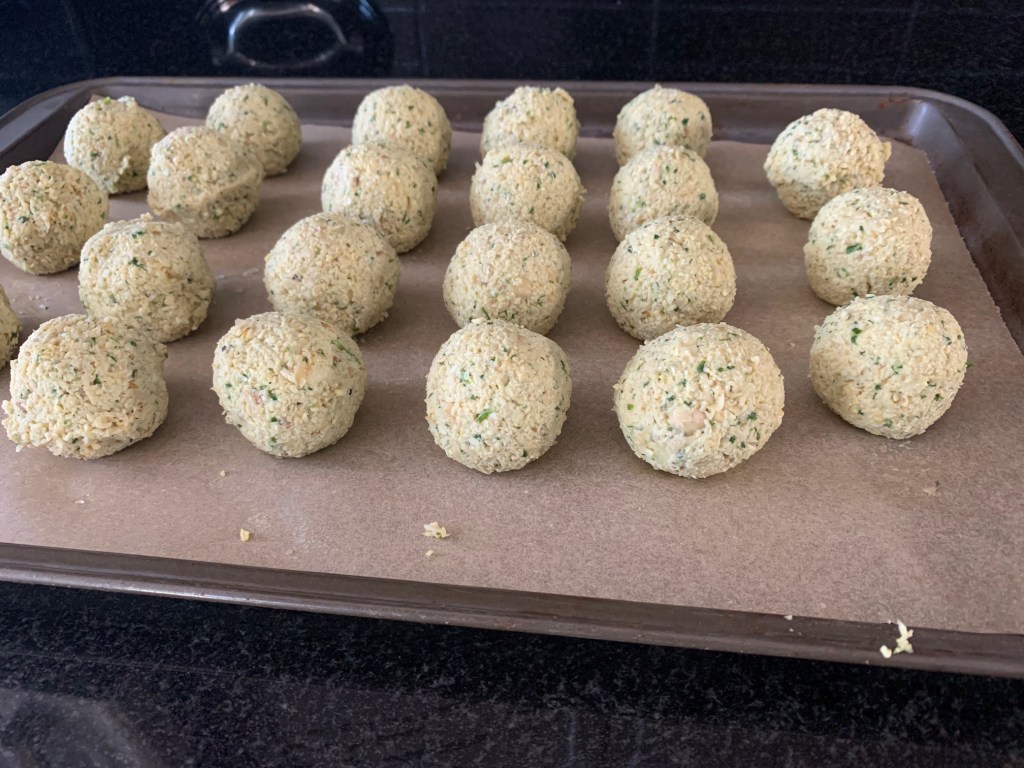
I take my falafel mixture out of the fridge and form them into balls, like this.
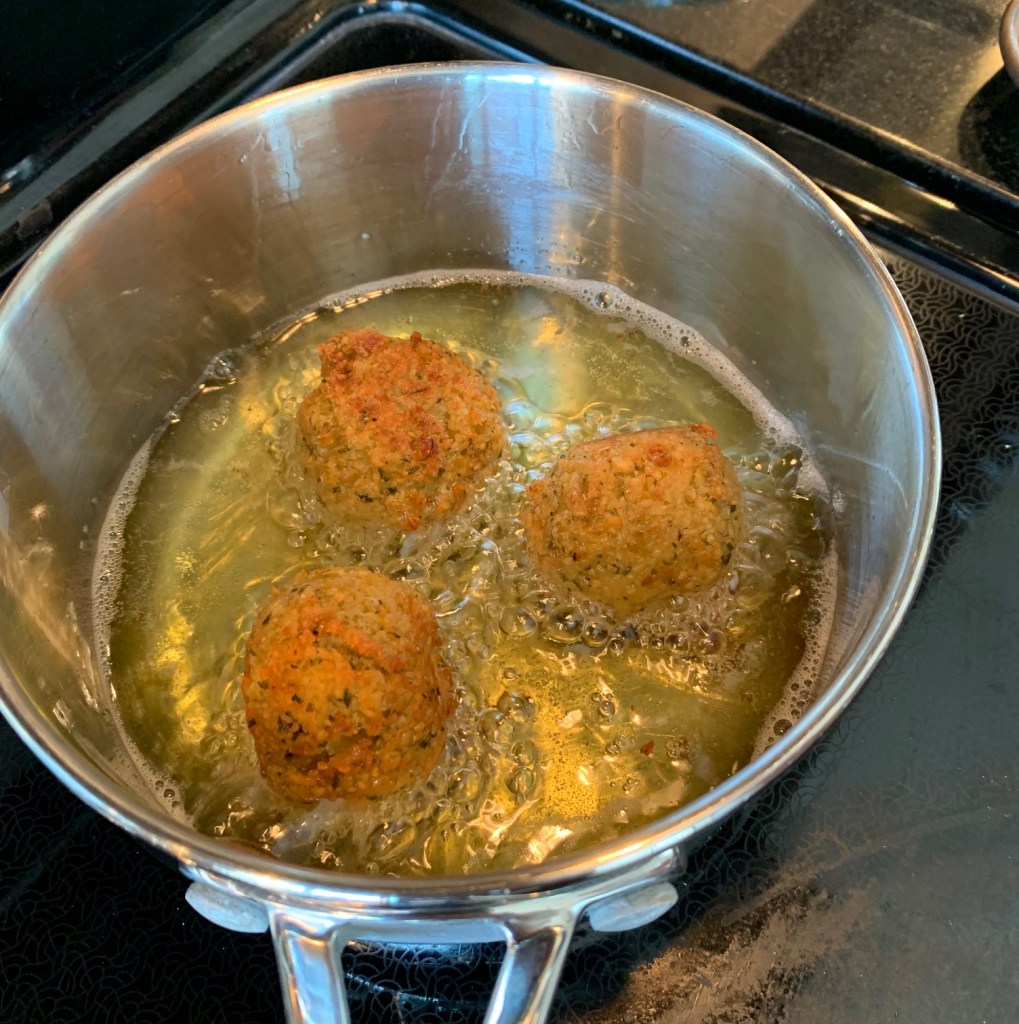
Time to cook the falafels. Here, I’m out of my comfort zone. You could bake the falafels, which is my comfort zone, but frying them in oil is far superior. Craig to the rescue, again, because he’s perfectly comfortable working with oil and high heats. In a small saucepan, Craig puts enough neutral oil so the falafel balls can be halfway submerged (oil temp: about 350 degrees F).
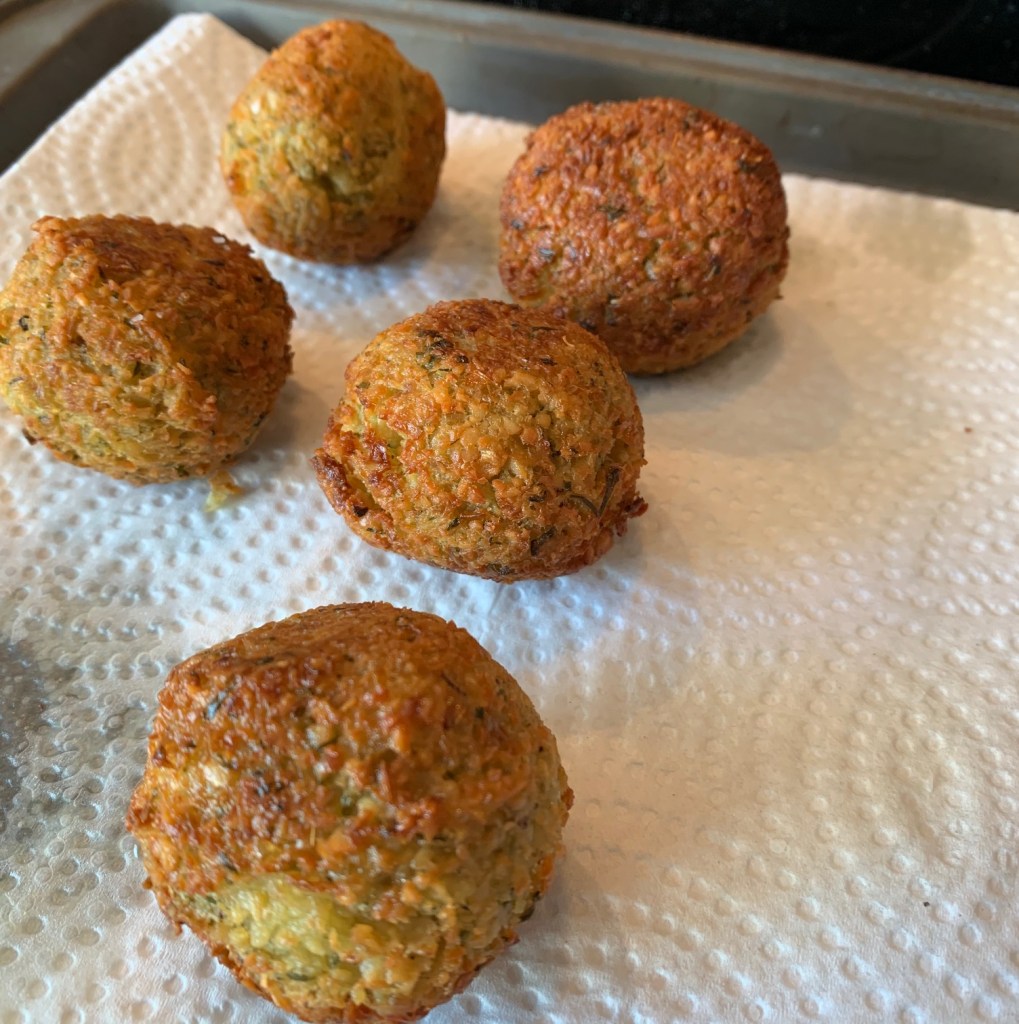
Using a spoon, he gently drenches the tops of the balls until the bottoms were brown, then he rotates the balls and does the same to the tops until they are golden brown, crispy on the outside, fluffy on the inside. Looks like this. They are perfect.
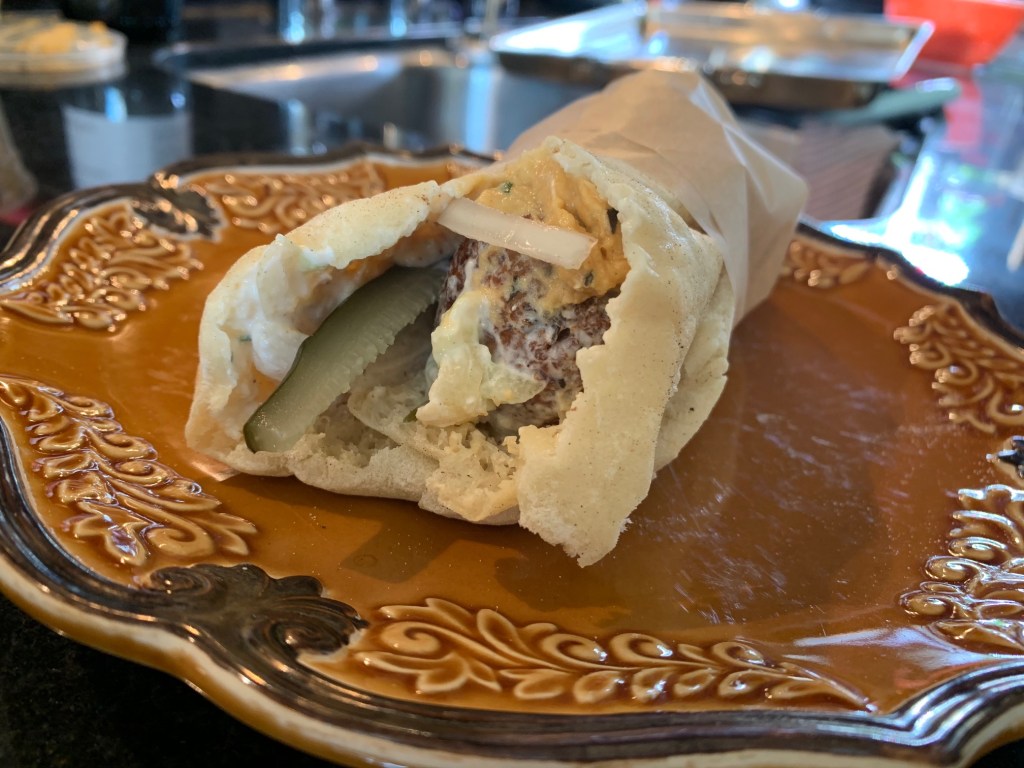
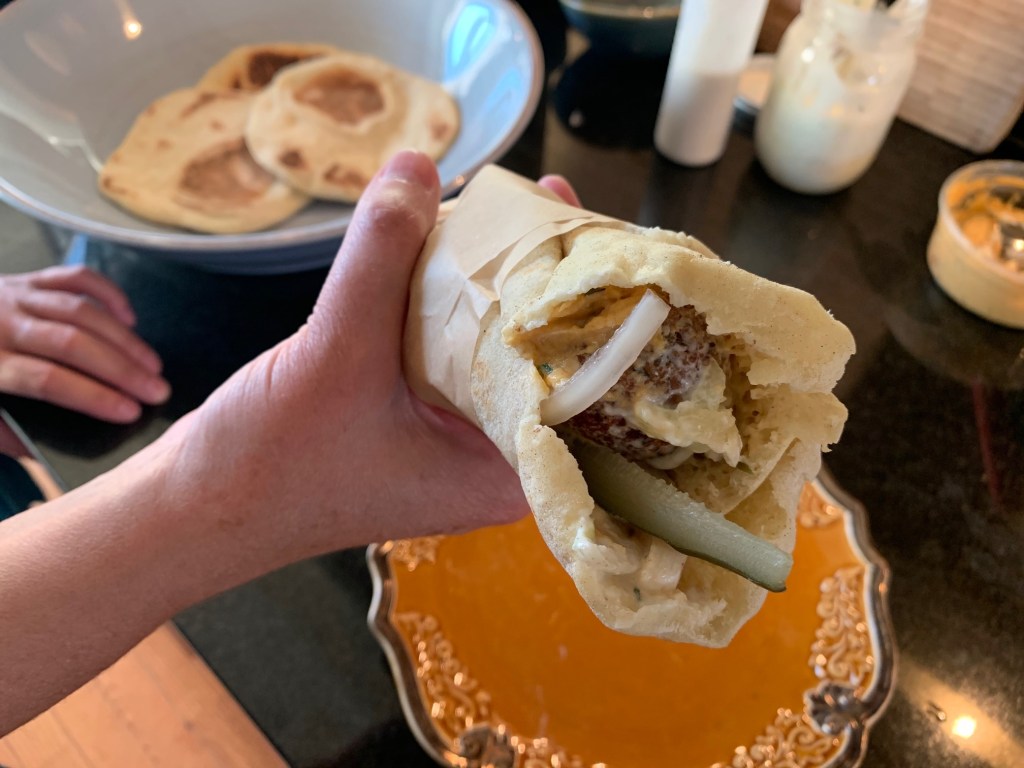
It feels like we started this project years ago but, alas, we are ready to build a sandwich!
I open a pita at the top and spread hummus and tzatziki on the inside; in go the falafels; then I add the toppings and a generous drizzle of tahini. Wrap that sandwich and appreciate all of the labour and love that went into this perfect sandwich.
How has it taken me 55 years to finally eat that French sandwich classic, a Croque Monsieur?
No wonder people rave about it: a silky béchamel sauce elevates a hot baked ham and cheese sandwich that is draped with melty cheese.
Since it’s my first time making this sandwich, let alone eating one, I surfed the internet for recipes and everyone’s recipe is just a little bit different than the others. The most decadent treatment comes from Bon Appetit—I mostly followed this recipe.
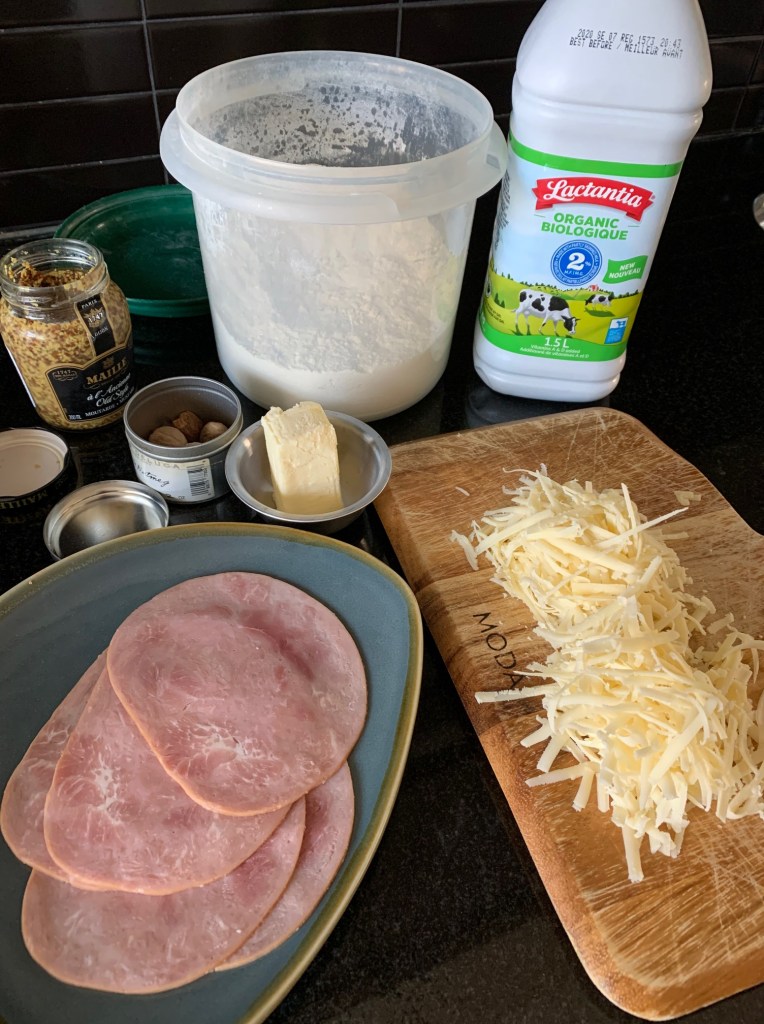
First, my mise en place for the béchamel, which is my favourite of the five mother sauces. I’m going to need 1/4 cup butter, 1/4 cup flour, 1-1/4 cups milk (a little less than what the Bon Appetit recipe calls for), 2 tbsp. grainy mustard, and 1/2 tsp freshly grated nutmeg, salt to taste. I’ve also grated 2 cups of gruyere cheese and set aside slices of ham.
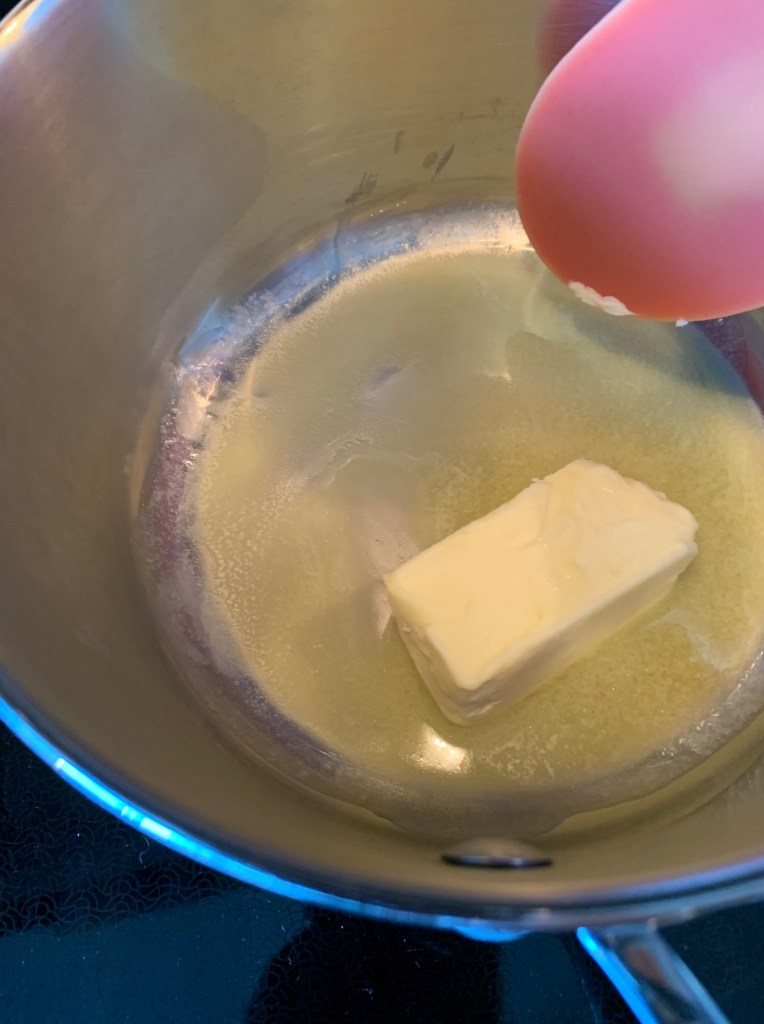
Béchamel is one of the easiest sauces in the world to make and it’s great to incorporate pastas and casseroles or to smear on sandwiches (better than mayo—fight me!). Melt the butter to start the roux (medium temperature).
Add the flour and stir until it’s bonded with the butter (1 minute or 2).
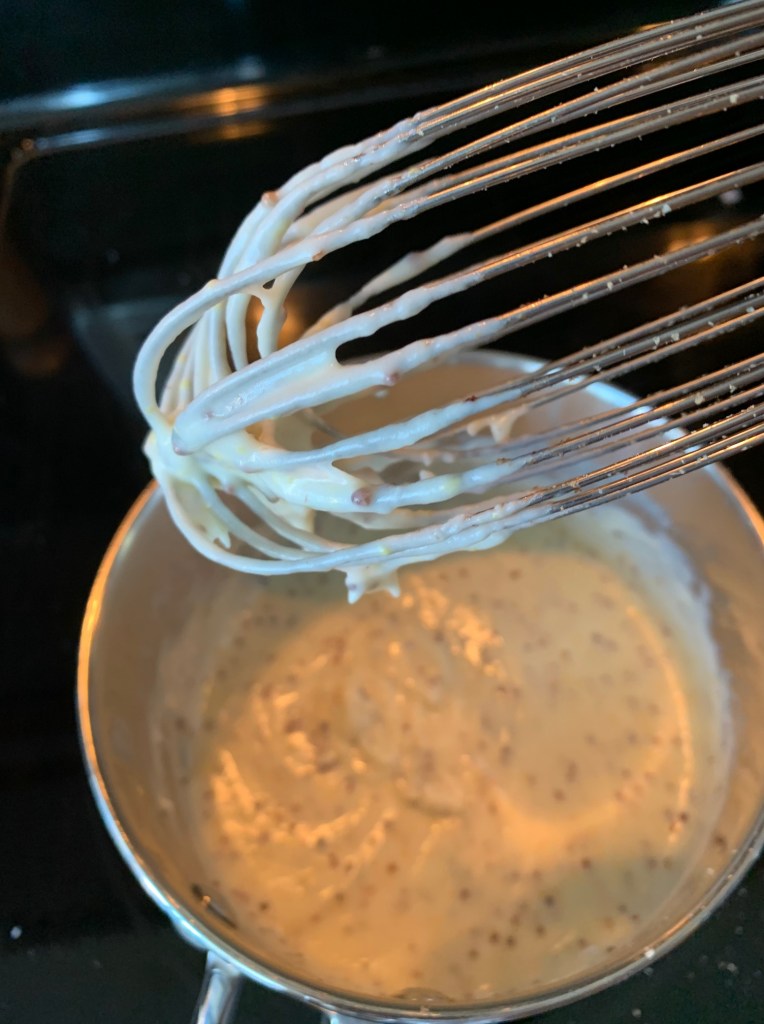
Now that it’s nice and glossy, slowly whisk in the milk and keep whisking until it’s got a thick consistency. Like this.
Add the mustard, nutmeg, and kosher salt to taste; remove from the stovetop.
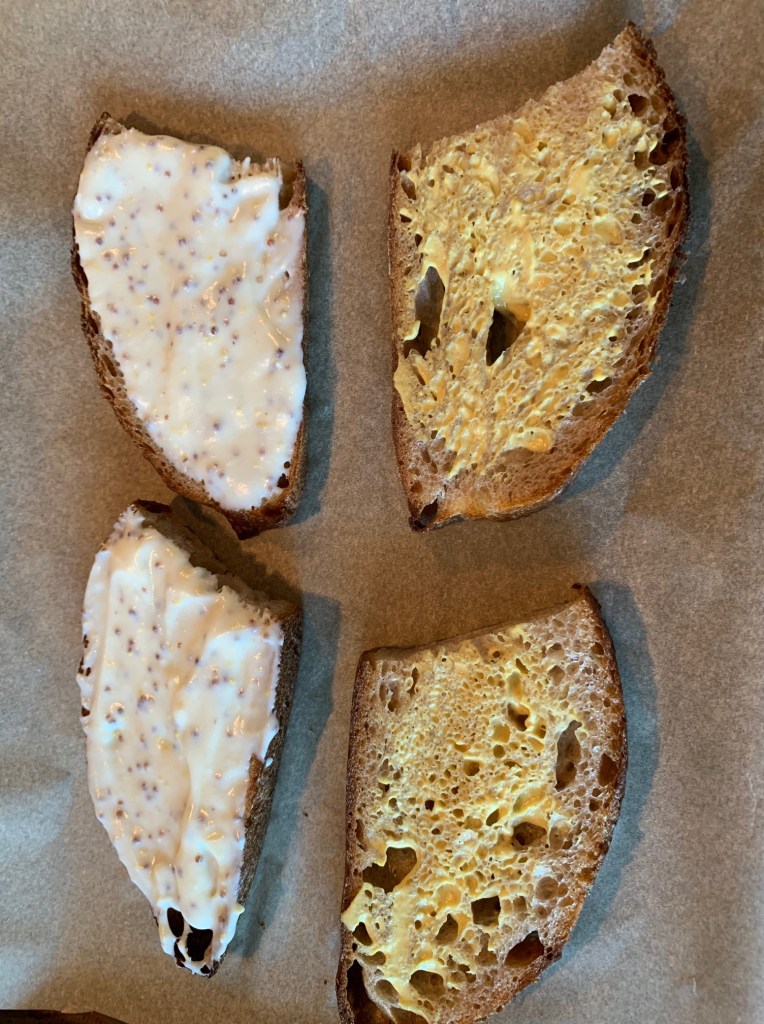
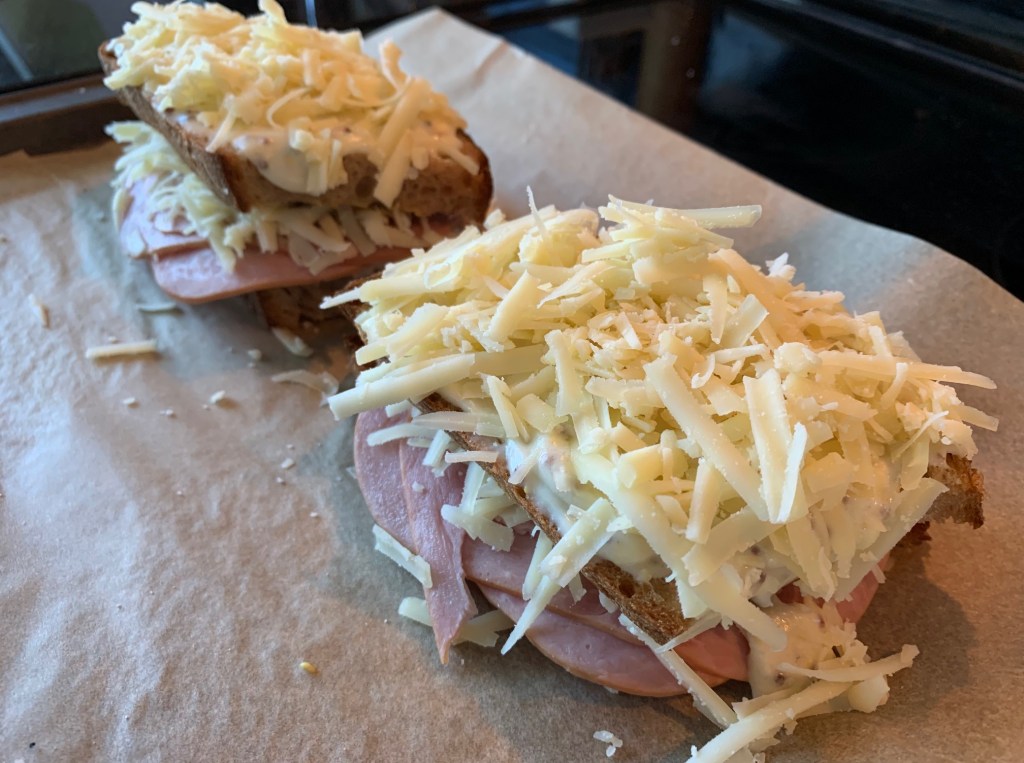
Time to build our sandwich! First, I’ve set the oven to 350 degrees and prepared a baking tray with parchment paper. Down goes four slices of rustic sourdough bread. Spread dijon mustard on two of the slices (they’ll go on the top of the sandwich) and spread béchamel on the other two slices (they’ll go on the bottom of the sandwich).
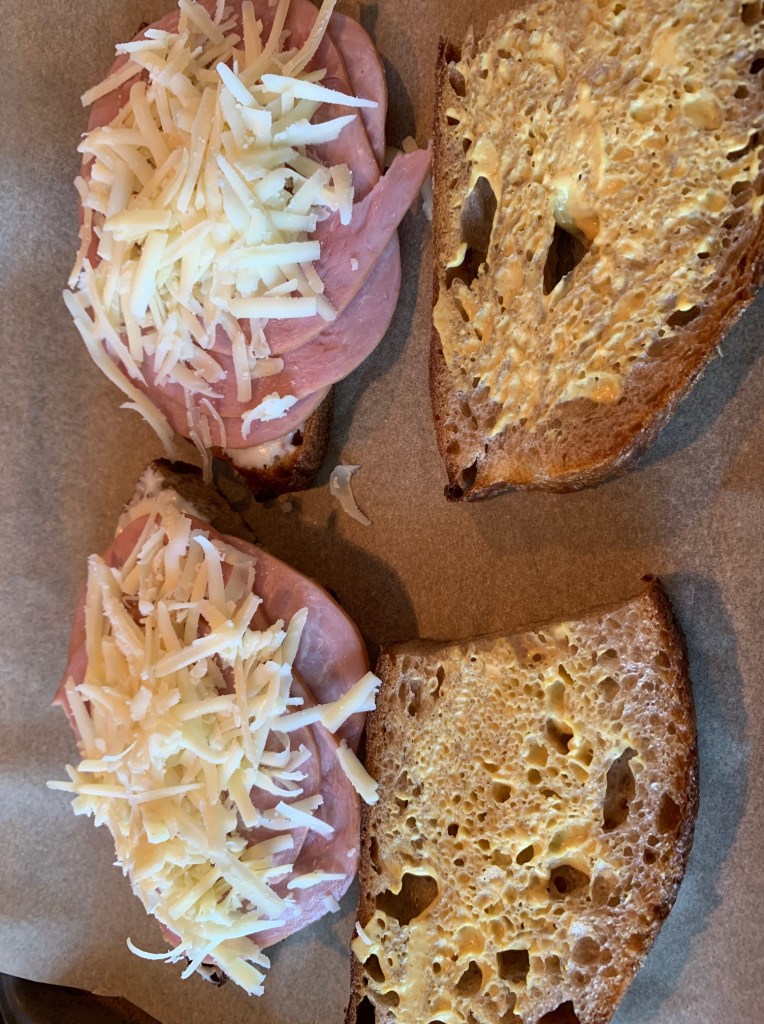
Ham and cheese go on the béchamel side of the bread.
Top that with the other slice of bread, mustard side down. Spread some more béchamel sauce on that top slice of bread and top that with a generous amount of cheese for melting. You want both sauce and cheese at the top — it’s what makes this such a special sandwich.
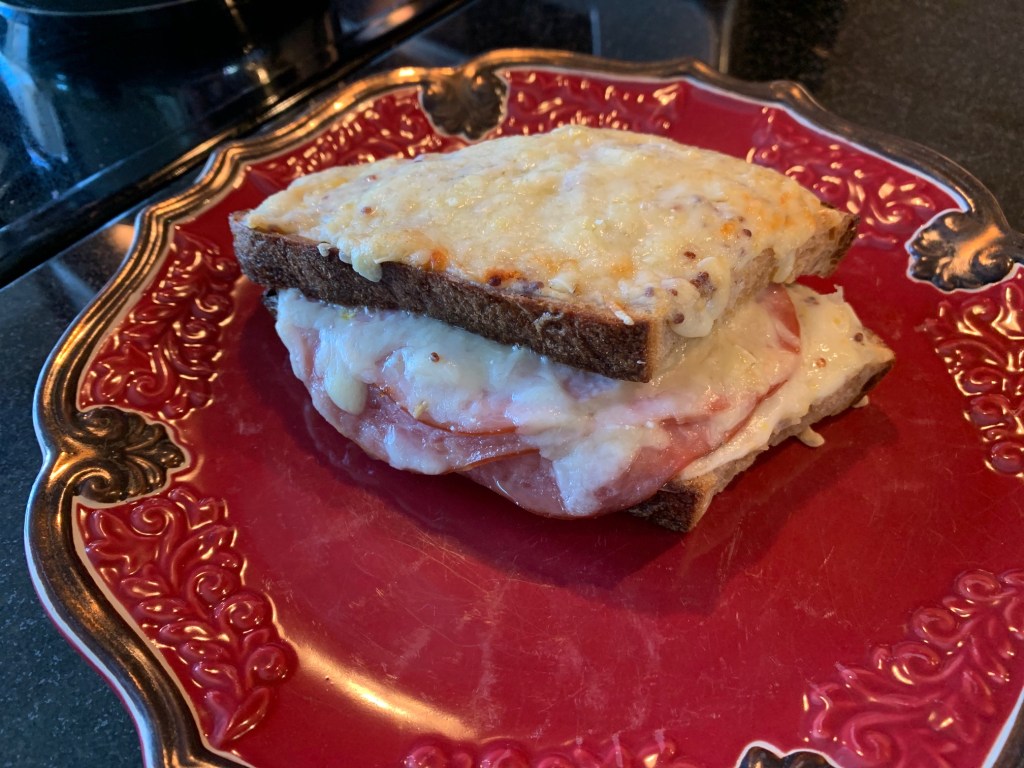
Pop those puppies in the oven for 5-10 minutes—until you’ve got a hot, bubbly, decadent sandwich. Voila! It’s a knife and fork situation.
This sandwich surprised me with its creamy goodness. Everything works, including the subtle sharpness of the mustard to cut through the all of that sauce and cheese. Since I’ve started this sandwich blog, the Croque Monsieur has been the most requested sandwich to make. Now I know why.
Even though the ingredients are pretty basic—bread, butter, eggs, radishes, cucumbers—there’s something about making tea party sandwiches that feels special.
It’s where you take humble ingredients and make them tiny, pretty temptations.
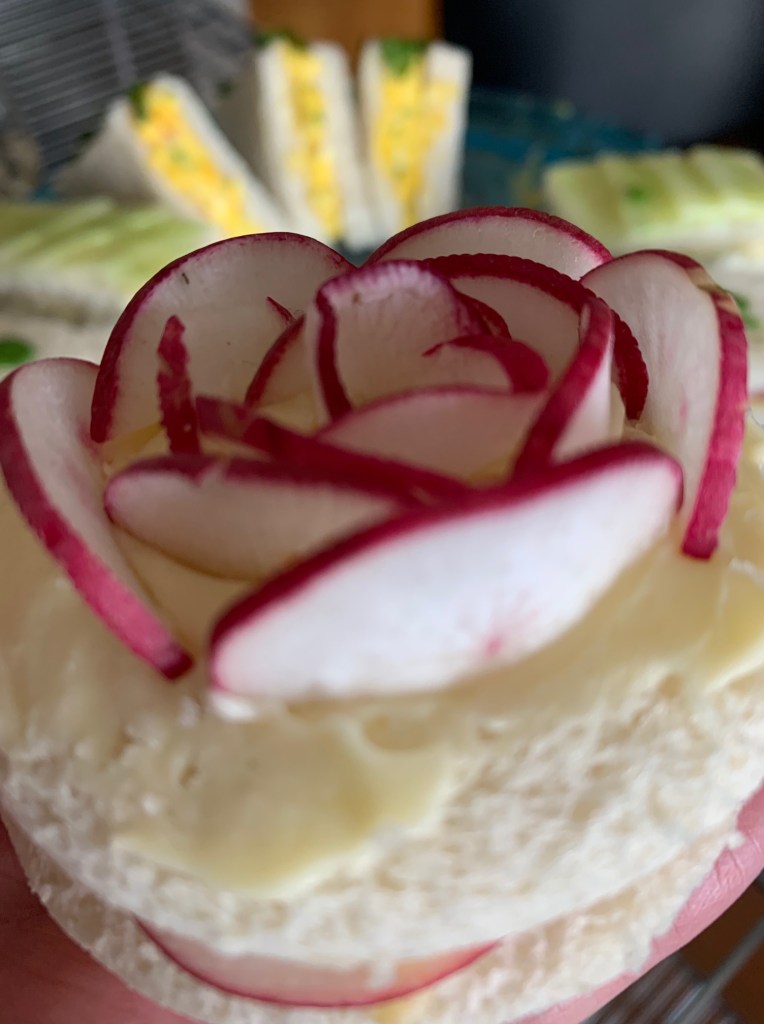
There are so many various of sandwich fillings for a tea party, but I’m sticking with four sandwiches: a classic egg salad, cucumber and goat cheese, proscuitto and brie, and the centrepiece—a radish sandwich crowned with a radish rose.
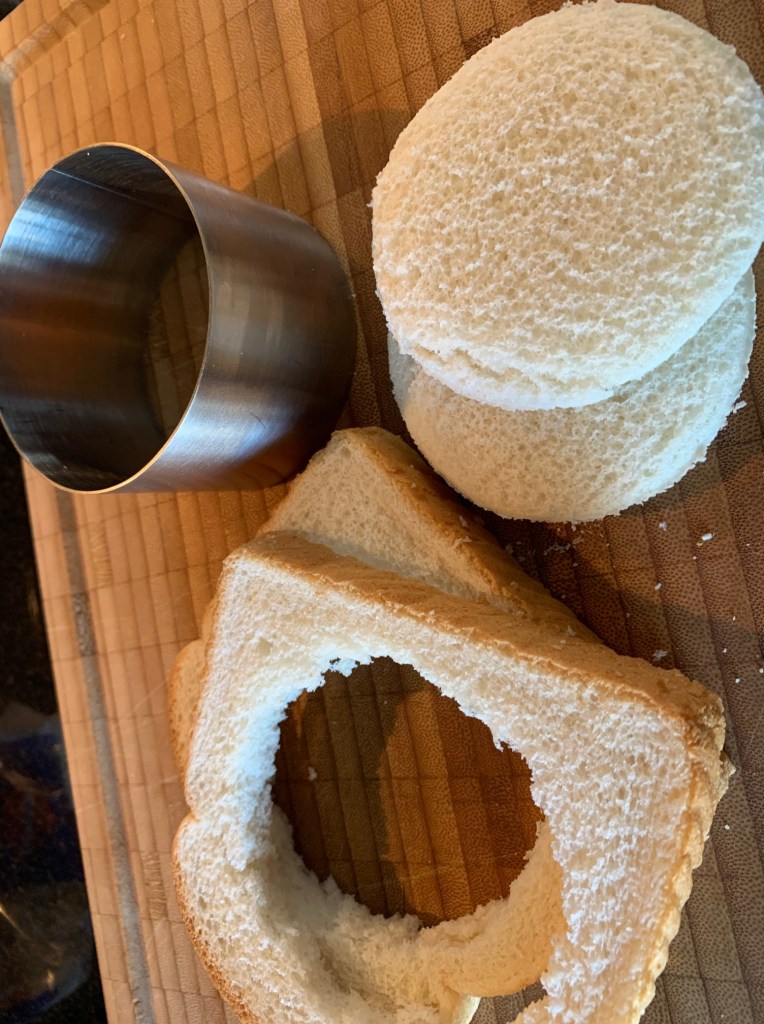
I start with the radish sandwich since the rose will probably take the most work to make. It’s the centrepiece sandwich, so I’m cutting a circle in my bread to make a round tea sandwich. Do this once slice at a time, otherwise you will mangle the bread.
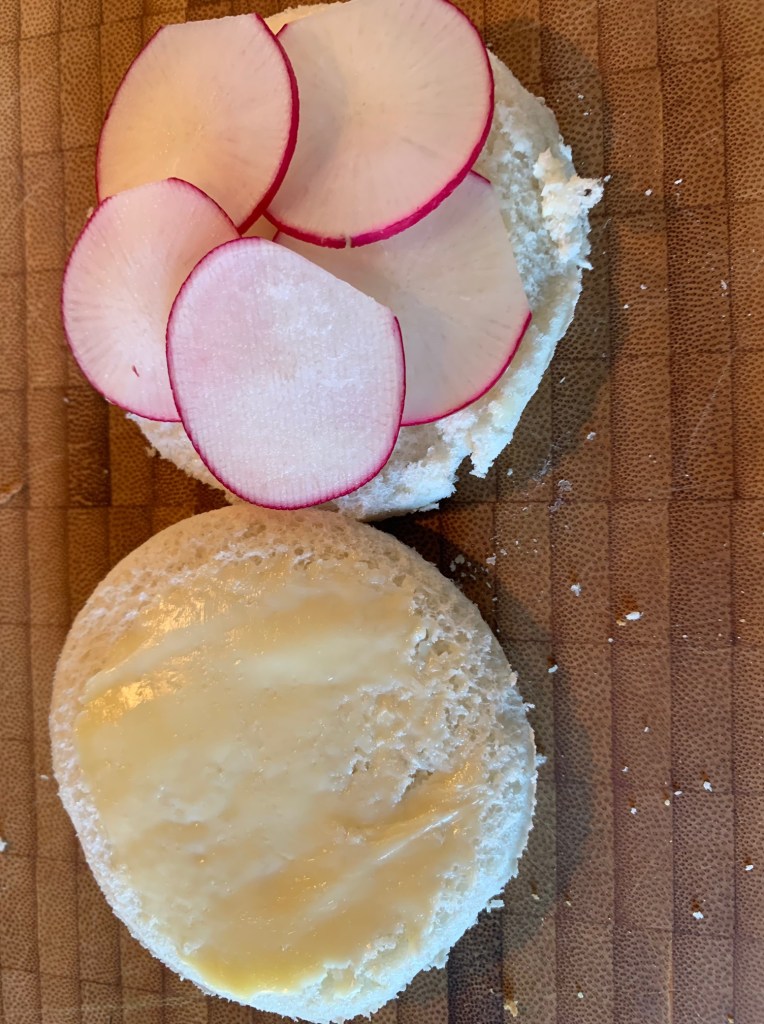
I save the crusts to make homemade breadcrumbs and/or homemade croutons for salads. Butter the rounds and top one buttered side with a thin layer of thinly sliced radishes (my mandoline worked magic here). Top that with the other buttered round, then butter the top of that round. The butter is key to help your radish rose stick.
For the radish rose: cut thinly sliced radishes into half moons. This will make it easier to bend the radish pieces and have them stick. Working for the centre out, take the smallest radish half moon to start the centre of your rose, fanning out until you have something resembling a flower.
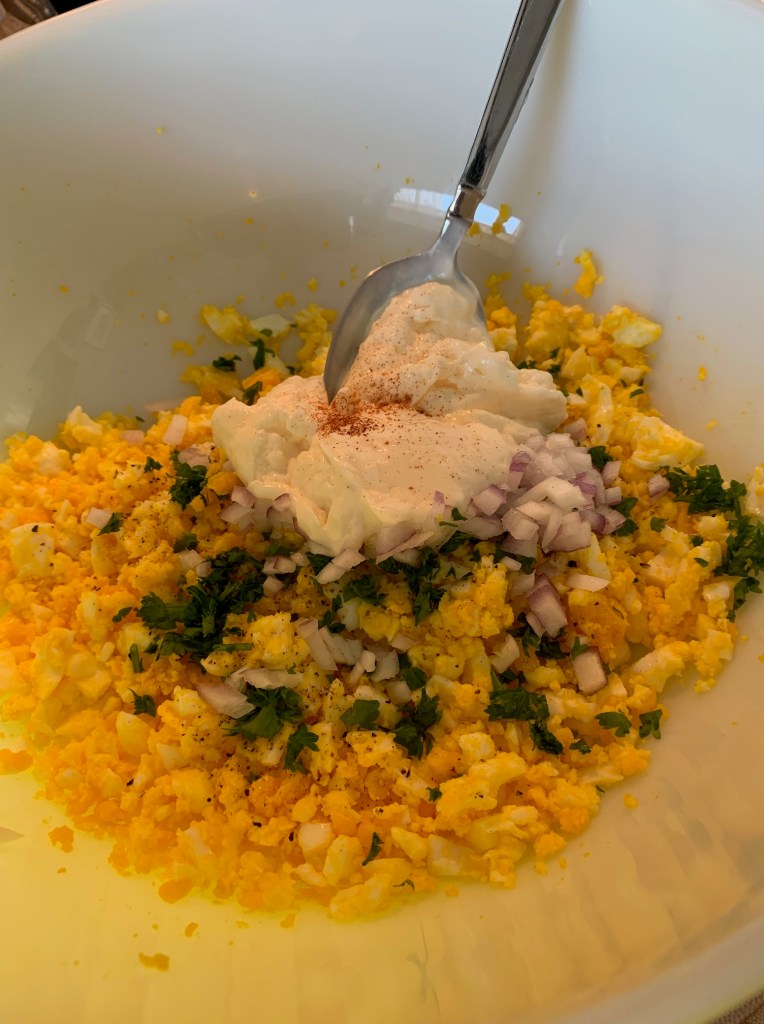
Let’s work on the next tea sandwich: egg salad. Start by putting six eggs in a pot of cold water, cover the pot with a lid, and put it on high heat. Let the eggs come to a rolling boil for 1 minute, then remove it from the heat. Turn on a timer and let them sit, covered, for 12 minutes for perfectly boiled eggs. Drain the eggs and throw them into an ice bath to cool down before peeling.
Once the eggs are peeled, use a pastry cutter to mince them. I add a handful of chopped parsley, a couple of tablespoons of minced onion, 1/4 cup mayonnaise, and a hint of really good smoky paprika.
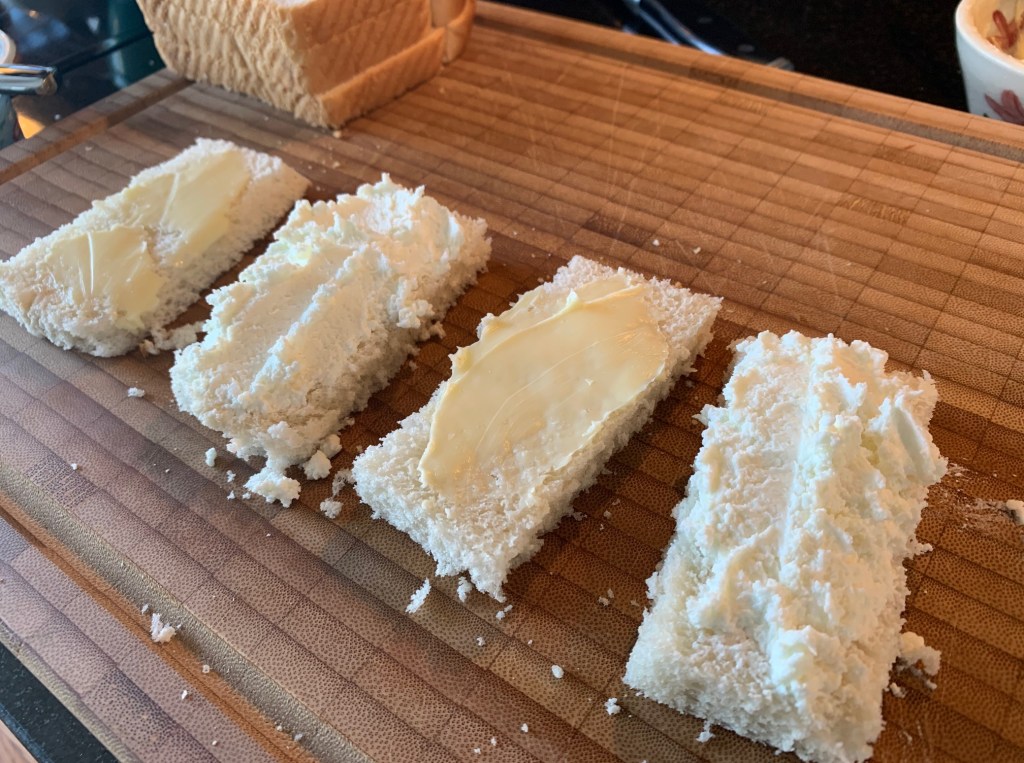
Mix that thoroughly then start building the sandwiches. I’m cutting the bread into triangles, then buttering each triangle before spreading the egg salad onto one side. Top it with the other buttered triangle, then dip one side of the triangle into a plate of minced parsley.
Time to make cucumber finger sandwiches. Cut the bread into rectangles, butter one side and spread cream cheese or goat cheese onto the other rectangle.
Top with thinly sliced cucumber.
Now that a layer of cucumber is on the goat cheese, top it with the other buttered rectangle, buttered side down, then butter the top rectangle and add another layer of cucumber. Easy peasy.
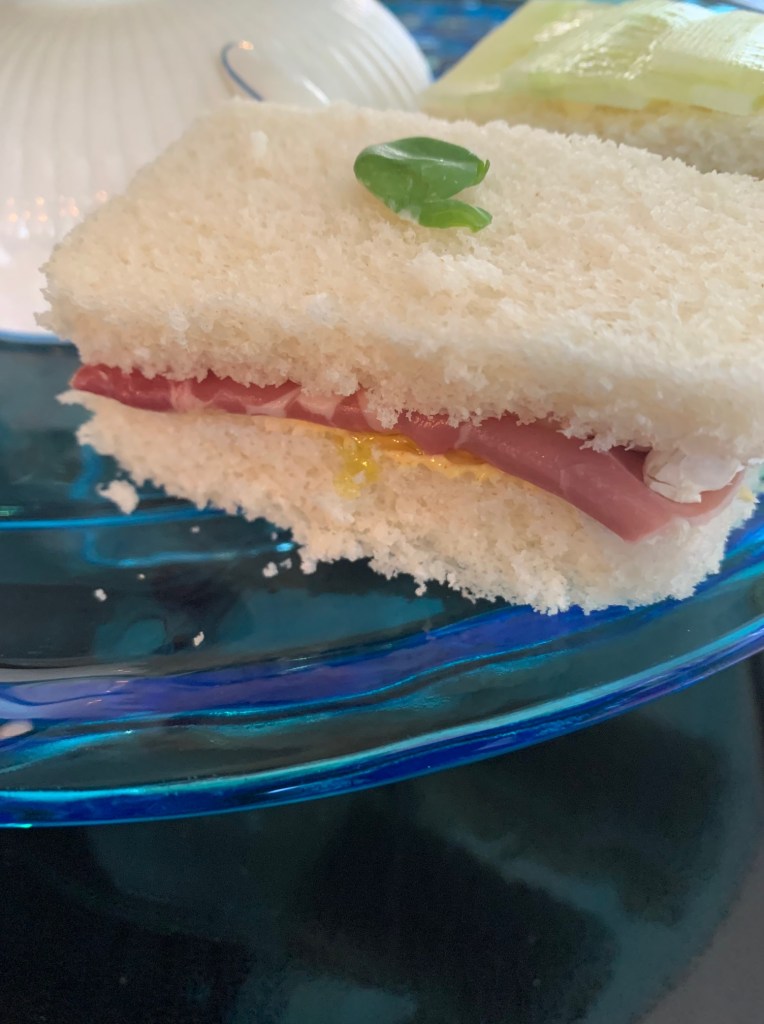
Time for the last sandwich for my tea party: cut more rectangles, butter both sides of the bread, add a hint of dijon on one side, top with proscuitto and brie. Drizzle a bit of basil oil on the brie, then top with the buttered rectangle. Garnish with a tiny basil leaf.
And now it’s time to arrange my tea platter, whip up a pot of tea, and enjoy our tea party on the terrace. The sun is shining and the tea party makes everything feel special.
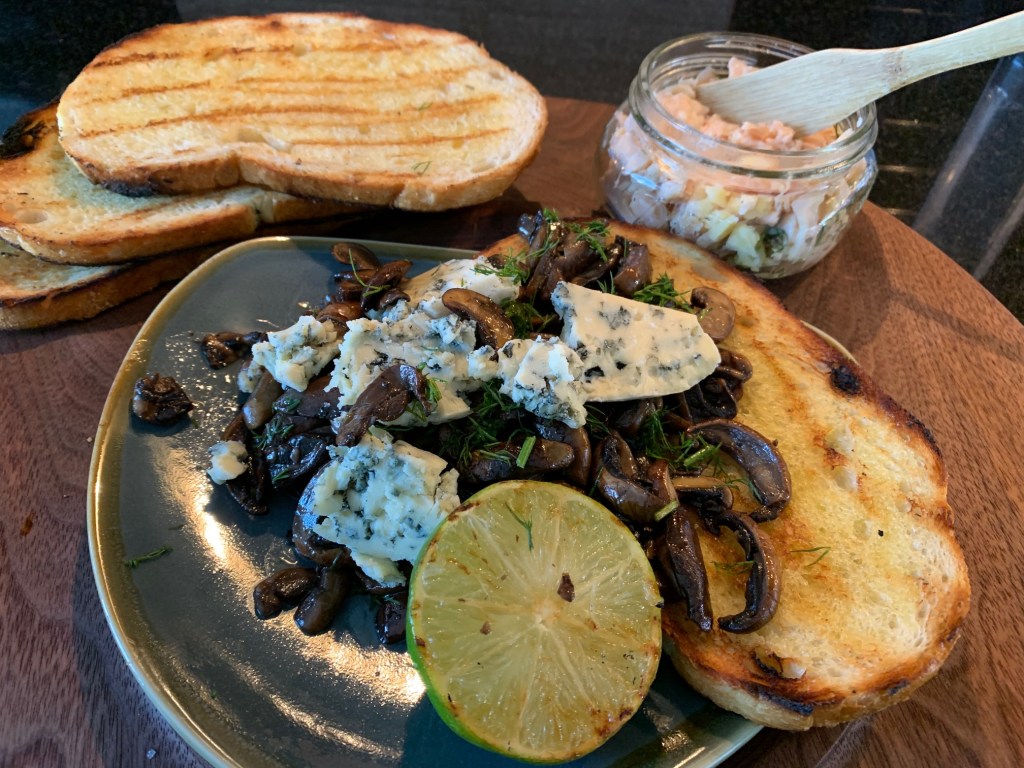
It’s warm enough to get the BBQ going and I say it’s time to grill some rustic bread brushed in roasted garlic olive oil and top that with hot sauteed mushrooms, delicious blue cheese, and a side of potted fish.
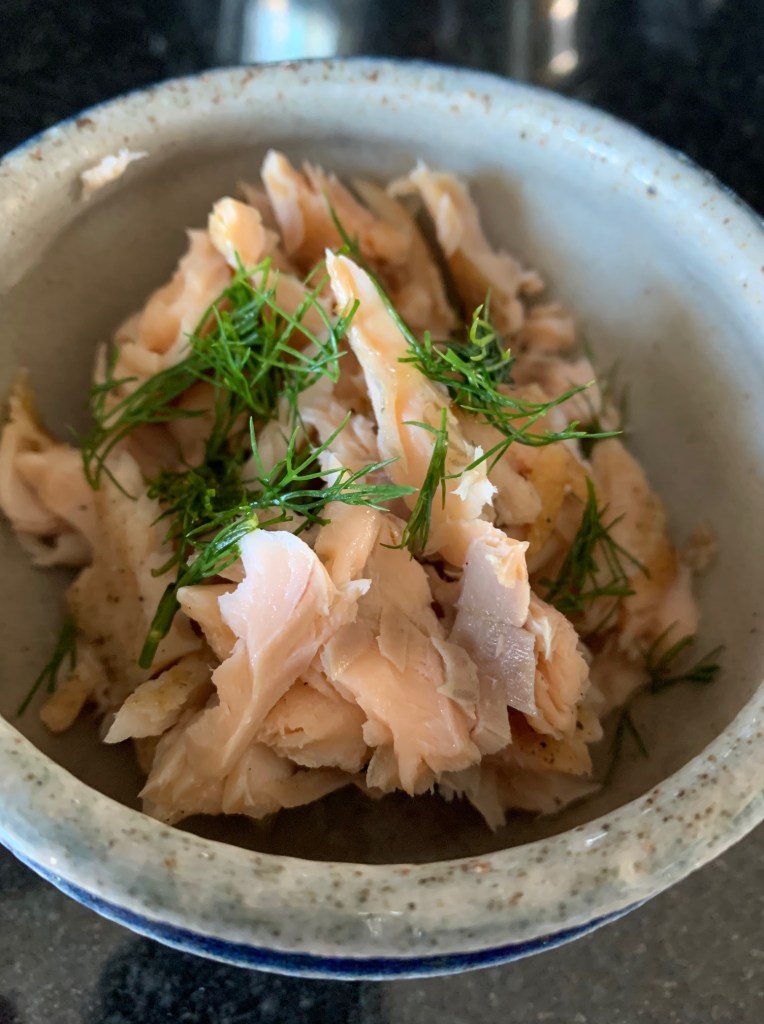
This is a dish that rescues leftovers and turns them into a delightful star of the dish. Today I’m rescuing leftover grilled trout, which is still as fresh as the lake, and a bag of mixed mushrooms (button and cremini) that are getting on in age. We’ll fix them both up.
Let’s start with trout: I’m making potted fish. You can use any cooked fish that didn’t get consumed the night before. This is the simplest, most elegant thing you can do with leftover fish. I flake the trout, add some fresh dill because I have it (not necessary for this dish).
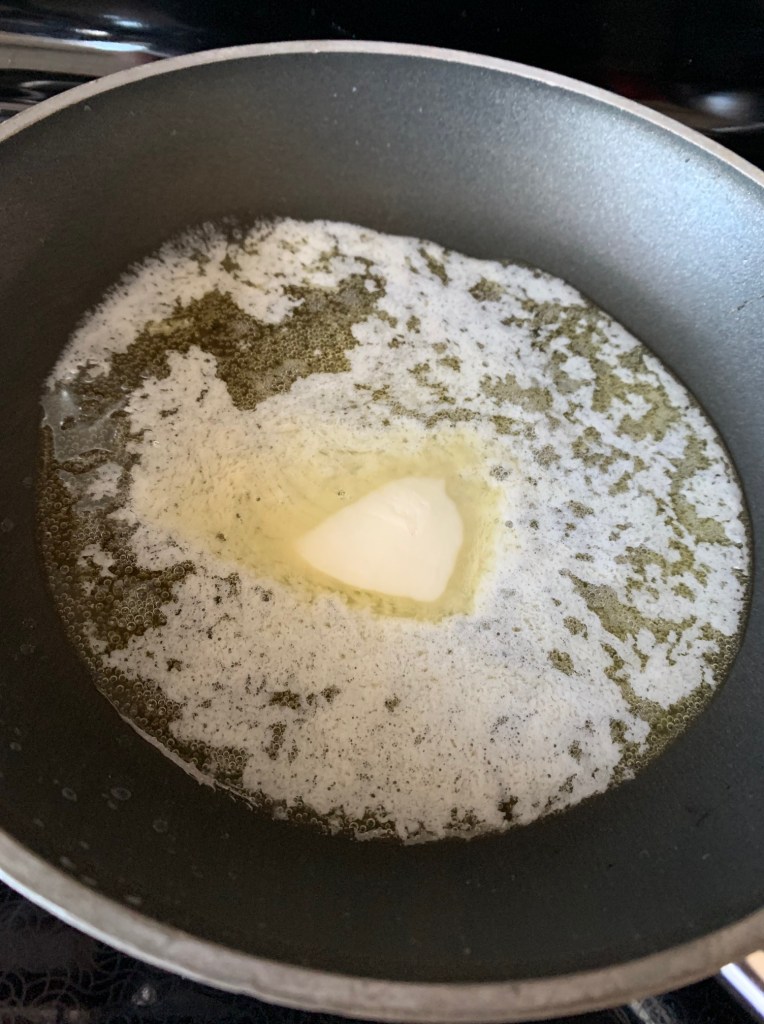
Melt a knob of butter. You could clarify the butter here by skimming off the milk fat solids, but this isn’t a Martha Stewart blog so everything is going into our potted fish.
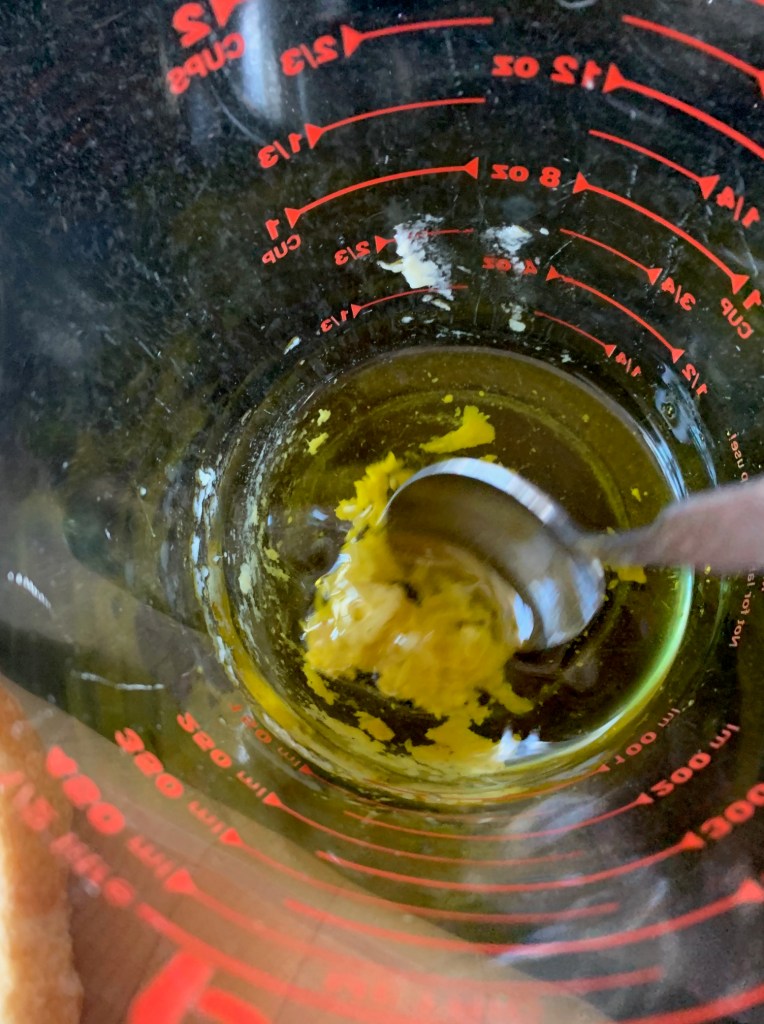
Pour that over the fish. Season with salt and pepper and get that into the fridge for the flavours to meld. When ready to serve, this becomes a spreadable fish delight that can go on grilled bread or crackers.
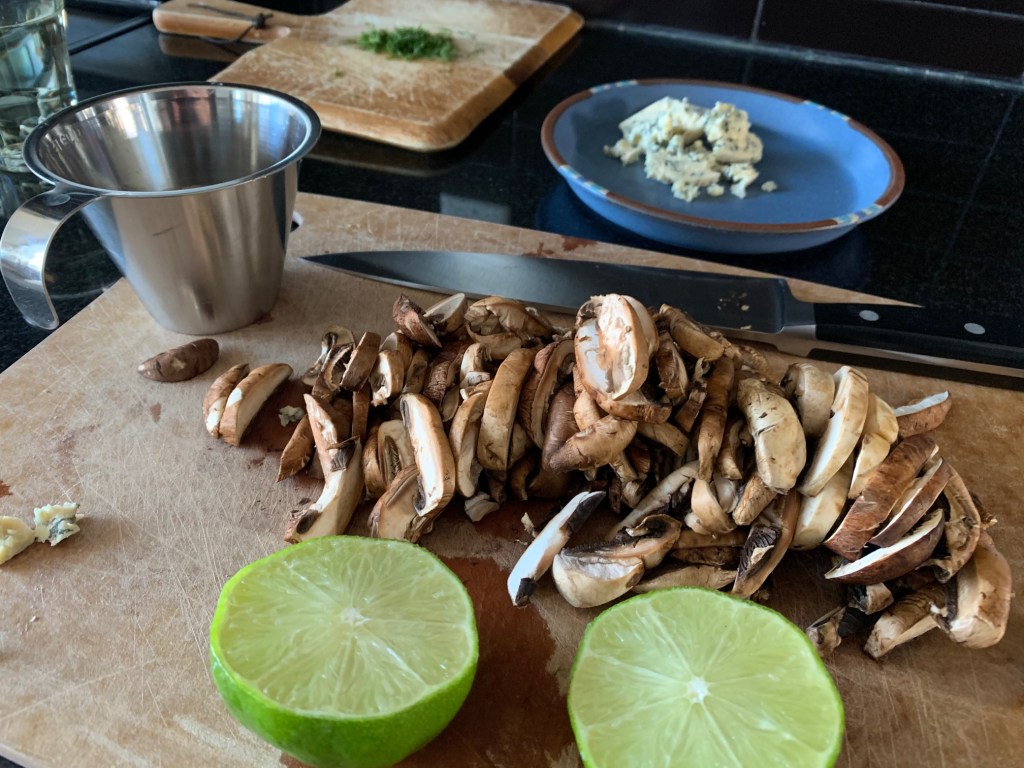
Now for the mushroom toast. Mushrooms are like the supporting cast to the star of this dish: hefty slices of the best blue cheese you can find. In this case, I’m lucky enough to have a wedge of Bleu D’Auvergne in the fridge and it’s just the kind of creamy, bold flavour profile I’m seeking.
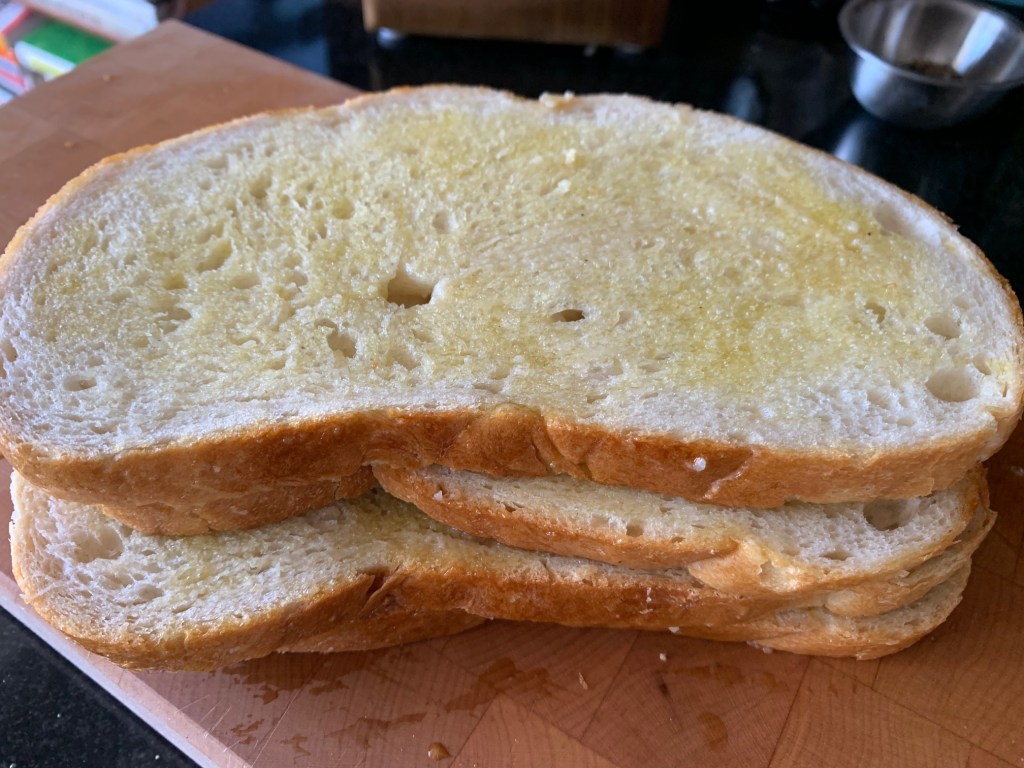
The bread I have on hand isn’t glamorous: it’s grocery store sliced sourdough that’s fairly meh on its own but I’m going to bring it to life by brushing both sides of the bread with a roasted garlic/olive oil mixture. Every week I cut the head off of a garlic bulb, drizzle it with olive oil and salt, wrap it in tin foil and roast it at 350 F for 20-30 minutes. That sits in the fridge to put in salad dressings, on pizzas, or to spread on bread. It’s a gift that keeps on giving.
Slather that onto both sides of the bread, stacking each bread piece on top of each other so that the oil is absorbed on every piece.
Now to get the mushrooms ready. I clean my mushrooms and give them a fairly thin slice. I’ve also cut a lime in half–I’m going to throw that lime, cut side down, onto the BBQ as I grill my bread. Grilled lime or lemon halves squeezed on your dish at the last minute elevates everything. Highly recommend. Blue D’Auvergne is sliced. I’ve got a half cup of white wine at the ready for once I’ve crisped up my mushrooms.
Mise en place. Ready for the grill.
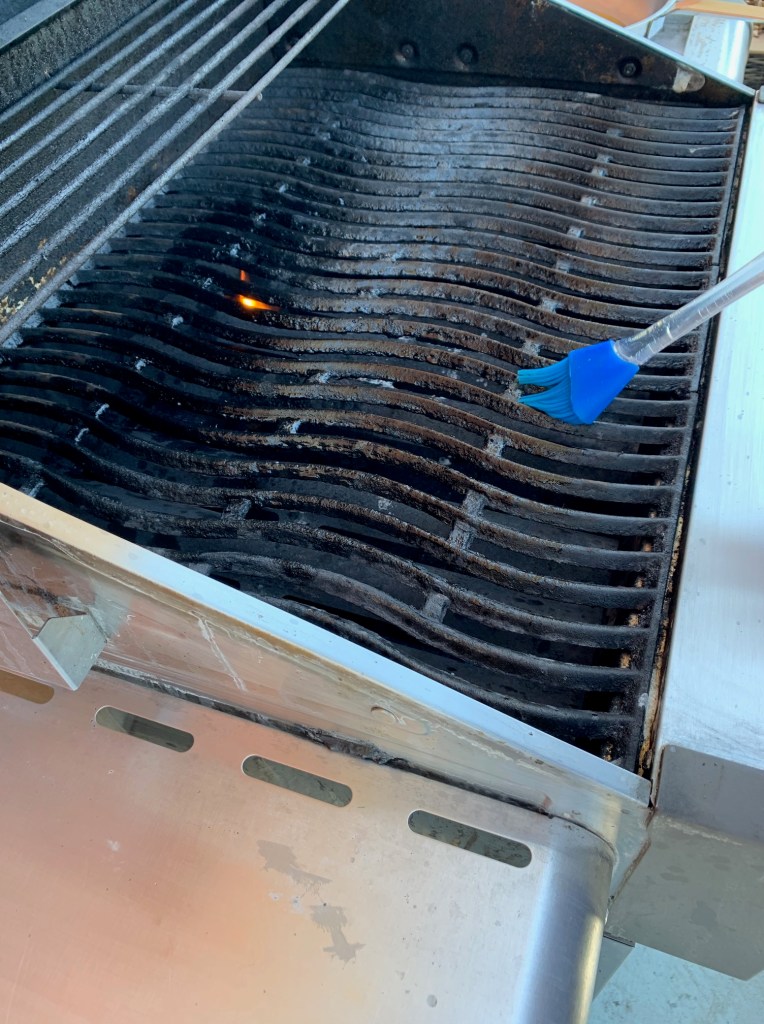
Let’s get to work. I’m setting up my station at the BBQ, which has a side burner that is perfect for sauteeing my mushrooms and the grill will turn my average bread slices into a crispy, rustic canvass for the mushroom and potted trout toasts.
Brush a clean grill with olive oil and close the lid. This is where the grilled toast action will happen. Soon. But, first, the mushrooms.
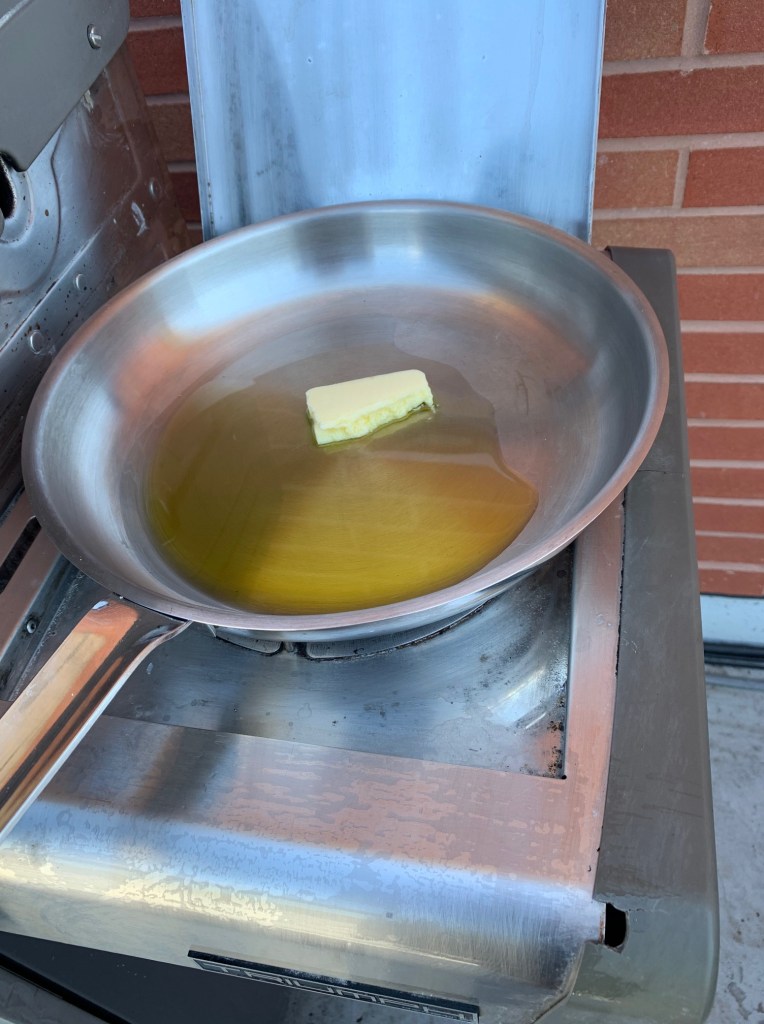
Into a pan I put a generous glug of olive oil and a knob of butter. The olive oil prevents the butter from burning, the butter helps brown the mushrooms and give them flavour depth.
It’s a beautiful spring day and I’m happy to be cooking outdoors. Thank god for our terrace BBQ. It ain’t fancy, but it does the trick.
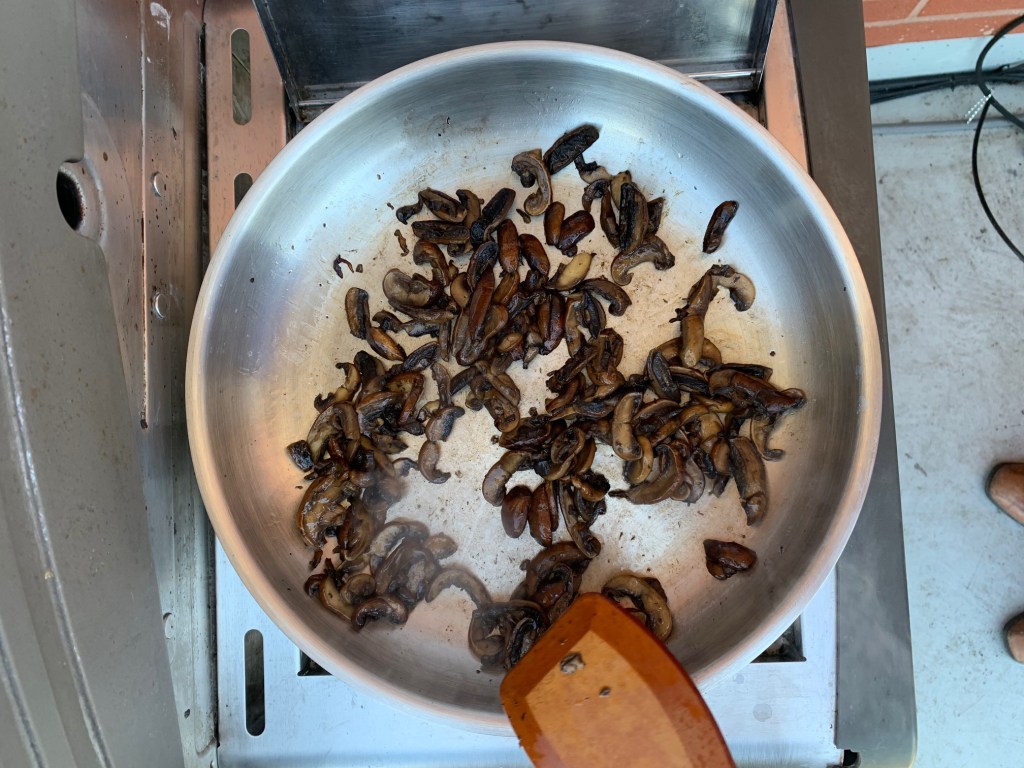
On high heat, get that pan going and once the butter melts, add the mushrooms. You want those mushrooms to get nice and crispy, so keep stirring and let them sit enough to encourage browning too.
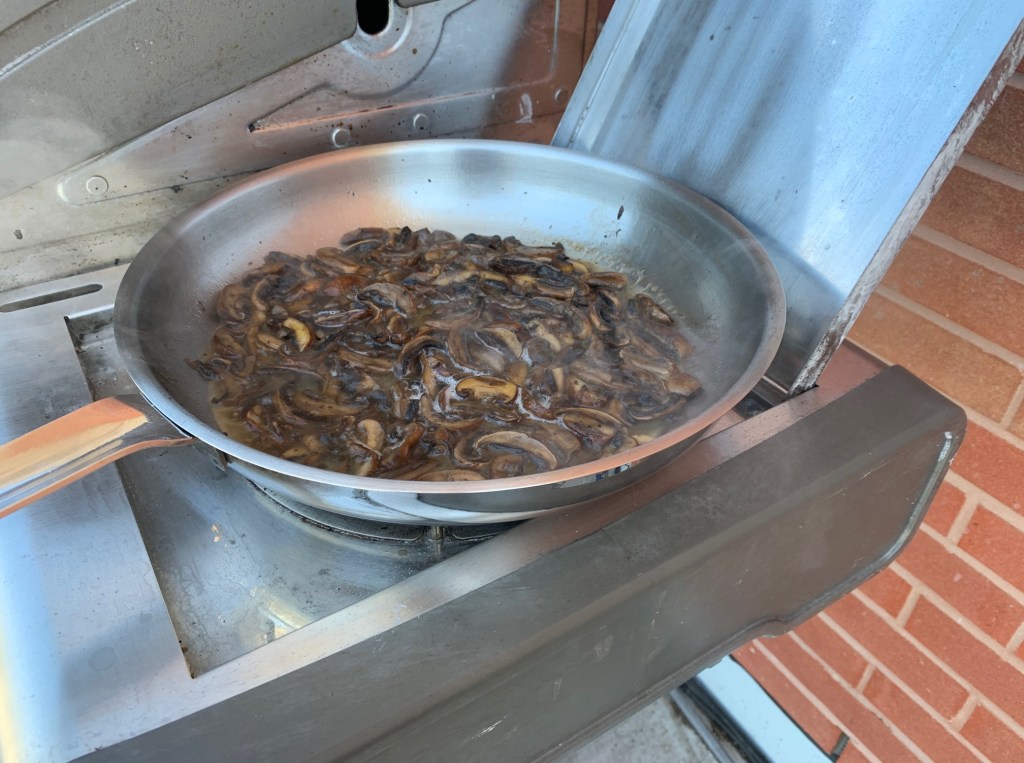
Now it’s time to bring these mushrooms back to life. I pour 1/4 cup of white wine into the pan and let that sautee until the wine has completely reduced (ie disappeared). That wine will flavour and rehydrate the mushrooms.
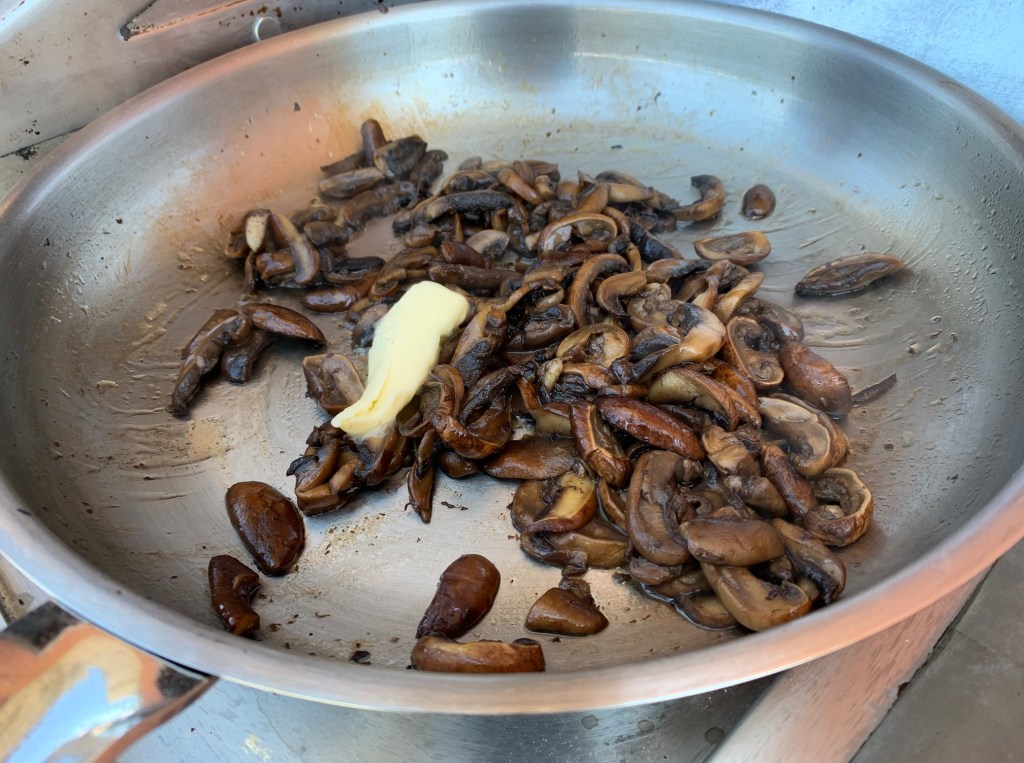
Once the wine has completely disappeared, add a knob of butter (glossiness!) and turn the burner off.
Let’s get those brushed slices of bread on the grill, along with the half lime, cut side down. (You could use lemon here to equally great effect). Grill the toasts on both sides until they’re crisp and you’ve got pretty grill marks. Like this.
This is such a rustic dish, I feel like I’m camping but, actually, I’m on the terrace of a condo in Toronto in the middle of a pandemic. We must away to imaginary lives once in a while as a coping mechanism.
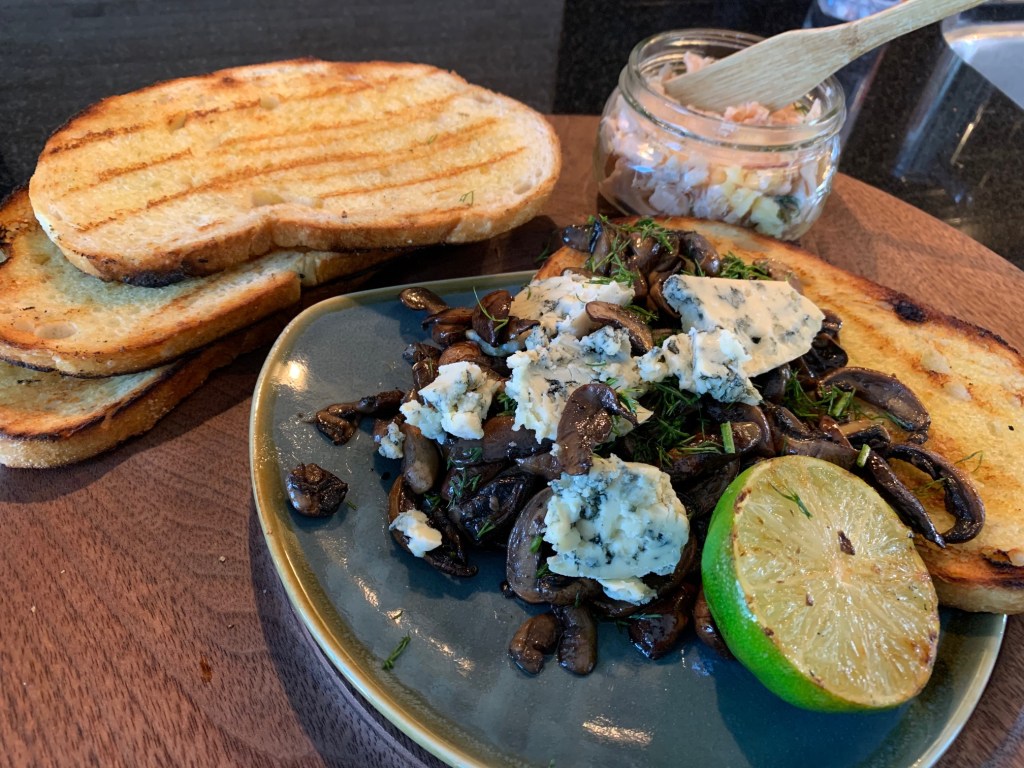
Let’s plate up! Grilled toast gets stacked into a pile. There’s the lovely potted trout in a clear glass mini-jar. And look at the mushrooms and blue cheese. This is the type of sandwich that’s served as a platter and people tear away at the bread and help themselves. (Don’t forget to squeeze the grilled lime on the hot mushrooms just before serving).
You know, for a sandwich platter inspired by leftovers in the fridge and a star ingredient, Blue D’Auvergne, this is one of the best so far in my A Year in Sandwiches food blog. Let’s see if it makes the final top 10. I’ve got half a year of sandwiches more to go, so who knows?